Last updated: November 03, 2026
Quick Answer: If you have a site sketch and a photo with one known scale, you can usually get a close mulch estimate without surveying. In How to Estimate Mulch from Photos and a Site Sketch, the key is to use one real measurement, mark every obstacle, and keep the sketch and photo matched from the start.
A site sketch for mulch estimation can get you close enough to order the right amount when all you have is a phone camera, a rough drawing, and an overhead photo. The trick is to put one real scale on the sketch, read the bed edges from the image, and mark every obstacle before you calculate. The steps below settle that.
Estimate Mulch from Photos and a Site Sketch
A photo-based estimate works when the sketch carries scale and the photo shows the bed from above or nearly above. The photo gives shape; the sketch gives numbers; the yardstick gives truth.
Picture this: you’re standing in a yard with a phone, a rough pad drawing, and one 6-foot yardstick laid along a bed edge. You don’t need a survey crew. You need a clean photo, a marked sketch, and a way to tie both to the same scale.
-
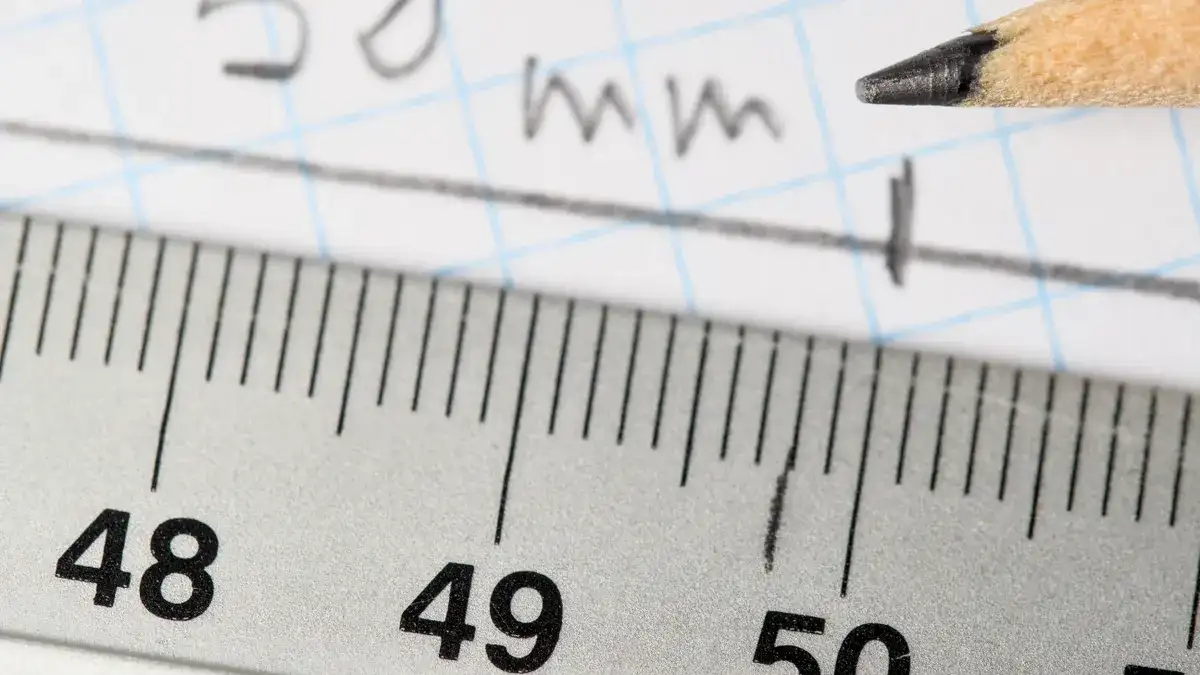
Place the yardstick and take the photo. Lay a yardstick or other known object flat beside the bed edge, then shoot from as high and as square as you can. The scale in the frame gives you a reference for later reading.
-
Mark the sketch and note the scale. Draw the bed on paper or a tablet, then write the scale next to it, such as 1 inch = 4 feet or 1 square = 1 foot. That scale turns the sketch from a picture into a measuring tool.
-
Capture the overhead image. Use the phone camera to take an overhead photo if you can stand above the bed, deck, driveway edge, or planting strip. A near-vertical shot reduces the distortion that makes beds look wider at one end.
-
Trace the boundaries on the sketch. Copy the bed outline, curb, wall, tree ring, and any hard edge onto the sketch. The result is a map that shows where mulch can actually go.
-
Add obstacles and no-mulch zones. Mark trunks, drains, sprinkler heads, downspouts, path edges, and stepping stones. Those spots shrink the usable area, and that change matters before you estimate volume.
-
Read the longest and shortest dimensions. Use the photo and sketch together to estimate the bed’s length and width at the widest useful points. Write both numbers on the sketch so you can see the shape at a glance.
-
Estimate the covered area. Break the sketch into simple parts you can read from the image, then total the areas on paper. The point is not perfect geometry; it is a usable area figure for mulch ordering.
-
Write the mulch depth on the sketch. Put the planned depth next to each bed, such as 2 inches or 3 inches. Different depths change the final order, so the sketch should show that choice before anyone buys a bag or arranges delivery.
That same sketch can later feed a mulch calculator form, and it keeps you from guessing twice.
What should I put on the site sketch?
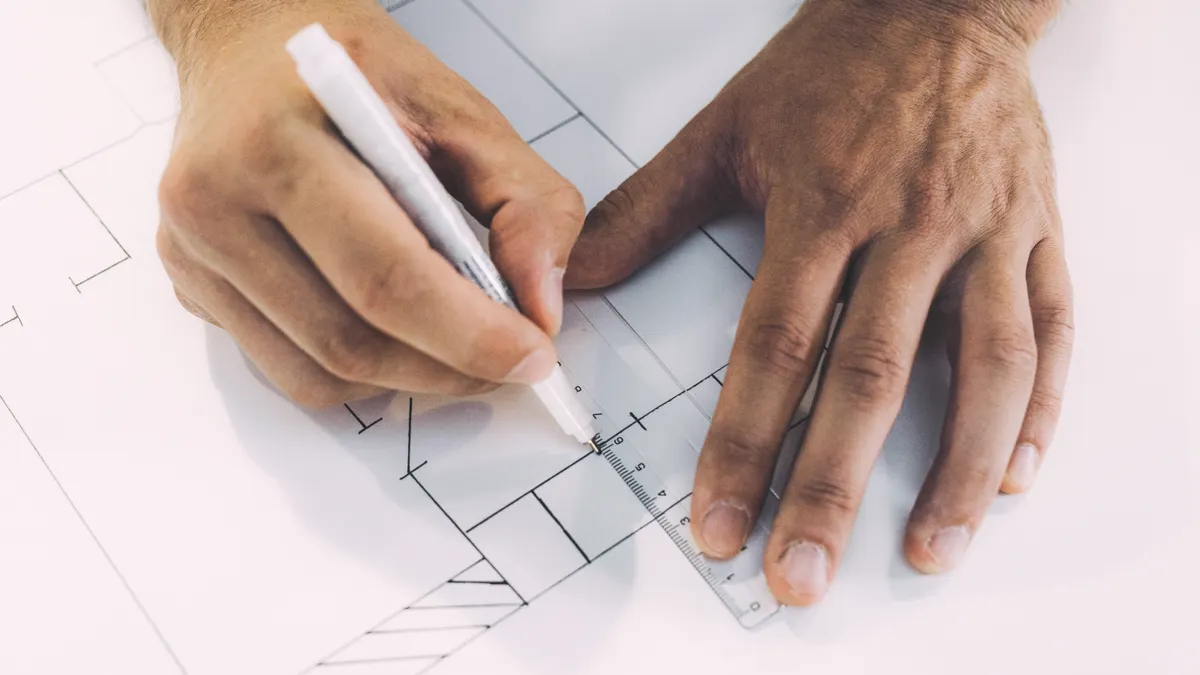
Put the bed outline, a scale, and every object that changes the mulch area. A sketch without those three things is just a drawing.
Picture this: you’re looking at a rough yard plan and wondering why the number still feels off. The missing piece is usually not math. It’s a skipped detail like a tree ring, a sidewalk cutout, or the fact that one side of the bed is 12 feet and the other is 9 feet.
Use this checklist on the sketch:
- Scale: one clear reference, such as 1 inch = 4 feet
- Edges: house wall, fence, curb, paver line, driveway, or lawn border
- Obstacles: trees, shrubs, drains, sprinkler heads, light posts, valves
- Openings: gate gaps, walkway breaks, steps, and entrance cuts
- Depth notes: 2 inches, 3 inches, or a different target depth
- Photo match marks: arrows or labels that connect the sketch to the image
A good sketch also shows where the mulch stops. That matters as much as where it starts. If a bed ends at a paver edge but wraps around a corner, write that corner down. If a trunk sits in the bed, circle it. Those marks keep the total from drifting upward by accident.
Here’s the catch: a sketch can be neat and still be wrong if the scale is missing. A page full of shapes and no measurement has no value for ordering mulch.
How do I read dimensions from photos without fooling myself?
You read dimensions from photos by using one known length and checking the camera angle before you trust the image. Without that, a bed can look 20 percent larger or smaller than it really is, even when the photo is sharp.
Picture this: you snapped a phone picture from chest height and the near edge looks longer than the far edge. That is normal perspective distortion. The fix is not fancy software. It is a better photo and one reliable scale reference.
Use this process:
- Find one known object. A yardstick, tape measure, paver size, or other exact length belongs in the frame.
- Keep the camera high and level. Shoot as close to overhead as possible so the bed edge does not flare outward.
- Check the photo edge against the sketch scale. If the photo shows a 6-foot yardstick, use that to judge other lengths on the same plane.
- Do not treat height as width. A shrub canopy, retaining wall cap, or step edge can mislead you if you read it as flat ground; if the surface changes height, check it with care or consult a professional.
- Use the image for shape, not final math. Let the sketch and the scale carry the numbers.
A phone screenshot can help here too. Crop the image so the bed and scale object fill the frame, then keep the cleaned-up version beside the sketch. That makes it easier to compare the line of a border with the numbers on paper.
On the flip side, a low-angle shot is useful only for reference, not measurement. It can show where the bed starts, but it is not enough by itself for width.
How do I estimate area from an overhead photo?
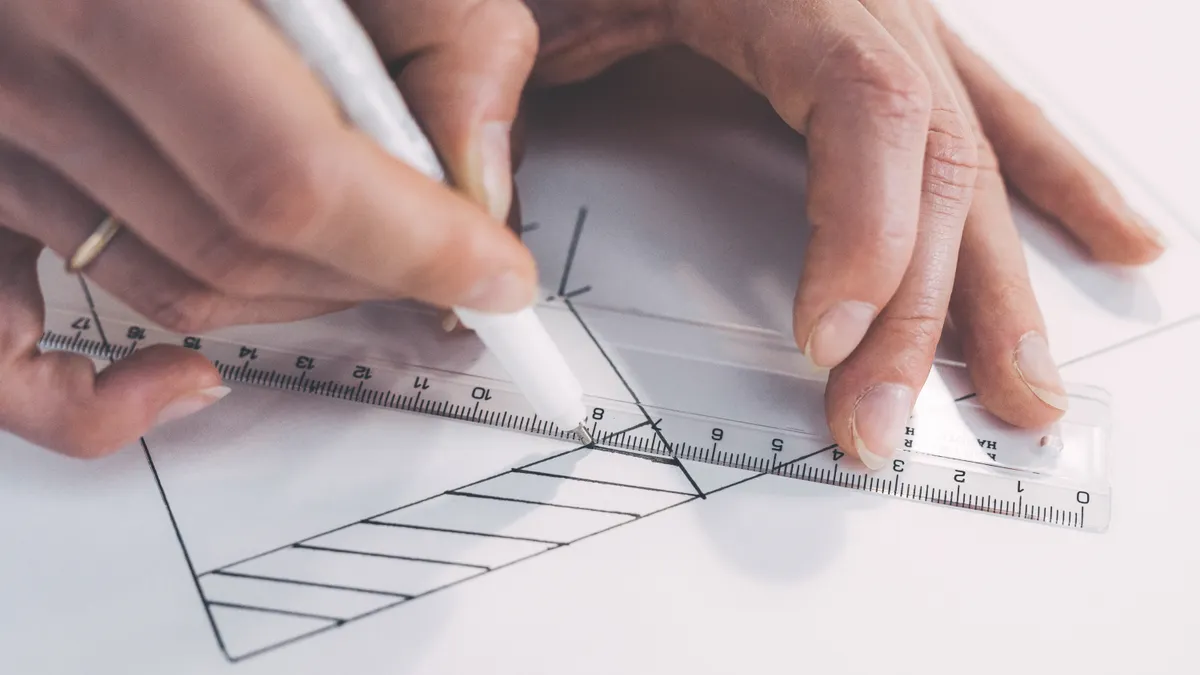
You estimate area from an overhead photo by splitting the bed into simple shapes, then totaling those parts on the sketch. That approach works better than trying to “eyeball” a whole bed at once.
Picture this: you have one overhead shot of a front bed, and it looks like a long rectangle with a small bump around a tree. You do not need exact geometry software. You need a clean breakdown that turns the image into pieces you can measure.
Use this simple method on the sketch:
| Shape in the photo | What to write on the sketch | Why it helps |
|---|---|---|
| Rectangle | Length × width | Fastest area read |
| Triangle | Base × height ÷ 2 | Good for corners and tapers |
| Square | Side × side | Useful for small sections |
| Circle | Radius from center | Good for tree rings or round islands |
Start with the biggest shape first. Then add the small cuts, corners, and bumps. If the bed wraps a walkway, split it into two rectangles instead of trying to force one strange outline into a single number.
The truth is, this is where most rough estimates go wrong. People count the whole bed as one large shape and forget the cutout at the mailbox, the stepping stone strip, or the section hidden behind shrubs. That mistake can waste bags and money.
A cleaner move is to mark each part with a letter on the sketch: A, B, C. Write the area beside each one. Then total the letters. That gives you a paper trail you can check before you order mulch.
What mistakes throw mulch estimates off the most?
The biggest errors are bad scale, hidden obstacles, and forgetting the mulch depth. Those three mistakes usually do more damage than the bed shape itself.
Picture this: you have a decent sketch, but the photo was taken from one side, and the bed includes a tree ring, a drain grate, and a path cutout. The total still looks neat on paper, but the order will be off if any of those details are missing.
Watch for these common mistakes:
- No scale on the sketch. The bed may look right but gives no usable measurement.
- One photo from a low angle. Perspective stretches the near side and compresses the far side.
- Ignoring obstacles. A tree trunk or drain does not take mulch the same way open soil does.
- Forgetting the target depth. 2 inches and 3 inches are not the same order.
- Using a blurry screenshot. If the edge line is hard to read, the estimate gets soft too.
The fix is simple. Retake the photo, redraw the sketch, and label the depth before you total anything. If the bed includes several islands or cuts, use separate labels for each piece. That keeps the estimate honest.
You also need to decide what not to count. A stepping stone path inside the bed, for example, is not mulch area. A planting pocket around a shrub may need less material than open soil. Those distinctions matter when the delivery truck shows up.
How do I use a phone screenshot to plan the order?
A phone screenshot helps you organize the estimate, crop out distractions, and keep the sketch tied to the same view. It is a planning tool, not the measurement itself.
Picture this: you are switching between a photo app and a sketch pad, trying to remember which bed edge matches which corner in the yard. A screenshot fixes that by freezing the view you want to measure against.
Use the screenshot this way:
- Crop the photo to the bed. Remove sky, driveway, or unrelated yard space so the edges are easier to read.
- Keep the scale object visible. Do not cut out the yardstick or another known length.
- Label the screenshot. Add arrows, letters, or notes that match the sketch labels.
- Save one clean version. Keep the original photo too, in case you need to compare angles later.
- Use the screenshot beside the sketch. That pairing makes it easier to trace boundaries and review your notes before you buy.
A screenshot is handy when the bed has several sections and you need to compare them side by side. It is also useful when you are handing the estimate to someone else. They can see the same image and the same scale notes without standing in the yard.
A labeled screenshot cuts down on “I think this side was longer” confusion. That saves time when you build the final mulch estimate form.
What accuracy should I expect from this method?
You should expect a rough planning estimate, not survey-grade precision. That is fine for mulch ordering, because the goal is usually to get close enough to avoid a second trip.
Picture this: you are working from a photo, a site sketch, and one known measurement. That setup is good for planning, but it still depends on camera angle, sketch quality, and whether every obstacle was marked. A clean setup can be close; a sloppy one can be far off.
This method is best when:
- The bed is mostly visible from above
- You can place a known scale in the frame
- The sketch has clear edges and labels
- The mulch depth is already chosen
- The bed shape is simple enough to split into parts
It is weaker when the bed is hidden by shrubs, shot at a steep angle, or packed with curves you cannot trace cleanly. In those cases, the estimate still helps, but it should be treated as a first pass, and a professional can verify the final order if the site is complicated.
If you need the next step, the hub page on mulch calculator forms and inputs belongs after this one. That is where the sketch turns into a full calculation. This page’s job is to make that input usable, not to replace it.
Key Takeaways
- A mulch estimate from photos works only when the sketch has a scale.
- One yardstick in the frame is better than guessing from a pretty picture.
- Mark edges, obstacles, and the mulch depth before you total anything.
- Split messy beds into simple parts and add them one by one.
- A screenshot helps you keep the photo and sketch lined up for planning.
Can I estimate mulch from a photo?
Yes, you can estimate mulch from a photo if the photo includes a known scale and the bed is visible from a high angle. A photo alone is not enough, though. The estimate gets much better when the image is matched to a site sketch with labeled dimensions and obstacles.
What should I include in a bed sketch?
Include the bed outline, a scale, the target mulch depth, and every obstacle that changes the usable area. A good sketch also shows borders, path cuts, drains, tree rings, and places where mulch stops. If the photo and sketch do not match, the estimate will drift.
How accurate is a photo-based estimate?
It is accurate enough for planning, but not for exact surveying. The result depends on camera angle, photo quality, and whether the scale is clear on the sketch. For simple beds, it can be close; for hidden or curved beds, it should be treated as a rough estimate.
Drafted with AI; not yet reviewed by a person.
Leave a Reply