Last updated: November 06, 2026
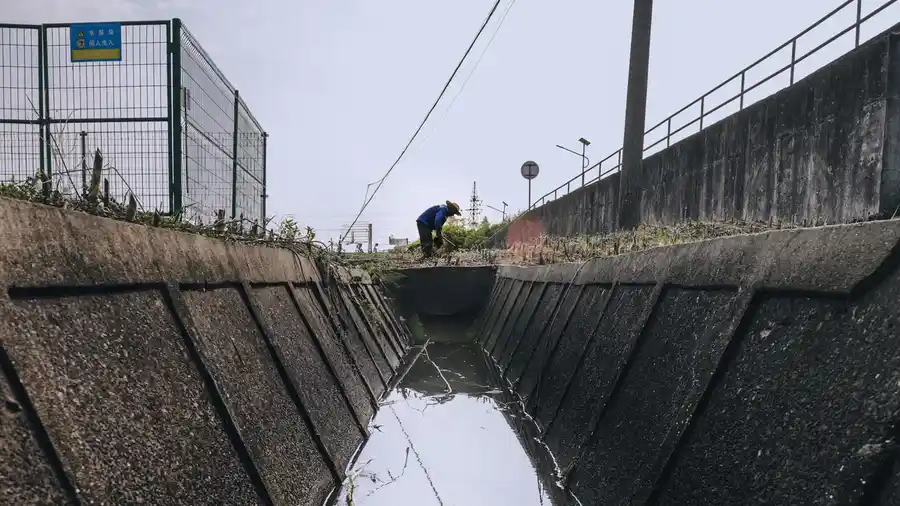
Quick Answer: estimate the mulchable area, subtract the open water path, and then calculate volume. A bed with a pond, drainage swale, or dry creek bed needs a different mulch estimate because some of that area should stay open for flow, stone, or fabric, not covered. Estimate only the soil surface that will actually take mulch, then subtract the skip zones. The steps below show how to measure the bed, mark the no-mulch paths, and turn the result into bags or cubic yards. This guide covers How to Estimate Mulch for a Bed with a Water Feature, Drainage Swale, or Dry Creek Bed.
In short: measure the bed, carve out the water path, and calculate only the mulchable area. The table and steps below settle where to skip, how deep to spread, and how to avoid clogging a swale. For context on mulch depth and drainage-friendly placement, see the University of Missouri Extension and Iowa State University Extension guidance on mulch use.
What to measure before you buy anything
Picture this: you’re standing at the edge of a bed that wraps a pond edge, dips into a swale, and crosses a dry creek bed. You need one clean estimate, but half the space is meant to move water or show stone, not hold bark.
The answer is total soil area minus skip zones, then multiplied by the planned depth. Grab a tape measure, a notepad, and a calculator. If the bed has curved edges, break it into rectangles and triangles first; that keeps the estimate honest.
- Measure the full bed footprint.
- Mark the pond edge, swale channel, or creek strip you will leave open.
- Note the mulch depth you want in the planting sections.
- Keep a separate count for any spot where landscape fabric or rill stones change the surface.
Before you start, set the boundary rules:
- Pond edge: leave a clear strip where splash, liner, or edging needs to stay exposed.
- Drainage swale: leave the channel open so water can move.
- Dry creek bed: leave the stone channel uncovered; mulch belongs on the planting banks, not in the bed of the creek.
- Erosion-prone edges: use a narrower mulch band there, not a deeper one.
How do you estimate mulch for a bed with a water feature?
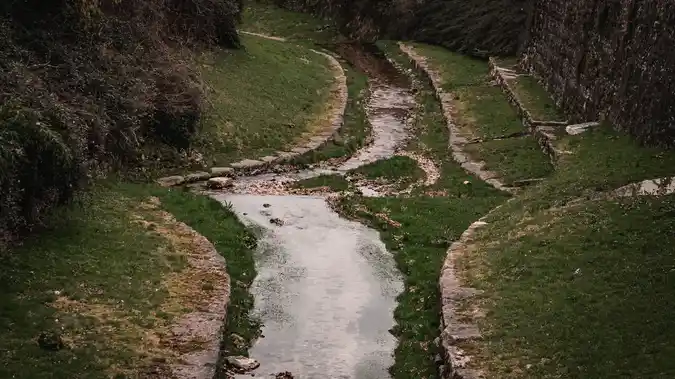
You estimate it by measuring only the zones that will actually hold mulch, then converting that area and depth into volume. That means the pond rim, swale trench, or dry creek channel gets left out of the calculation unless you are covering a side bank that is truly soil. For a typical 2- to 3-inch layer, the math stays simple.
Start with the whole bed, then subtract the skip zones. If the open area is irregular, draw it on graph paper or sketch it with rough dimensions. A simple hand sketch is enough for most residential beds, and it is better than guessing in the field.
- Measure the full bed area with a tape measure and record length and width in feet.
- Mark the water path, swale line, or creek bed with flags or spray paint.
- Subtract the open strip from the total area to get mulchable square feet.
- Choose the depth in inches for the planting zones.
- Convert square feet and depth into cubic feet, then into bags or cubic yards.
The math is straightforward:
- Area in square feet × depth in inches ÷ 12 = cubic feet.
- Cubic feet ÷ 27 = cubic yards.
- If bags list cubic feet, divide the cubic feet by the bag size.
Here’s the catch: a bed that looks “half covered” may still need a normal volume if the open water path is narrow. A 2-foot swale through a 12-foot bed changes the total much less than people expect. That’s why a tape measure beats a glance every time. For mulch conversion charts, many retailers and extension services use the same area-to-volume math.
Where should mulch stop around a pond, swale, or dry creek bed?
Mulch should stop at the edge of the water path, not drift into the path itself. The safe line is the point where soil turns into drainage flow, stone channel, liner edge, or any spot that needs to stay open for water movement. Extension resources commonly advise keeping mulch away from drainage channels and liner edges, so check local conditions if the bed is steep or heavily eroding.
You do not need a deep band beside the water to make the bed look finished. A 2- to 3-inch layer in the planting zone is usually enough for coverage and weed suppression, while the actual channel stays clear. If the bed uses fabric, cut and pin it only where mulch will sit; do not float loose fabric into the swale.
Use this layout rule:
- Pond: keep mulch back from the liner or stone rim.
- Drainage swale: keep the swale bottom bare and open.
- Dry creek bed: keep the stone channel exposed.
- Banks: mulch the banks only if the slope is gentle and the mulch can stay put.
A dry creek bed is the easiest place to overestimate. The stone run looks like bed space, but it is not mulch space. If you cover the rocks, you will clog the visual line and send material where water wants to travel.
Step-by-step: figure the mulch volume without clogging drainage
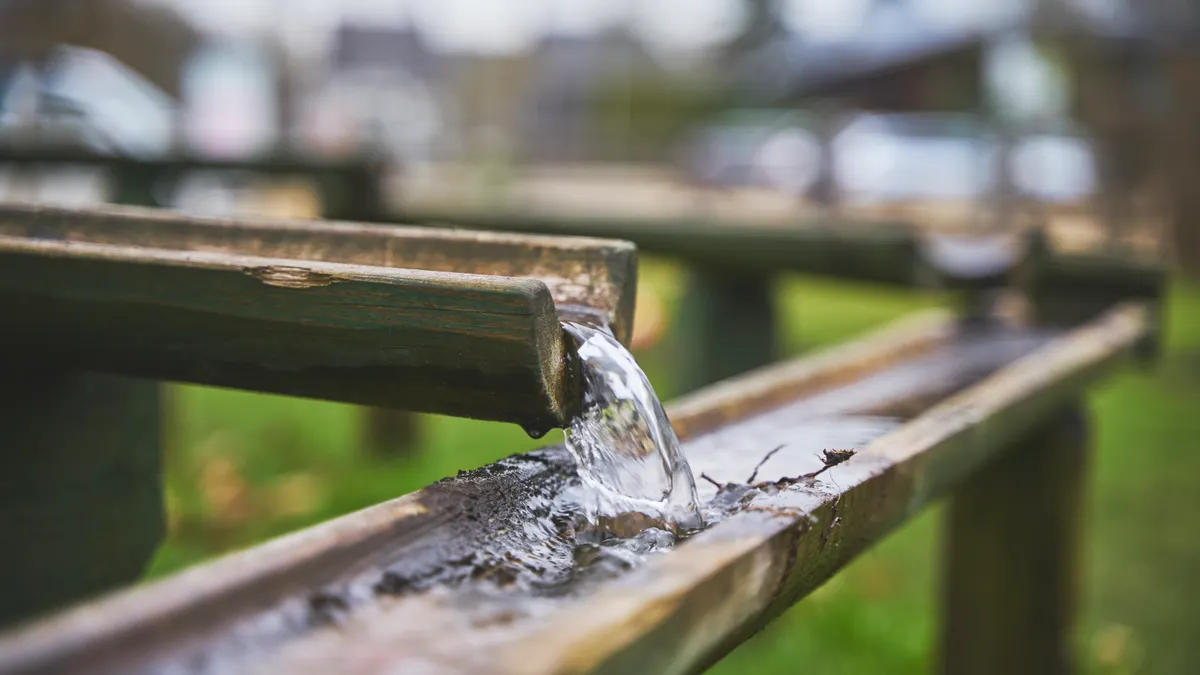
Picture this: you’re measuring a bed with one planting strip, one open channel, and one curved edge by a pond. The job is not hard, but one careless estimate can put bark into the flow line or leave you short by a bag or two.
This method keeps the estimate clean and the placement sane. It works best when the bed has a mix of planting soil, exposed stone, and drainage space.
- Sketch the bed on paper and label the pond, swale, creek, and planting strip.
- Measure each section with a tape, using rectangles where you can and shorter side notes where you cannot.
- Calculate the open area first, because that is the part you remove from the mulch count.
- Set the mulch depth for the planting sections, usually 2 to 3 inches.
- Multiply the mulchable area by depth to get cubic feet.
- Convert cubic feet to bags or cubic yards based on the product label.
- Round up only after you have subtracted the no-mulch areas, so you are not buying for the swale or creek channel.
A quick example helps. If a bed is 20 feet long and 8 feet wide, that is 160 square feet. If a 2-foot-wide swale runs through the middle, subtract that open strip before you calculate the mulch depth. The finish line is the planting area, not the whole footprint.
The best part is that this method also keeps the estimate honest when the bed changes shape around a pond or curve. You can do the same math for a long, narrow rill edge or a short dry creek crossing.
Common mistakes that throw off the estimate
Picture this: you buy too much because you counted the creek bed as mulch space, or you buy too little because you ignored the planting strip beside the swale. Both mistakes cost time, and the first one usually costs money too.
The usual errors are simple, but they add up fast:
- Counting stone as mulchable area. That makes you overbuy and can bury the feature.
- Ignoring the no-mulch strip at the water edge. That can crowd the liner, edge, or flow line.
- Using one depth for the whole bed. A swale bed often needs different treatment in different sections, so consult a professional or local extension office if the grading is unusual.
- Forgetting the slope at the bank. A steeper bank may need less mulch depth, not more.
- Skipping the fabric check. If landscape fabric is already in place, only estimate what still needs coverage.
A better habit is to measure each surface once and label it plainly: planting soil, open flow, or stone. That note saves a lot of guessing later.
What if the bed has both plants and open water zones?
Estimate the zones separately and add only the planting zones together. The pond edge, swale channel, or dry creek bottom does not enter the mulch total unless you are covering a true soil shoulder beside it.
This is where a pencil sketch helps more than a long formula. Mark the 2-inch to 3-inch mulch areas, then leave the open channel blank. If the bed has several small pockets, treat each pocket as its own section and total them at the end, and consult a professional or local extension source if the boundaries are unclear.
How to place mulch so it stays out of the swale
Mulch should be placed in a thin, even band that stops before the swale begins. That keeps the drainage line open and keeps loose material from washing into the channel after the first rain.
Use a rake, not a shovel, for the final edge. A rake lets you feather the edge and leave a cleaner boundary near the water path. A shovel can drop too much mulch at once, so it is harder to control near the low point.
- Keep the swale bottom clear.
- Pull mulch back from the cut line by a few inches.
- Shape the edge so water can pass without catching on a berm of bark.
- Check the first rinse or rain and reset the edge if it migrates.
If the bed uses rill stones, leave the stone line visible. Mulch against stone is fine on the planting side; mulch over stone is not. The stone needs to read as a drainage line, not as a buried edge.
What a good estimate looks like before you spread it
A good estimate separates the bed into mulch zones and no-mulch zones before you buy a single bag. It also leaves room for the actual water path, so the finished bed looks tidy without blocking flow.
This is the standard I use for a bed with a pond, drainage swale, or dry creek bed:
- Open channel stays open.
- Planting soil gets the mulch.
- Stone features stay visible.
- Edges are trimmed back from water movement.
- Depth stays consistent in the covered sections.
If you want a fuller method for bed math, the hub on planning and measurement fundamentals is the right next stop. For wider landscape planning, see our guides on how to measure landscape beds and mulch calculator basics. This page handles the special case: areas that need intentional no-mulch flow.
Key Takeaways
- Measure the whole bed, then subtract the open water path before you do any volume math.
- Treat pond rims, swale bottoms, and dry creek channels as no-mulch zones.
- Use separate counts for planting soil, open flow, and stone runs.
- A 2- to 3-inch layer usually belongs in the planting strip, not in the drainage line.
- Sketching the bed first can help reduce the most common overbuying mistake.
How do you mulch near a water feature?
Keep the mulch on the soil side and stop it short of the water line. The edge should look finished, but the pond rim, liner, or stone border must stay open so water can move and the feature stays visible.
How do you estimate mulch around drainage areas?
Measure the full bed, subtract the drainage area, and calculate only the soil sections that will actually be covered. A swale or dry creek bed can look large in photos, but the open channel itself is not part of the mulch volume.
How do you keep mulch out of a swale?
Stop the mulch line before the swale begins and rake the edge clean. A narrow, even transition works better than a piled berm, because water can pass through without carrying loose bark into the channel.
Drafted with AI; not yet reviewed by a person.
Leave a Reply