
Last updated: November 05, 2026
Key Takeaways
- Uneven mulch coverage usually comes from thin spots and clumps, not bad mulch.
- Loosen the top layer, move extra mulch into thin areas, then check the depth again.
- Add more mulch to thin spots only after you have shifted what is already there.
- Work in small passes and watch the final depth so the bed does not get too high.
Patchy mulch after spreading usually means thin spots, uneven depth, or clumps are leaving the bed spotty.
Fix patchy mulch after spreading by raking the layer thin and redistributing mulch before you add more.
Below, you’ll see how to even out coverage, when to stop, and how to get a cleaner finish on the soil surface.
Why mulch looks patchy after spreading
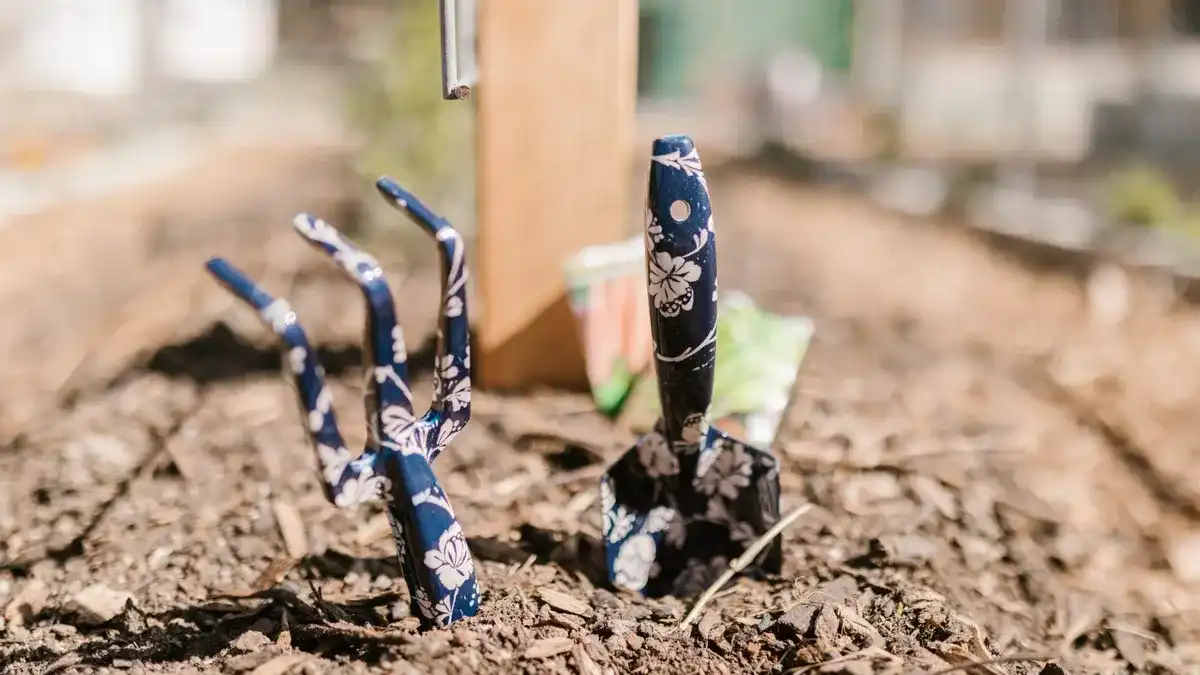
Patchy mulch after spreading often looks uneven for one plain reason: the layer itself is uneven, not the mulch. You’ll usually notice light soil showing through here and there, thick piles in other places, or bare edges along the garden bed. A quick check with your hand or a small trowel tells you whether the issue is depth, clumps, or bad placement.
Most people grab another bag first. That move can make one area heavier while another stays thin. Better to start by shifting what is already there. That is the whole trick.
- Thin spots: soil peeks through in 1 or more areas.
- Clumps: mulch landed in mounds instead of spreading out.
- Bare edges: the bed edge got less coverage than the center.
- Streaks: raking marks or wind left visible lines across the surface.
Dry, fluffy mulch in one patch and packed-down mulch in another can also fool the eye. On a calm day, the difference hides in plain sight; step back 10 feet and it jumps out.
How do you even out mulch coverage?
You even out mulch coverage by loosening the top layer, pulling excess mulch into thin spots, and then checking the depth again. Start with a light touch. A metal garden rake can scrape too deep; a leaf rake or hand rake is safer for most beds.
Picture this: you’re standing at the edge of a bed and the middle looks dark while the front edge looks thin and pale. You do not need to rebuild the whole bed. You need to move material sideways, then smooth the surface so the color and depth read as one layer from a distance.
- Take a slow walk around the bed and mark the worst thin spots with your eye or a small flag, if needed. You want a clear map before you touch the surface.
- Use a rake to pull mulch out of the thick areas and into the bare areas. Short pulls work better than long sweeps because they keep the layer from bunching up.
- Break up clumps by hand or with the rake teeth. If the mulch is wet and stuck together, separate it just enough to spread it flat.
- Brush the surface with the rake in one direction. That leaves a more even finish than random back-and-forth strokes.
- Step back and look from 6 to 10 feet away. If the bed still shows light soil in a few places, shift only enough mulch to cover those spots.
You can often fix the look without buying more mulch. And if a few thin spots still show after this pass, those are the places that need extra material — not the whole bed.
Should I add more mulch to thin spots?

You should add more mulch to thin spots only after you’ve moved what’s already there. Adding straight to the thin areas is fine when the rest of the bed already has a decent layer, but it can create raised humps if you skip the redistribution step.
Think of the soil surface like a shallow tray. If one corner is low and another corner is piled high, pouring more into the low corner helps only if the high corner is first pulled back. Otherwise, the patchy look gets worse, not better. That math stops working fast.
Use these checks before you add more:
- The thin area still shows soil after raking.
- The surrounding mulch sits at a similar depth.
- The bed edge does not already look too high.
- Water still drains off the surface instead of pooling in pockets.
If the mulch is already close to the edge of the stem flare on plants, stop and move material away from the plant base instead of piling more on. A mulch layer that looks rich but sits too deep can cause other problems, even if the surface looks neat. Honest trade-off: pretty on top, risky underneath.
Fix patchy mulch without making the bed too deep
You fix patchy mulch without overbuilding the bed by working in small passes and watching the final depth. A clean finish is usually better than a thick finish. The goal is visual consistency across the garden bed, not a mound that hides the soil line.
People often make patchy mulch worse by overcorrecting one ugly section. A bed that looks a little uneven from close up can look fine from normal viewing distance, but a bed with random hills and dips will always read as messy. That’s the annoying part.
Keep these rules in mind:
- Pull mulch away from plant crowns and trunks.
- Keep the layer even across open soil, not piled in one corner.
- Leave a little texture; do not press it flat like gravel.
- Check the front edge of the bed, since that is where thin spots show first.
If you need a simple visual test, crouch down and look across the bed at the same height as the mulch. A patchy layer shows sharp dark-and-light contrasts. An even layer reads as one continuous surface, even if the pieces are different sizes.
Common mistakes that make mulch look worse
You make mulch look worse by spreading it, then leaving the surface untouched. That leaves clumps, rake lines, and uneven edges that stand out more than the original thin spots. A few minutes of cleanup usually matters more than another bag of mulch.
Why did the bed look fine when you finished, then bad later in the day? Light angle does that. Morning shade hides thin spots; afternoon sun makes them obvious. A final check from 8 to 10 feet away helps.
Common mistakes to avoid:
- Dumping mulch in one pile and hoping it spreads by itself.
- Raking too hard, which exposes the soil surface in streaks.
- Leaving clumps intact, which makes one spot read dark and another read bare.
- Ignoring edges, where patchiness is easiest to see.
- Adding more before checking depth, which can make the bed look lumpy.
A small hand fork or rake is often better than a big tool for the last pass. The smaller tool gives you control near stems, edging, and corners where large sweeps create new gaps. Less drama, better finish.
When patchy mulch means you should stop and redo part of the bed
You should stop and redo part of the bed when the patchiness comes from a bad layout, not just thin coverage. If the mulch is piled in ridges, dumped too close to plants, or spread so unevenly that the bed reads as striped from 10 feet away, a quick touch-up will not solve it.
Picture this: you’ve already raked twice, but the bed still has high ridges, bare strips, and dark mounds that catch the eye. That is a layout problem. In that case, the better move is to pull mulch back from the worst spots, redistribute it across the whole section, and reset the surface in a single pass.
A full redo is worth it when:
- The bed has several deep piles and several bare spots.
- The mulch edge along the bed is visibly uneven.
- Raking keeps exposing fresh soil in the same places.
- The finish still looks blotchy after one careful correction.
If the bed is large and the patchiness keeps returning after a normal raking pass, the issue may be the application pattern, not the mulch itself. In that case, the better fix is to rework the section methodically instead of chasing one spot at a time. The University of Florida IFAS mulching guidance and the Royal Horticultural Society’s mulch advice both stress even coverage and correct placement as the cleanest finish.
A clean finish for the garden bed
You get a clean finish by treating mulch like a surface layer, not a pile of material. Aim for even color, even depth, and clear edges. That is what makes a bed look finished from a walkway or driveway. For detailed mulching guidance, see the University of Florida IFAS Extension and the Royal Horticultural Society.
The final check often takes less than 5 minutes. Walk the bed from two angles, look for pale patches, and correct only what still stands out. If the surface looks consistent from both directions, stop there.
Use this last-pass checklist:
- Do the edges match the center?
- Do any soil patches still show?
- Are there mounds around plants?
- Does the surface look even from normal viewing distance?
That last step matters more than a perfect close-up. A bed can look a little rough under your boots and still read as neat from the path. Visual consistency is the real target.
Why does mulch look patchy after spreading?
Mulch looks patchy after spreading because the layer is uneven, clumped, or too thin in some places. Light hits the bed differently when mulch is piled high in one area and barely covering the soil in another. Wind, dumping in one spot, and rough raking can all make the finish look blotchy.
How do you even out mulch coverage?
You even out mulch coverage by raking mulch from thick spots into thin spots, then smoothing the surface in one direction. Start small and check the bed from 6 to 10 feet away. If soil still shows through, move only enough material to cover those areas without building new humps.
Should I add more mulch to thin spots?
You should add more mulch to thin spots only after redistributing the mulch already in the bed. That keeps the surface from turning lumpy or too deep. If the rest of the bed already has a good layer, a small top-up in the thin area can help, but only after the surface has been leveled first.
Drafted with AI; not yet reviewed by a person.
Leave a Reply