Last updated: November 06, 2026
Key Takeaways
- Keep the pile inside your line, with room to rake and place a barrier.
- Block the loose side with a tarp, boards, or a fence to cut drift.
- Temporary barriers help hold mulch in place before it slowly spills.
- A low, compact mound sheds less mulch than a tall, loose pile.
A mulch pile creeping over a property line is usually a placement problem, not a cleanup problem. How to Keep a Mulch Pile from Spreading Onto Neighbors’ Property starts with keeping the pile inside your boundary, shaping it low, and blocking the loose edge with a tarp, boards, or a fence. The steps below show how to stop drift before it becomes a neighbor issue.
Keep the mulch pile inside your side of the property line

Picture this: the truck has already left, the pile is sitting near the edge, and a light breeze is starting to pick up. You need the pile to stay on your side of the line, not just look close enough from the street.
The safest practical move is to leave a buffer of at least 1–2 feet from the property line if you can. That gap gives you room for raking, edging, and barrier placement without touching the neighbor’s yard. If a fence marks the boundary, keep the pile well off the fence line so mulch does not push through gaps or sit against posts.
- Measure the property line with a tape measure and mark the safe side with flags or chalk.
- Set the pile at least 1–2 feet inside that mark so the edge can be trimmed back later.
- Shape the pile into a low mound instead of a steep cone so it settles inward, not outward.
- Leave a flat working edge for a tarp or boards on the side facing the neighbor.
- Check the pile after the first hour of handling, because fresh mulch shifts fast.
A lot of people place the pile where it is easiest to dump, then fix the spill later. That usually costs more time. A slightly more inward start is easier than scraping mulch out of grass, stone, or beds on the other side.
How do you keep mulch from blowing onto a neighbor’s yard?
You keep mulch from blowing onto a neighbor’s yard by covering the loose side and breaking the wind at the edge. A tarp, a short run of boards, or an existing fence can stop the light chips and strands that move first.
The trick is not to seal the whole pile like a rain cover. You only need to control the exposed face that points toward the neighbor. Mulch that is loose on top and open on one side will shed material with even a mild gust, especially if the pile is dry and fluffy.
- Drape a tarp over the wind-facing side and weight the bottom with bricks, soil bags, or scrap wood.
- Stand 2×4 boards or landscape timbers along the exposed edge to act as a low stop.
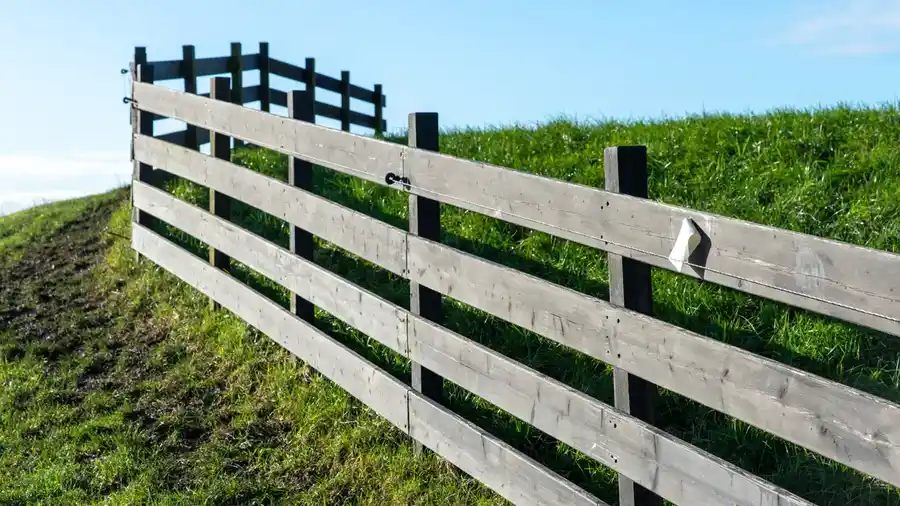
- Place the pile behind a fence when the lot layout allows it, so the fence does part of the blocking for you.
- Rake the outer face smooth, because jagged bits catch more wind than a clean slope.
- Inspect the ground after a windy hour and pull stray pieces back before they travel farther.
A board barrier works well for a short job. A fence works better when the pile will sit for a day or two. A tarp helps when the problem is loose chips, but it can slip if you only tuck it under one edge.
Use temporary barriers that fit the job
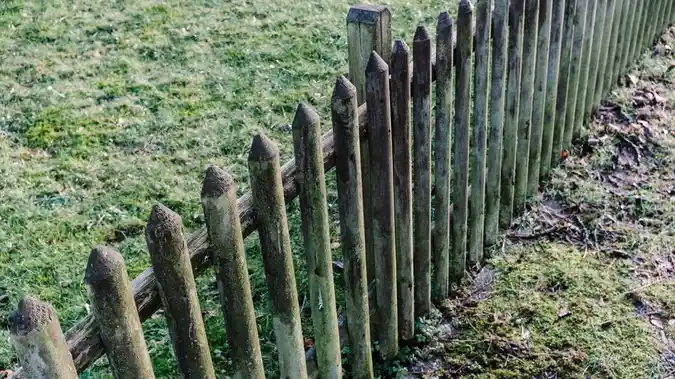
Temporary barriers stop the slow spill that happens even when the pile looks neat at first. A 12-inch board or similar low barrier can hold the base while you finish spreading the mulch in stages.
The right barrier depends on the shape of the lot. On a tight side yard, a straight board is often enough. On an open edge or shared boundary, a longer line of boards or a section of fence panel gives you more control. If the ground slopes toward the neighbor, the barrier matters even more because mulch wants to slide downhill.
- Lay boards flat at the base if the ground is soft and the mulch needs a hard edge.
- Stand boards upright against the pile if the goal is to stop rolling and drift.
- Brace the boards with stakes or heavy objects so they do not tip under pressure.
- Use a fence panel only if it sits stable and does not block access or damage posts.
- Remove the barrier once the pile is spread and the edge is cleaned up.
Here’s the catch: a barrier is only as good as the ground under it. On slick clay or wet turf, boards can slide. On gravel, they can wobble. If the setup is unstable, move the pile rather than force the barrier to do all the work.
Shape the pile so it holds together instead of shedding
A compact, low pile sheds less mulch than a tall, loose one. The pile should look like a broad mound, not a pointed heap that sloughs off every time someone walks by.
This matters most with shredded mulch and lighter bark blends. These materials roll and scatter more easily than chunky pieces. If the pile is meant to sit for a few hours while you work, keep the footprint wide and the sides shallow. That makes the mulch settle toward the center instead of creeping outward.
- Rake the pile into a wide base rather than a peak.
- Pack the outer edge lightly with the back of the rake so the face is smoother.
- Keep the height modest, since a taller pile gives gravity more to work with.
- Refresh the edge after each wheelbarrow load if the pile is being used for a long job.
- Avoid dragging mulch across the boundary when you pull from the pile.
A tall pile seems tidy from a distance, but it is the wrong shape for a shared boundary. It sheds more, catches more wind, and is harder to contain with simple tools.
Stop the spill while you move mulch by hand
You stop the spill while moving mulch by hand by using short, controlled loads and clean tool edges. A wheelbarrow, shovel, or garden fork can all work, but the way the tool is loaded matters as much as the tool itself.
Long carries across a boundary are where most mistakes happen. One scoop tips onto a driveway, a fence line, or the neighbor’s grass, and the mess grows with every trip. Shorter routes and smaller loads are slower, but they keep the work on your side of the lot.
- Load the wheelbarrow or bucket only halfway if the path runs close to the boundary.
- Carry mulch in straight lines so the load does not sway toward the edge.
- Dump inside your marked area before you turn or back up.
- Sweep the ground after each pass so loose chips do not become a trail.
- Reset the pile edge every few loads if it starts to slough outward.
If you are moving mulch across a shared driveway or tight side yard, speed is the enemy. Two careful trips are better than one rushed one that leaves material on the wrong side. That is especially true near a fence, where spilled mulch can wedge under the bottom rail or collect in posts.
Fix the edge before your neighbor has to mention it
You fix the edge before your neighbor has to mention it by doing one cleanup pass the same day the pile is placed. A rake, broom, and tarp are enough for most cleanup, and they work best before the mulch gets tracked into soil or grass.
The best time to correct a spill is while it is still loose, when you can pull it back cleanly. Once mulch gets stepped on, wet, or blown into turf, it blends in and takes longer to remove. If the pile sits near a fence, check both sides of the base because chips can slip through slats or under gaps.
- Pull stray mulch back with a rake before it spreads farther.
- Sweep hard edges like pavement or pavers with a stiff broom.
- Collect what fell against the fence and return it to the pile.
- Reset the tarp or boards if the pile is still shifting.
- Walk the boundary line once more when you finish.
The truth is, a tidy boundary saves face as much as labor. A neighbor who never sees mulch crossing the line is far less likely to care how big the pile looked during the job.
Common mistakes that push mulch onto the wrong side
The biggest mistake is placing the pile on the line instead of inside it. That turns a small drift into a property dispute fast, and it leaves you no room to correct the edge without stepping over the boundary.
Other mistakes are just as common. A steep pile sheds more. A loose tarp blows around. A barrier that is too short does nothing when the pile settles. A fence is helpful, but it is not a magic wall if the mulch is piled against it.
-
Mistake: dumping tight to the property line.
Cost: spillover and awkward cleanup.
Better: leave a buffer and work inward. -
Mistake: using no wind block on a dry, fluffy pile.
Cost: chips and dust on the neighbor’s side.
Better: use a tarp, boards, or a fence as a wind stop. -
Mistake: making the pile too tall.
Cost: faster sloughing and harder containment.
Better: keep the mound low and broad. -
Mistake: waiting until the next day to clean the edge.
Cost: tracked mulch and a bigger mess.
Better: do a same-day boundary check.
If the pile sits in a shared lot or narrow side yard, extra care is not optional. Tight spaces magnify every small error.
The guide to mulch purchasing, delivery, and storage logistics covers the bigger storage picture; this page stays focused on the shared-boundary problem.
How do you place a mulch pile near a property line?
Place it inside your boundary with a visible buffer, not on the line itself. A 1–2 foot setback gives room for raking, shaping, and barrier placement, and it reduces the chance that the pile will creep onto the neighbor’s side.
If a fence marks the boundary, keep the pile off the fence and leave space to work. That makes cleanup easier and keeps pressure off posts, rails, and nearby planting beds.
How do you keep mulch from blowing onto a neighbor’s yard?
Use a tarp, boards, or a fence to block the side facing the neighbor. A smooth, low pile also helps because it gives the wind less loose edge to grab.
If the mulch is very dry or fluffy, check the pile again after a windy period. Small chips travel farther than they look like they should.
Where should a mulch pile go in a shared lot?
Put the pile in the most stable spot that still leaves you room to work without crossing the boundary. That is usually the flattest area on your side, away from the fence line and away from any slope toward the neighbor.
If the lot is tight, the right spot is often the one that makes the cleanest path for a wheelbarrow while still preserving a buffer.
Drafted with AI; not yet reviewed by a person.
Leave a Reply