Last updated: October 31, 2026
Key Takeaways
- Keep the root flare visible above the final soil line before mulching.
- Work mulch from the outside inward so the root ball stays still.
- Shape the ring flat or slightly domed away from the trunk, not against it.
- Leave a clear gap at the bark and stop short of the root ball edge.
Quick Answer
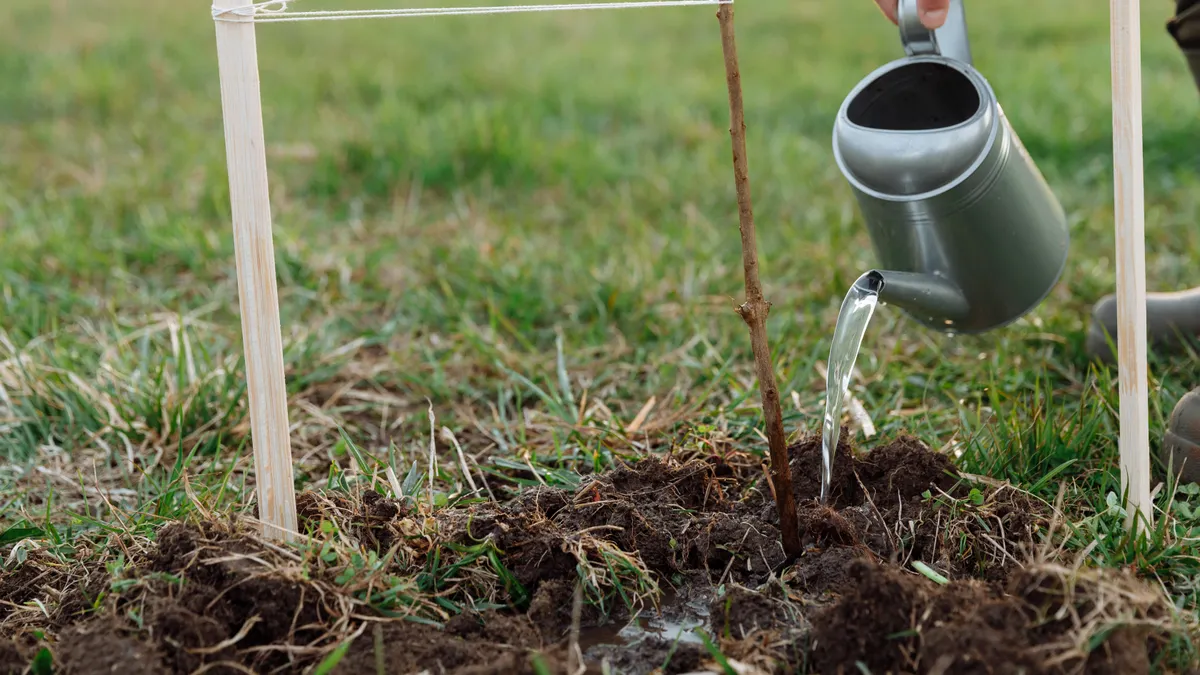
How to Mulch a New Tree Planting Area Without Disturbing the Root Ball: use a 2- to 4-inch mulch layer, keep the root flare exposed, and leave a gap around the trunk.
Mulch a new tree planting area by keeping the root flare exposed, laying the material in a wide ring, and avoiding any direct contact with the trunk or the root ball. A 2- to 4-inch layer is the usual target after the tree is set, but it should still be checked against the site, soil settling, and the tree’s size. The USDA Forest Service and Penn State Extension both advise keeping mulch away from the trunk and avoiding deep mulch piles.
Start by leaving the root flare visible
The root flare should stay visible above the finished soil line before you add any mulch. That swollen point where the trunk widens into the first roots is the tree’s reference point for correct planting depth, and burying it with soil or mulch is one of the easiest ways to set up problems later.
If the tree arrived balled and burlapped, in a container, or with a wire basket, the root ball may already sit slightly high in the hole. That is fine. What matters is that the flare is not hidden under a mound of soil. If you cannot find the flare, brush away loose topsoil with your hand until the trunk base narrows and then widens again. A trowel can help, but use it lightly so you do not nick surface roots.
This is the point many generic instructions get wrong: they treat mulch like a blanket that should smooth everything over. Around a new tree planting area, the surface should look tidy, but it should still read as a tree planted in soil, not a buried stem in a mound. If the flare is visible now, mulch will not trap moisture against the bark later. If you are unsure, consult a professional or a local extension office such as Penn State Extension.
A useful habit is to check the flare before you even open the mulch bag. If the flare is buried, fix the planting depth first. Do not try to solve a planting problem with 2 inches of wood chips. That only hides the issue and makes it harder to correct after the soil settles.
How should I mulch a new tree planting area without moving the root ball?
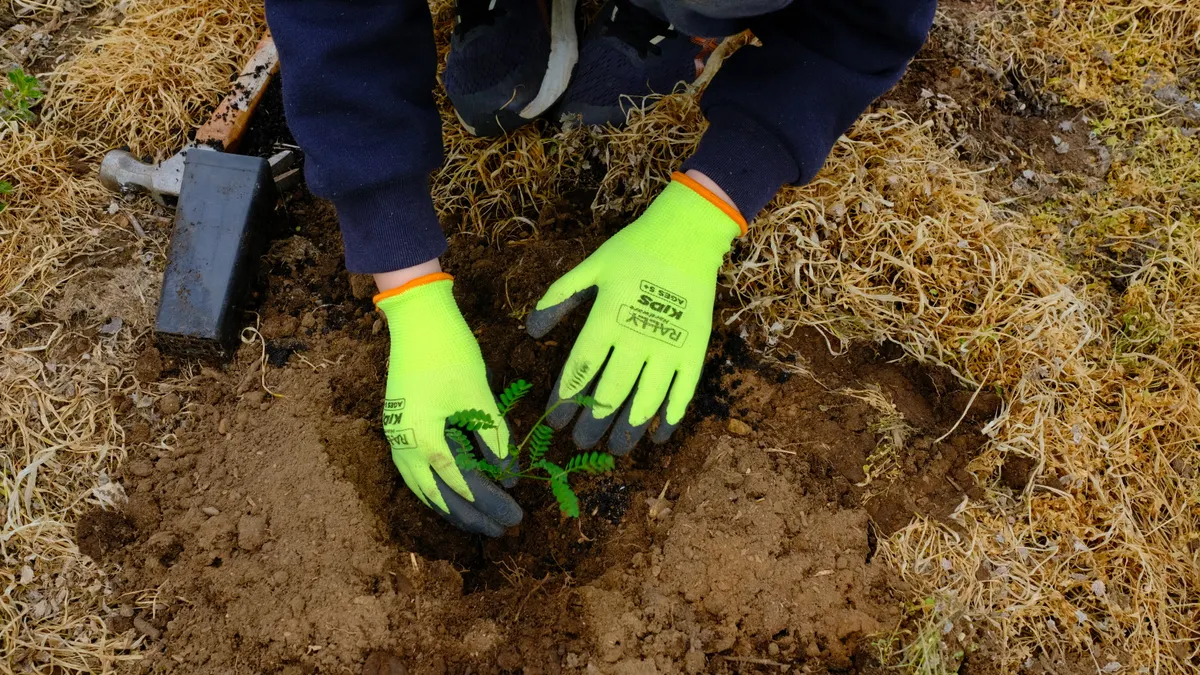
You should place mulch from the outside in, using your hands or a small rake to keep the root ball still. Start by spreading the material around the perimeter of the planting area, then work toward the edges of the root ball without pushing, lifting, or tugging on the tree itself.
Use a wheelbarrow, tarp, or 5-gallon bucket to keep the material close so you make fewer trips across the bed. That matters because repeated stepping near a new planting can compact the soil, especially if the bed is still loose from digging. Compaction makes watering harder and can leave the root ball sitting in a pocket that drains unevenly.
A hand trowel, gloved hands, or a lightweight landscape rake is enough for the final shaping. Avoid a shovel for the last few inches near the trunk; a shovel blade can catch roots, scrape bark, or nudge the tree off center. The goal is a calm surface, not a packed one.
If the root ball is exposed above grade, leave it alone and build the mulch around it. Do not pull soil from the surrounding bed over the top of the ball just to make the area look level. That changes the planting depth and can trap water where the trunk meets the roots. A little unevenness at the start is better than a buried flare.
Build the ring shape, not a volcano
A mulch ring should be flat or slightly domed away from the trunk, never piled against it. The ring shape keeps the trunk dry and leaves air movement around the base, which is what a newly planted tree needs most.
Aim for a ring that starts several inches away from the trunk and widens to the drip area you can comfortably maintain. For a small new planting, that may only be a modest circle around the hole. For a larger yard tree, the ring can be much wider, but the key idea stays the same: keep the center open and the edges even. The exact diameter depends on the site and the tree size, but the shape matters more than the measurement.
A finished layer of about 2 to 4 inches is the normal target for wood chips, shredded bark, or similar organic mulch. Less than that often disappears too quickly. More than that can mat down, shed water, or stay wet long enough to slow drying. If you are using a finer material, stay on the thinner side of that range.
One simple check helps: you should be able to see the base of the trunk clearly and the mulch should look like a shallow collar, not a mound or cone. If the shape reminds you of a volcano, it is wrong. Pull material back with your hand until the trunk is free and the ring lies low and even.
This is also the place where a new tree planting area differs from a mature bed. The first year is about keeping the planting stable and the root zone readable. A thick decorative mound may look finished, but it is the wrong finish for a fresh installation.
Keep mulch off the trunk and away from the root ball edge
Keep mulch off the trunk by leaving a clear gap around the bark and by stopping short of the root ball edge. Bark that stays wet against mulch can soften, split, or invite decay, and the root ball edge can stay too damp if material is shoved tightly against it.
A small air gap is enough. You do not need to carve a trench, but you do need a visible buffer at the base. If the tree has a graft union, keep that above the mulch line too. The graft union is often a swollen or knuckled point on the lower trunk, and it should not be buried.
The edge of the root ball matters because that is where settling happens after planting. As the soil and root ball settle over the first few waterings, loose mulch can slide inward. That is why the ring should begin with a gap, not with material touching the trunk on day one. If the ring starts clear, a little settling later will not create a trunk collar.
A broom, gloved hand, or leaf rake can clean up the final few inches around the tree without disturbing the planting. Keep the tool light. If you have to press hard enough to move the tree, you are using too much force for a new planting area.
A plain reminder: mulch is not a fix for a bad planting depth. If the trunk is already buried, the correct move is to uncover it, not to bury it more neatly.
Water first, then mulch, so the soil settles where it should
Water the tree first, then mulch, so the soil settles before you finish shaping the bed. A slow soak after planting helps the soil knit around the root ball and reveals any sinking that needs a small correction.
The best order is often plant, water, wait a short while, then mulch. If the soil drops noticeably after watering, add a little more only where needed around the outside of the hole. Do not dump fresh soil against the trunk to “level” the planting area. That can bury the flare and shift the tree higher or lower than intended.
This is also the moment to check drainage. If water sits in the planting basin for a long time, the area may be holding too much moisture or the soil may be too compacted. Mulch will not repair that. It can obscure the problem if you pile it too thickly. A modest layer lets you see what the soil is doing.
The watering ring and the mulch ring are related but not identical. The watering ring is the low berm or basin that helps water stay in the root zone. The mulch ring sits above and around it, but it should not block water from entering the soil. If a berm is too high, flatten it a bit before spreading the mulch so water can still move where it needs to go.
If you want one rule to remember, use this: water shapes the soil, and mulch protects the surface. It should never be used to force the soil into place.
Common mistakes that disturb a new tree planting area
The most common mistakes are piling mulch against the trunk, burying the root flare, and pushing material so hard that the root ball shifts. Each one changes how water and air move through the planting area, and each one can create a problem that is easier to prevent than to repair.
One mistake is using a shovel to “top off” the area quickly. That can drive mulch into the bark and move the tree a few inches off center. A hand tool is slower, but it gives you control. Another mistake is making the ring too thick because the bed looks thin after watering. A 2- to 4-inch layer is enough for most new plantings. More than that is usually wasted material and extra risk.
Another problem is creating a tight, high mound because the area looks neater. That mound holds moisture against the trunk and hides whether the flare is exposed. If the area needs a cleaner look, widen the ring instead of stacking it higher. A wider, lower bed is often better than a narrow pile.
Do not tamp the mulch down hard. People often press it to make it look even, but that compacts the layer and reduces its ability to let water through. A light hand is better. If the surface looks uneven, rake it gently instead of packing it.
The one trade-off worth stating plainly is this: a newly planted tree may look a little unfinished for a while. That is normal. A perfect-looking cone of material is not worth sacrificing the planting depth or the trunk clearance.
A simple finish check before you walk away
A finished new tree planting area should show the root flare, keep the trunk clear, and hold a low, even ring of material around the planting site. A final check like this usually takes less than 1 minute and can catch the most common mistakes before they become harder to fix; if anything looks off, consult a professional or local extension guidance such as the University of Minnesota Extension.
Stand back and look at three things. First, can you see the point where the trunk widens into the roots? Second, does the mulch stop short of the bark? Third, does the surface slope gently, without a tall ridge or crater? If the answer to any of those is no, adjust the ring before you leave.
This is also the time to confirm that the tree is still upright. A new planting can lean slightly after watering, especially if the soil was loose or the root ball was not fully supported. If it has shifted, straighten it by moving the root ball gently, not by pulling on the trunk alone. Then reset the mulch around it.
The final look should be calm and low, almost understated. That is what a healthy new planting area usually needs. If the site is on a slope, the ring may look a little different from one side to the other, but the trunk clearance stays the same.
For more bed-level guidance, the hub on mulch application and bed care can help connect this step to the larger routine without repeating the same tree-specific details.
Should mulch touch a newly planted tree?
No, mulch should not touch a newly planted tree. Leave a visible gap around the trunk so bark stays dry and air can move at the base. If the mulch is touching the bark, pull it back by hand and recheck the root flare.
How wide should a mulch ring be for a new tree?
A mulch ring should be wide enough to cover the root zone you want to protect, but not so wide that it becomes hard to maintain. For a new planting, the exact width depends on the site and the size of the tree, but the ring should always stay low, even, and clear of the trunk.
Can you mulch right after planting a tree?
Yes, you can mulch right after planting a tree, as long as the tree has been set at the right depth and watered in first. The soil should settle enough that you can see whether the root flare is still exposed. If the planting shifts after watering, correct that before finishing the mulch layer.
Drafted with AI; not yet reviewed by a person.
Leave a Reply