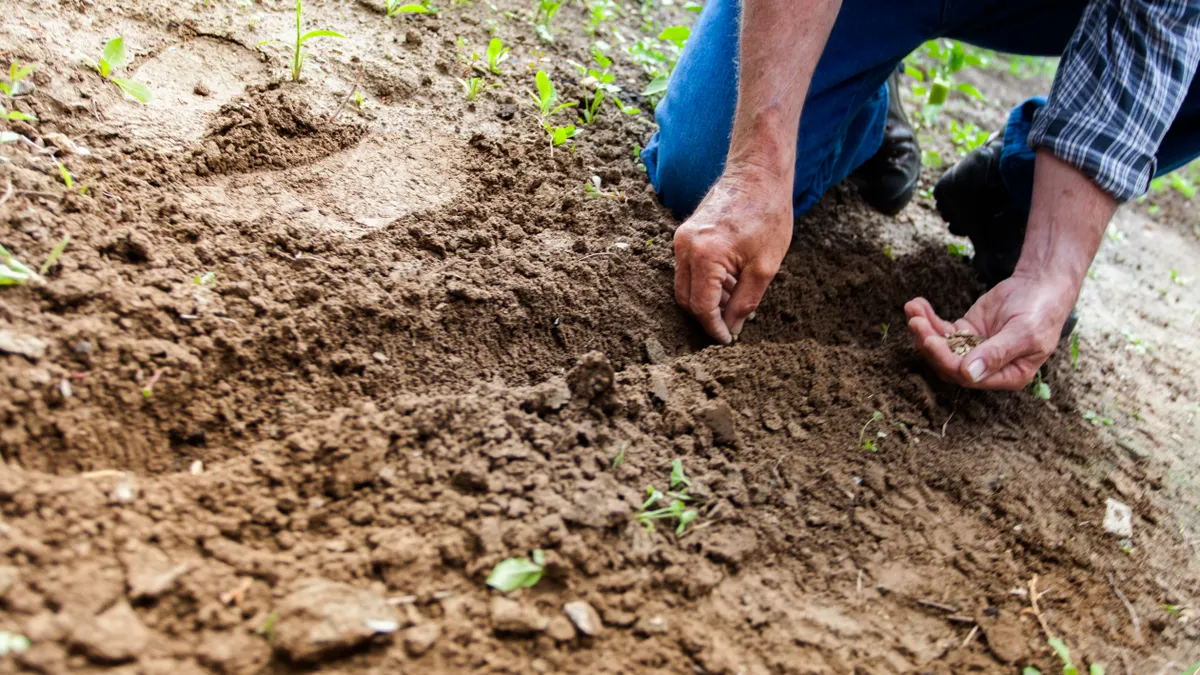
Last updated: October 31, 2026
Key Takeaways
- Replanting is easier when some soil shows, so you can check moisture, level, and texture before planting.
- Gather a rake, shovel or spade, wheelbarrow, tarp, and gloves before starting.
- Loosen old mulch, remove it, expose the soil, and clear leftover roots or trash before planting.
- Keep only clean, broken-down mulch; compost or bag the rest depending on whether it is contaminated.
Old mulch should come out before replanting when it has built up too thick, turned matted, or mixed with debris that will interfere with new roots. This guide to How to Remove Old Mulch Before Replanting a Bed explains the clean way to rake out loose material, lift compacted chunks, expose the soil, and leave a thin residue only if it is still crumbly and clean.
Start by deciding how much old mulch to remove
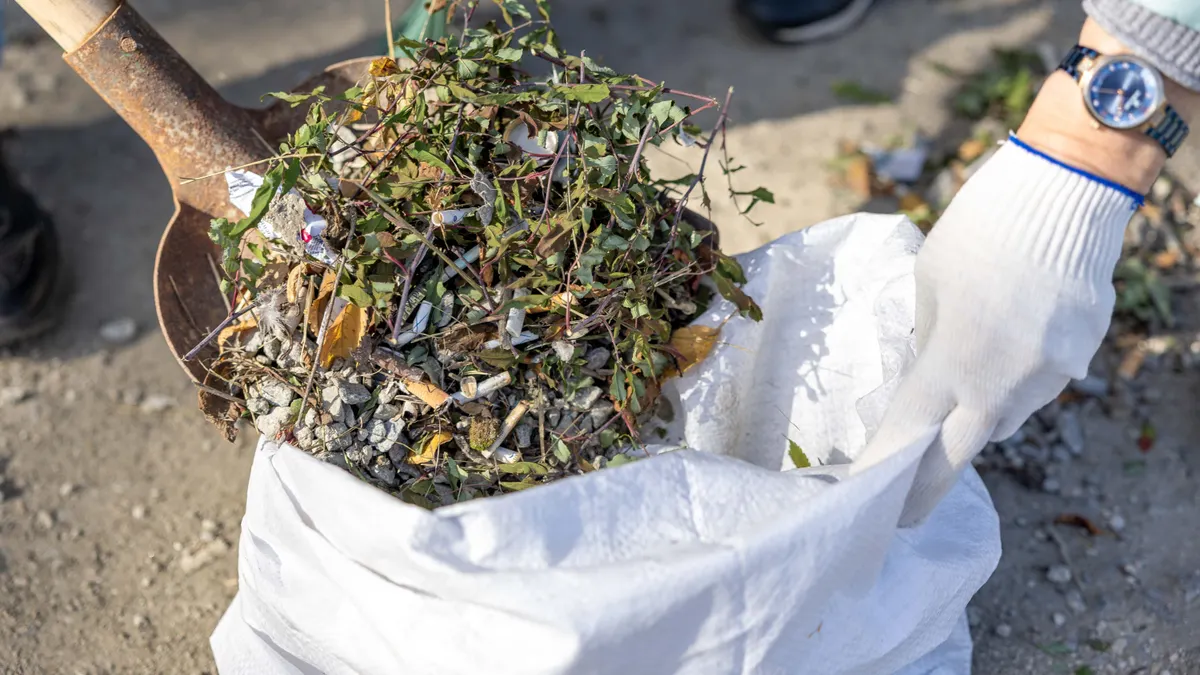
Remove most of the old mulch if the layer is more than about 2 to 3 inches deep, has turned sour or matted, or is full of leaves, sticks, seed heads, and weed roots. Replanting into a bed is easier when the soil surface is visible in at least some spots, because you can check moisture, level, and texture before new plants go in.
The question is not whether every shred must disappear. Clean, broken-down wood chips can stay mixed into the top layer if they are no longer forming a blanket. The problem is depth and condition. A bed with 4 inches of tired mulch behaves differently than one with a thin, crumbly layer. Thick mulch can keep the soil cool and dry longer than you want, and it can hide compacted ground that needs attention before planting.
If you are only resetting a bed, do not strip it to bare earth unless the old layer is rotten, full of weeds, or harboring disease. If you are replanting perennials, shrubs, or annuals in the same space, aim for a surface that lets you work the soil without burying the crowns of new plants. If the bed is large, a safer pace is to clear one section at a time, especially if you are also moving plants, edging, or adding compost.
A practical test: push a hand trowel down through the mulch in three or four spots. If the material comes up in a heavy mat, or if you keep hitting roots, stones, or a black slick layer, plan on full removal. If it falls apart into loose pieces and only a thin layer remains, you may only need to thin it before replanting.
Gather the right tools before you pull anything up
Use a garden rake, a flat shovel or spade, a wheelbarrow, a tarp, and a pair of gloves before you start. Those tools make mulch removal faster and keep the worksite tidy, especially if the bed holds several cubic feet of old mulch.
A garden rake is the main tool for the job. A leaf rake works for loose bark, shredded wood, and pine straw, while a metal garden rake is better when the layer has clumped. The tines can catch debris without cutting deeply into the soil. A flat shovel helps lift stuck sections where the mulch has fused with the top inch of ground. A wheelbarrow gives you a place to dump the material instead of scattering it around the yard. A tarp works well if you want to pile and sort the old layer before deciding whether to compost it.
Keep a hand cultivator or short rake nearby for tight spaces around stems or edging stones. If the bed has been neglected for a full season, a pair of bypass pruners is useful for cutting out thick weeds or roots before you rake. For a small front border, a 5-gallon bucket may be enough; for a long foundation bed, the wheelbarrow saves time and back strain.
Do not drag tools straight through the center of crowns or stems. Work from the edge inward so you can see what is planted and avoid ripping out shallow roots. If the mulch is dry and light, do the job on a calm day. Wind turns shredded bark into a second cleanup project in seconds.
How to remove old mulch before replanting a bed
Remove old mulch by loosening it with a rake, lifting it into a wheelbarrow, exposing the soil, and then clearing any leftover roots or trash before you plant. This keeps the bed open and gives the new plants a better start.
- Rake the top layer into loose windrows, pulling material away from plant crowns and edging stones. You should see the mulch separate instead of lifting as one sheet.
- Shovel compacted sections into a wheelbarrow when the rake hits a matted layer or a crust of leaves and chips. The bed should begin to show patches of soil.
- Sort the removed material on a tarp if you want to compost the clean pieces and discard the trash, weed seed heads, and diseased debris. The pile becomes easier to manage.
- Hand-pull remaining weeds, roots, and long fibers from the exposed surface. The soil should look clearer and feel ready for planting holes or row spacing.
- Scratch the top 1 to 2 inches of soil with a hand cultivator if it has sealed over, then level the bed with the rake. The surface should be even, not packed.
- Inspect for buried edging, irrigation lines, bulbs, and landscape fabric before any new plant goes in. The planting area should be open and free of hidden obstacles.
For a bed with shredded bark, the first pass can remove most of the loose material in 10 to 15 minutes on a small section. For old wood chips that have settled into the soil, expect more lifting and less sweeping. The goal is not to make the bed sterile. The goal is to give the new roots room to enter the soil without fighting through a crust of old cover.
If the mulch has become gray, stringy, or packed tight enough to peel like felt, break it apart before you haul it away. That saves time and keeps a heavy mat from clogging your wheelbarrow. On larger beds, work in strips about 2 feet wide. That makes the task feel controlled and lets you stop when the soil is ready rather than stripping more than you need.
What to do with old mulch after it comes out
Reuse only the clean, broken-down mulch; compost the rest if it is free of weeds and disease, or bag it if it is contaminated. The right disposal choice depends on what came out of the bed and how much soil is mixed into it.
If the old layer is mostly wood, bark, leaves, and fine organic bits, it can usually go into a home compost pile or municipal yard-waste bin. The key is to separate material that is still useful from material that will cause problems later. A little soil mixed in is not a problem. Large roots, weed seed heads, plastic tags, twine, and diseased leaves are. Those should come out before the pile goes to compost.
A good rule is to keep the cleanest material for compost and use the dirtier, heavier waste for yard disposal. If the mulch includes large pieces of bark that are still sound, you can screen them and use them later as a top-up in another area. Fine, dark, crumbly material that no longer looks like mulch is often better treated as a soil amendment than as cover, but if disease or weed pressure is a concern, it is safer to consult a local extension office or similar professional source before reusing it. That distinction matters because a bed that is being replanted needs openness near the surface, not another thick blanket. According to the USDA National Agricultural Library, composting and mulch use both depend on feedstock quality: https://www.nal.usda.gov/legacy/afsic/composting-and-mulching
Do not bury contaminated mulch in a compost pile if the bed had serious disease pressure. Fungal leaf spot, blight, and obvious rot should make you cautious. If you are unsure whether the debris is safe to compost, send it to yard waste or municipal green bin collection rather than using it near new plantings. For general compost guidance, the EPA notes that yard trimmings are a common compost feedstock when kept free of contaminants: https://www.epa.gov/recycle/composting-home
This is also the point where a calculator for future mulch depth becomes useful. Once the bed is clear and measured, you can use the hub on how to calculate mulch needed for any garden bed to plan the next layer without guessing. That keeps the new bed from ending up with the same buildup you just removed.
Prepare the soil so the new planting actually takes
Prepare the soil by loosening the top layer, removing leftover debris, and checking moisture before you set plants in place. Once the old cover is gone, the bed should feel like working soil, not a hidden mat under the surface.
Start with the soil surface you have exposed. If it is hard and crusted, break it with a hand fork or cultivator to a depth of about 1 to 2 inches. That shallow loosening helps roots move into the bed without requiring full tilling. If the soil is already loose, leave it alone and focus on leveling. Tilling just to till can bring buried weed seed to the top and disturb established soil structure.
Now check moisture. Dry soil crumbles and may need watering before planting. Wet soil clumps, smears, and sticks to tools, which means you should wait until it drains a bit. For most beds, the right condition is damp, not muddy. When you squeeze a handful, it should hold briefly and then break apart.
Because the soil is already exposed, this is a practical time to inspect drainage issues too, especially if the bed has a history of pooling after rain. If water collects in one area, old mulch may have hidden a low spot. Add a small amount of compost or soil only where needed to correct the grade. A 1-inch adjustment is usually enough to matter without turning the whole bed into a fill project. Avoid dumping in a thick amendment layer, which can create a sharp boundary between old soil and new fill.
Set the plants after this cleanup, not before. Roots that go into a clear bed make better contact with soil, and you can place each plant at the right depth without fighting through leftover bark or sticks. If you are moving from a heavily mulched bed to a mixed planting of annuals and perennials, a clean surface also makes spacing easier to judge.
Common mistakes that make the next planting harder
Leaving a 3- to 4-inch layer in place is the most common mistake, and it slows planting by hiding the soil line and crowding new roots. The fix is simple: remove most of the old layer first, then decide whether any thin residue can stay. The cost of skipping that step is poor planting depth and a bed that looks tidy on top but behaves badly underneath.
Another mistake is mixing too much old mulch into the planting hole. That can create pockets that dry out differently from the surrounding soil. Keep the removed material out of the hole unless it has fully broken down into dark, crumbly compost. A planting hole should be soil-rich and even, not layered with fibrous scraps.
A third mistake is using the wrong tool for compacted mulch. A leaf rake alone often fails on matted bark or old shredded wood, and the result is a bed that looks half-cleaned. Switch to a garden rake or a flat shovel when the layer resists. That small change saves time and keeps you from shredding the soil surface.
Do not ignore old weeds just because they are buried in the mulch. Weed crowns and seed heads left behind become next month’s problem. Pull them while the bed is exposed, even if that adds 15 extra minutes. The cleanup is part of the replanting job, not an optional extra.
The one time to leave more of the old layer is when it is already thin, clean, and well on its way to becoming compost. Even then, keep it shallow and open. If you can no longer see where the mulch ends and the soil begins, it is too much for a fresh planting bed.
Can old mulch be composted?
Yes, clean old mulch can be composted if it is free of disease, weed seed heads, and plastic debris. The best candidates are mulch pieces that have already broken down into dark, crumbly bark, shredded wood, and leaf litter. If the pile is full of roots or infected plant material, send it to yard waste instead.
Composting is most useful when the old layer is mostly organic matter and only lightly mixed with soil. A home compost pile can handle that material in a year or less depending on turning, moisture, and pile size, but the exact timing varies. Do not use composted mulch on a fresh bed until it no longer looks fibrous and unfinished. For mulch and compost basics, Cornell Waste Management Institute is a useful reference: https://cwmi.css.cornell.edu/
Do I need to remove mulch before planting?
Yes, you usually need to remove enough mulch to expose the soil and make room for the new roots. A thin, crumbly residue can stay, but a thick or matted layer should come out before planting. If the bed is only being topped off, that is a different job; for replanting, the soil surface needs to be clear enough to place plants correctly.
Drafted with AI; not yet reviewed by a person.
Leave a Reply