Last updated: October 30, 2026
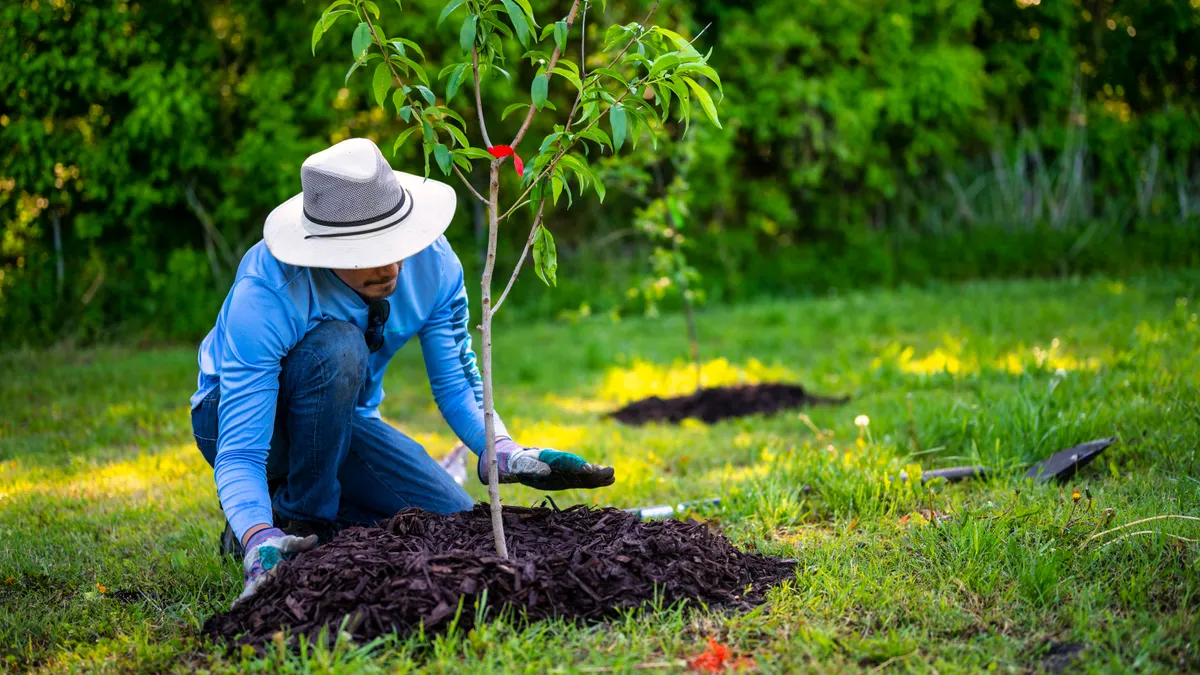
How to Mulch Around Shrubs Without Burying the Crown means keeping the crown exposed and the mulch pulled back a few inches from the stems. The goal is a shallow, even mulch layer over the root zone, not a mound against the woody shrub.
Quick answer: mulch the root zone, not the crown
Place mulch in a flat ring, not a volcano, and stop before it touches the stems. The crown should stay visible, especially on young shrubs, where the root flare can be easy to cover by accident.
For shrub mulching, the right look is simple: mulch covers the garden bed around the plant, but the base of the shrub still breathes. If the shrub is already buried in mulch, pull it back until you can see the crown and the lower stem. That small gap matters more than making the surface look perfectly uniform.
A practical way to judge the setup is by eye and by hand. The mulch layer should look even across the bed, but the center of the shrub must remain open. If you can press mulch up against the stem with one swipe of your hand, it is too close. If you can see the stem rising clearly out of the soil line, you are on the right track.
1. Clear the base with your hands or a hand rake
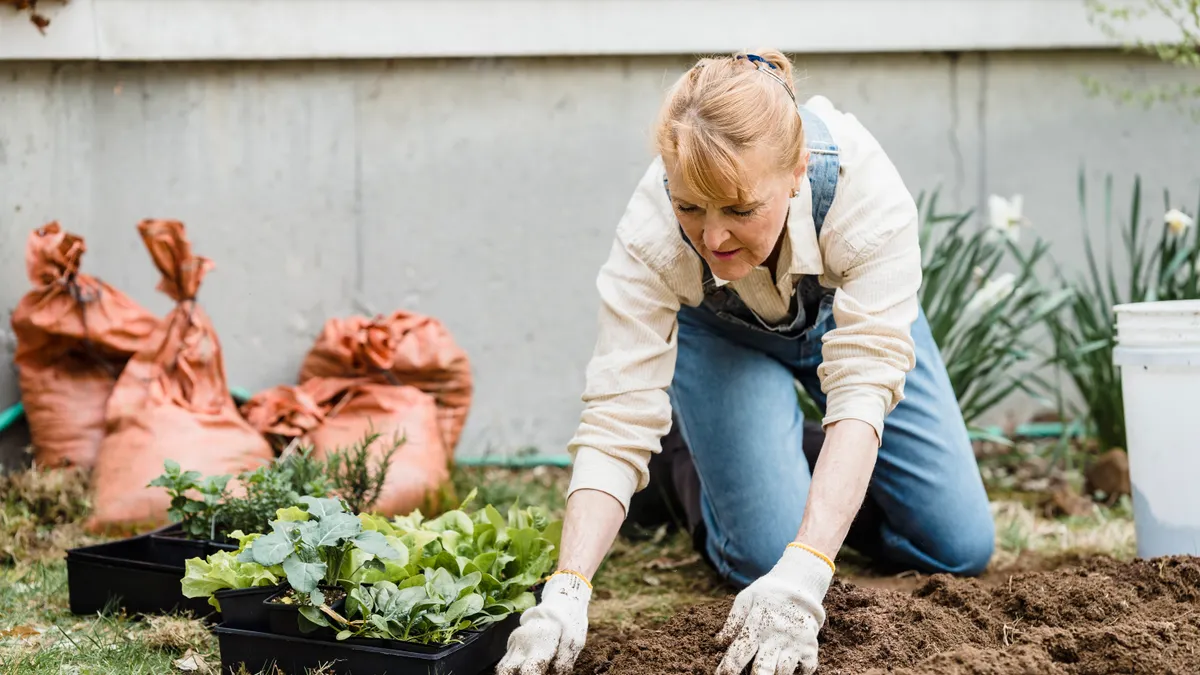
Use gloved hands or a hand rake to pull mulch away from the shrub crown until the soil line shows. This creates a visible gap of a few inches around the stem and lowers the risk of rot, trapped moisture, and pest hiding spots.
Start by finding the true base of the shrub. On many woody shrubs, old mulch has crept inward over several refresh cycles and covered the root flare. Pull the material back until the stem base is exposed, then smooth the mulch outward so it falls away from the plant instead of rising into it.
A hand rake works well because it lifts compacted chips and shredded bark without digging into roots. Gloves help when the mulch has splinters or has crusted together after rain. If the bed has settled hard, loosen the top inch only; do not pry deep into the soil. The point is exposure, not excavation.
If the shrub was already planted too deep, stop at the current soil line rather than trying to redesign the planting hole on the spot. The crown must not disappear under fresh mulch, but it also should not be repeatedly scraped bare so aggressively that roots are exposed. The sweet spot is a clean ring with the crown visible and the mulch edge turned away from it.
2. Spread a shallow, even mulch layer with a rake
Use a leaf rake or bow rake to spread mulch into a level layer that stays off the stem and settles evenly across the bed. A flat surface sheds water more predictably than a cone-shaped pile and looks better around grouped shrubs.
Do not build a mound in the center. That shape is the mistake that buries crowns, holds moisture against bark, and invites bark decay on woody shrubs. A flat mulch layer, by contrast, lets rain pass into the root zone while leaving air space around the plant base.
Work from the outside of the bed toward the shrub, then stop short of the stem. If the mulch wants to spill back into the gap, use the back of the rake to pull it away again. Around low, spreading shrubs, this step matters even more because the stems can hide under leaves and tempt you to cover them accidentally.
A common approach is to leave a visible moat around each shrub rather than a packed collar. That gap does not need to be wide enough to look dramatic, but it should be obvious at a glance. If you need to guess whether the mulch is close enough, it usually is not.
This is also the point to smooth out thin spots. Wind and runoff often move mulch away from one side of a shrub and pile it up on another. Even it out across the garden bed so the crown stays clear on all sides.
3. Match the mulch edge to the shrub’s root spread with a tape measure
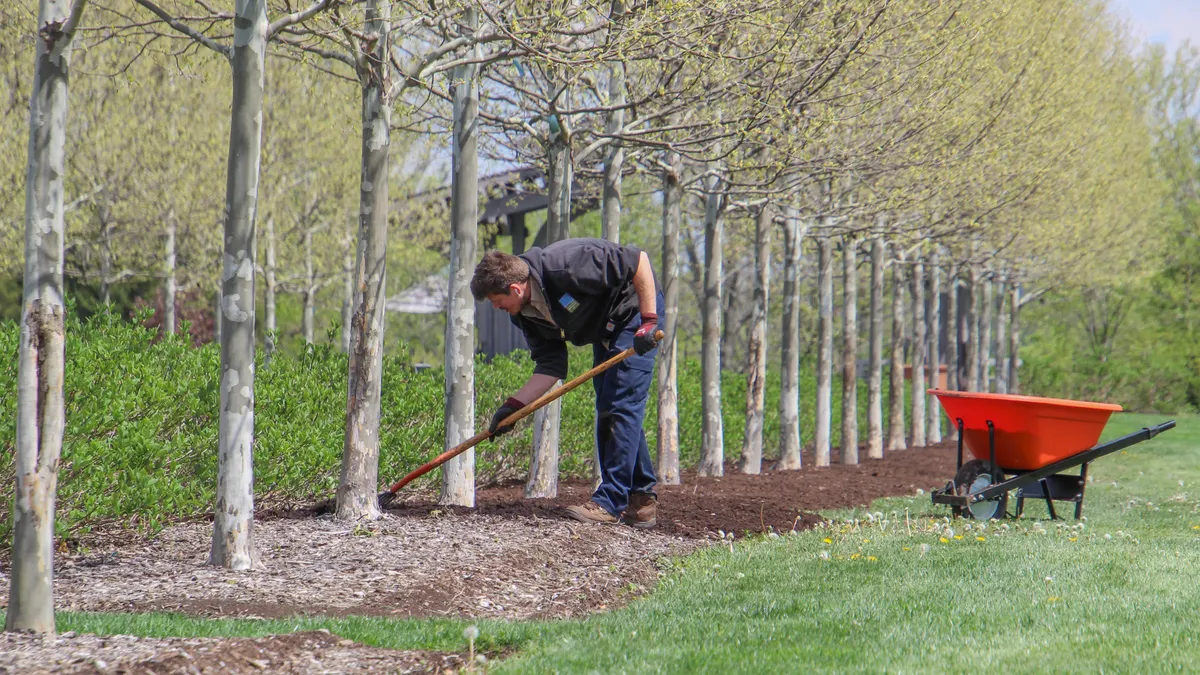
Use a tape measure to size the mulch ring so it covers the shrub’s root spread without crowding the crown. For most established shrubs, the useful mulched area reaches well beyond the stems, because feeder roots extend outward, not just straight down.
The root spread is broader than the canopy line on many shrubs, especially after a few seasons. That means the mulch belongs over the wider feeding area, not only right around the trunk. The mistake is concentrating all the material near the stem, where it does the least good and the most harm.
A simple field rule is to think in circles, not cones. First, clear the crown. Then extend mulch outward in a broad, low ring across the bed. If the shrub sits in a mass planting, keep each plant’s crown open while letting the mulch overlap through the rest of the bed.
This is where the shape of the landscape area matters. In a narrow border, the root spread may run into edging, stones, or a path, so the mulch edge may have to be shallower and more carefully contained. In a wider bed, the mulch can spread farther from the stems and still look neat. The job is not to fill every inch; it is to protect roots while keeping the crown exposed.
If the shrub was newly planted, be conservative. Fresh roots need moisture stability, but they also need oxygen near the stem. A measured ring with a clean center does both better than a thick collar stuffed against the bark.
4. Keep the crown exposed after rain, watering, and settling
Use a garden trowel or your hand to check the crown after rain, because mulch settles and creeps inward over time. What looked safe on day one can shift after a storm or a hose-end watering session.
Settling is the silent problem in shrub mulching. Shredded bark and wood chips compact quickly, especially after the first soaking. A ring that started with a neat gap can close up in a week if the mulch slides downhill or gets knocked inward. After each major watering, glance at the base and pull material back if it has migrated.
After rain, watch mounded beds and sloped sites closely. Gravity will move mulch toward the low side, where it can pile against the stem. That is one reason a seasonal refresh should focus on redistribution before adding more material. If the crown is already getting buried, another layer only makes the problem worse.
The same habit helps in spring, when old mulch often has darkened and partially decomposed. Dark mulch can hide how much has collected near the base, so use your hand or a trowel to feel for the soil line. If the stem disappears before your fingers reach clean bark, pull the mulch back.
A quick midseason check takes less time than fixing a buried crown later. It also keeps the bed looking intentional instead of lumpy. The mulch should look like a border around the shrub, not like a blanket over the plant.
5. Refresh mulch seasonally without raising the level
Use a garden fork or rake to loosen the top before adding any new mulch, and only top up when the layer has thinned. Seasonal refresh should restore coverage in the bed, not build a taller pile around the shrub base.
Old mulch breaks down, shifts, and loses its tidy surface. That does not mean the answer is to dump more on top. First, pull back the material at the crown, then fluff the rest so it lies flat again. If you skip that step, the mulch edge inches upward every year and eventually buries the stem.
This is especially important with woody shrubs that stay in the same spot for years. A yearly refresh can be useful, but only if it preserves the gap around the crown. Think of the refresh as maintenance of the mulch layer, not a reset of the planting bed.
If you need to add material, spread it lightly and stop short of the shrub base. The old layer underneath still counts. Piling fresh mulch on top of a settled layer can create the same oxygen and moisture problems as a single deep application. The crown should remain visible after the refresh, not temporarily exposed and then hidden again by runoff.
This is the point where many gardeners overdo it because a fuller bed looks polished for a week. The trade-off is real: a thicker-looking bed can mean a wetter crown, slower drying after storms, and more stem contact. Keep the surface neat, but keep the center open.
6. Avoid the mistakes that turn mulch into a problem
Use a quick correction habit to avoid the three most common errors: mulch touching stems, mulch piled too high, and mulch packed tight against the crown. Each one costs the shrub air flow and can trap moisture where bark should dry.
The first mistake is the mulch volcano. It looks tidy for a photo and harmful in a garden bed. It pushes material into the crown, hides pests, and keeps the base damp. Fix it by spreading the mound outward until the stem is visible again.
The second mistake is using too much material in a small ring. Even if the mulch does not touch the stem, an overly deep heap can settle inward and close the gap later. A better shape is broad and low, with the surface rising gently away from the crown.
The third mistake is burying the shrub after pruning or weeding. Fresh cuts at the base and fresh mulch against the stem are a poor combination. Let the crown stay open so the bark can dry and you can see the base clearly during later checks.
This advice is not for every planting problem. If a shrub is already failing from root rot, severe planting depth issues, or a badly designed bed that traps water, mulch is not the fix. In that case, stop adding material and correct the drainage or planting depth first. For straightforward garden maintenance, though, good shrub mulching is mostly about restraint.
For planning larger beds, a mulch calculator for landscaping projects can help estimate total coverage, but it does not change the rule at the crown: keep that center open.
Key takeaways
- Pull mulch back from the shrub base before you do anything else.
- Keep the crown visible and leave a small open ring around the stem.
- Spread mulch as a low, even layer across the root zone, not as a mound.
- Recheck after rain, watering, and seasonal top-ups because mulch shifts.
- Add fresh mulch only when the old layer has thinned, and never use it to bury the crown.
Should mulch touch shrub stems?
No, mulch should not touch shrub stems. Contact keeps the bark damp and can hide decay, pests, or damage at the base. Pull the mulch back so the stem rises visibly out of the soil and stays clear on all sides.
How much space should I leave around shrubs?
Leave enough space that the crown is easy to see and the mulch does not creep back onto the stem. A small open ring works better than a packed collar. The exact width can vary by shrub size, but the base should remain exposed after you finish and after the first rain.
Why does mulch around shrubs get buried over time?
Mulch settles, shifts with rain, and gets pushed inward during cleanup or watering. Shredded bark and chips also break down, so the surface sinks and moves closer to the stem. A seasonal check is the easiest way to catch that before the crown disappears.
Can I mulch newly planted shrubs the same way?
Yes, but be more careful with the base. Newly planted shrubs need a clear crown and a light, even mulch layer around the root zone, not a thick mound near the stem. If the shrub was planted too deeply, correct the planting depth separately rather than hiding the problem under mulch.
For more guidance on mulch depth and placement, see the mulch guide, the shrubs page, and the soil and drainage resource.
According to the University of Minnesota Extension, mulch should be kept away from plant trunks and stems. The Penn State Extension also recommends a mulch ring that stays off the stem to reduce moisture and decay problems.
Drafted with AI; not yet reviewed by a person.
Leave a Reply