Last updated: October 31, 2026
Quick Answer: Measure the garden bed in feet, break the shape into simple rectangles or triangles, and write the numbers down as you go. For How to Measure a Garden Bed for Mulch Without a Calculator, the key is to record clean dimensions first so you can estimate mulch without a calculator later.
Measure the garden bed in feet, and break the shape into simple rectangles or triangles. If the bed has curves, measure the longest edges first, then use stakes and string line to map the outline before you total the lengths. For guidance on basic measuring tools, see the University of Minnesota Extension and the U.S. Department of Agriculture.
Key takeaways
- Measure the bed’s length and width first, then record the numbers before you forget them.
- For straight beds, use a simple length × width approach and write each section separately.
- For curved or uneven beds, use stakes and string line to trace the edge, then measure the straight segments.
- Keep one note for every bed so you do not mix up feet, inches, or separate zones.
- This method gets you the raw dimensions you need before you shop or use a mulch calculator.
Start with the bed shape you actually have
The right measurement starts with the shape on the ground, not the shape in your head. A rectangular bed is the easiest case; an L-shaped bed, a curved border, or a bed that wraps around a tree needs to be split into smaller parts before you measure anything else.
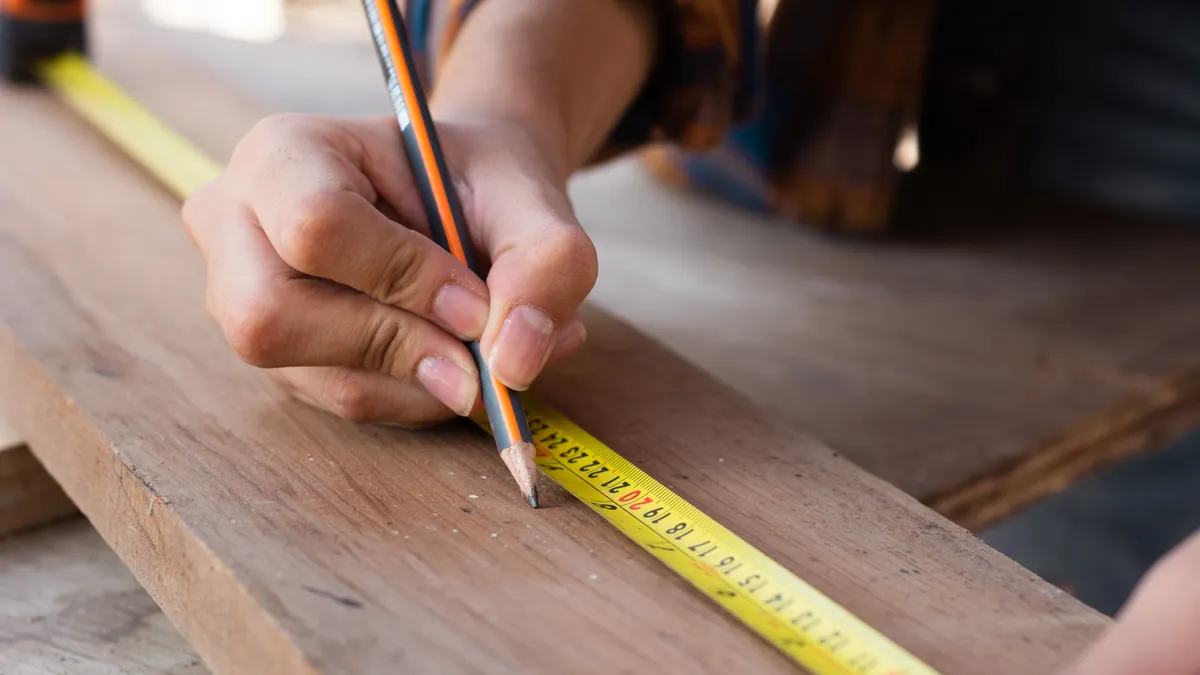
Use a tape measure for straight beds and stakes for beds with bends. A 25-foot tape is enough for many home beds, but any tape with clear feet-and-inch marks will work. If the bed edge disappears into grass or groundcover, press a few stakes at the corners so you can see where the boundary starts and stops.
However, a generic “just measure the whole bed” approach fails on irregular shapes because it hides the parts that do not match. A 4-by-8-foot rectangle is easy to record. A bed with a 6-foot straight run, a 3-foot curve, and a 2-foot return is not. Treat each piece as its own line item, and if the bed is unusual, consult a professional landscape installer or extension office for help. The goal is to keep the measurements safe and usable, not to force a shaky estimate.
The goal here is not mulch volume yet. The goal is clean dimensions: one length, one width, and a note about any extra section that needs its own measurement. That is the raw material for every later calculation, whether the bed is 12 feet long or 30 feet long.
Measure a straight garden bed with a tape measure
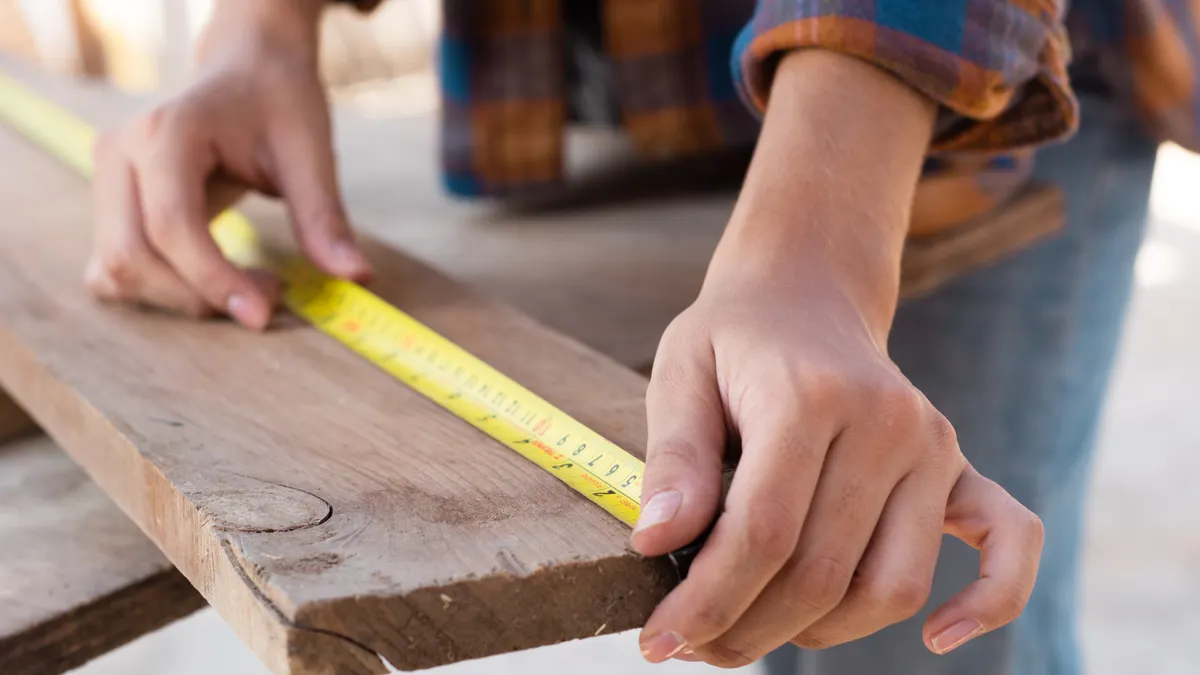
A straight garden bed is measured by recording its longest length and its widest width. Lay the tape measure flat on the ground, hook it at one end, and read the number at the opposite edge.
Then write both numbers down before moving the tape. If the bed has a second straight section, measure that section separately rather than folding it into the first one. This keeps the numbers easy to use later.
How do I measure a curved garden bed?
A curved garden bed is measured by tracing the curve in short straight sections and recording each section separately. Put a stake at the start, another at each bend, and a final stake at the end of the curve so the edge becomes a series of short lines instead of one hard-to-read arc.
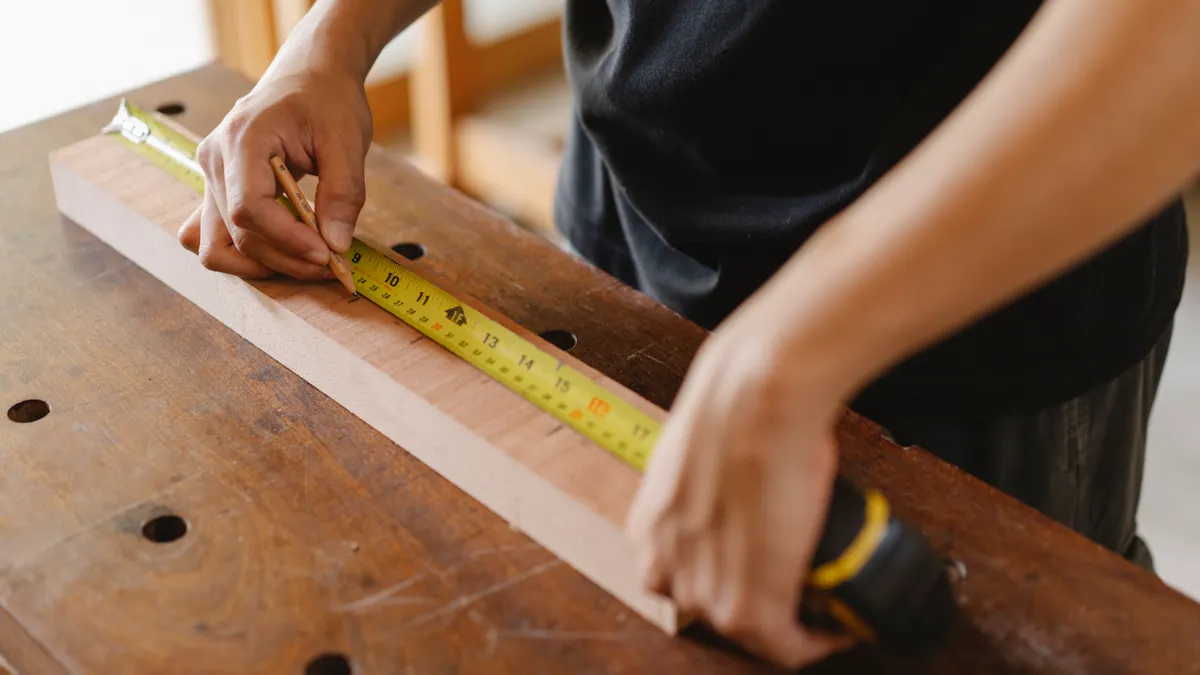
Use the tape measure between each stake and write down every segment, such as 2 feet, 3 feet 6 inches, and 4 feet. If the curve is shallow, 3- to 4-foot segments are usually easy to handle. If the curve is tight, shorten the spacing so the shape stays true.
This method is better than trying to guess a single rounded length from memory. It does not turn the curve into a square, and it does not require a calculator. It simply gives you the actual edge in pieces you can later add by hand or hand off to a mulch calculator page on the main site, such as the mulch calculator basics hub.
A curved edge is not the place to round too early. If a section reads 3 feet 7 inches, write that exact figure down. Rounding every piece to the nearest foot can push the total far enough off that you end up short on mulch or buying too much.
Record the dimensions in a way that will not confuse you later
Record the dimensions as soon as you measure them, and keep each bed on its own line. Write length first, then width, then any extra sections, using the same unit each time.
A simple notebook line works: “Bed 1: 14 ft long, 3 ft wide.” For an irregular bed, use bullets or slash marks: “Front run: 5 ft; side run: 2 ft 6 in; back run: 4 ft.” The point is not style. The point is being able to read the note 10 minutes later without guessing which number belongs where.
Do not mix inches and feet without a clear note. “6 and 8” means nothing once the tape measure is back in your pocket. “6 ft 8 in” does. If you are working beside several beds, label them by location, such as “north border,” “patio side,” or “front entry,” so one measurement does not get dropped onto the wrong area.
This is the step that saves the most frustration. A bed measured perfectly and written badly still causes mistakes. A bed measured plainly and recorded well can be used later with a mulch calculator, a yardage estimate, or a store order form.
Break irregular beds into parts before you measure mulch needs
An irregular bed should be split into rectangles, triangles, or short edge runs before you try to make sense of it. That is the cleanest way to avoid guessing.
For an L-shaped bed, measure the two rectangular legs separately. For a bed that widens and narrows, divide it into 2 or 3 sections and record each width at its own length. For a bed with a tree island or a cut-out corner, note the missing space as its own piece instead of pretending it does not exist.
Use stakes to mark the corners of each part if the border is hard to see. A piece of string line between stakes makes the shape easier to follow when the bed edge is soft, overgrown, or curved by plants. You are not building a survey map. You are making the shape measurable enough to record without confusion.
Therefore, this step matters because mulch follows area, not mood. A bed that looks “small” can hide extra feet in a jog or curve, and a bed that looks “large” can have a cut-out that trims the true area. If you want clean numbers before you buy material, the bed has to be broken into pieces that a tape measure can handle.
What common measuring mistakes throw off mulch orders?
The biggest measuring mistake is skipping the sketch and trusting memory. That usually costs time, because one forgotten side means a return trip to the yard or store.
Another common mistake is measuring only the visible front edge. A bed that wraps around a corner often has a second leg that is easy to miss. Measure every side that touches mulch, even if part of it sits behind a shrub, hose bib, or path.
A third mistake is rounding every number up or down too early. A reading of 7 feet 9 inches is not the same as 8 feet when several sections are added together. Keep the inches until the end so the total stays honest.
A fourth mistake is measuring on a slope without noticing where the bed actually begins and ends. On sloped ground, hold the tape as close to the bed line as possible and use the same edge for every section. That keeps the dimensions consistent even if the ground falls away.
Because of that, these mistakes are common because a garden bed is never as neat as a floor plan. The fix is simple: measure once, write it down, and separate each section. A 10-minute note-taking habit can prevent a wasted mulch delivery or an underfilled bed.
Keep one clean list for every bed
Keep one clean list so every bed can be checked against the others at a glance. If the project has three beds, give each one a name or number and note its length, width, and odd sections on the same page.
A good list might look like this:
- Bed 1, east fence: 12 ft by 3 ft
- Bed 2, front walk curve: 4 ft, 5 ft, 3 ft 6 in
- Bed 3, under maple: 8 ft by 2 ft 6 in
That format is fast to read and easy to compare. It also helps if you decide later that one bed needs a different mulch depth than the others. The notes are already separated, so you do not have to remeasure the whole yard.
If you are sharing the job with someone else, add one more detail: note where the measurements start. “From driveway corner to porch step” is far more useful than “left side.” A written reference point removes the guesswork when the tape measure goes back out.
This is also the best place to pause if you plan to use the numbers on another page, since the measurements are already organized and ready to move into a calculator or order form. The main site’s soil and mulch calculator basics hub can take the measurement work from here and turn it into the next step. This page stays focused on getting the bed measured correctly first.
When should I stop and remeasure?
Stop and remeasure when the numbers do not match the shape on the ground. If one side seems far longer than the others, or the written note looks too tidy for a bed with curves, the first pass probably missed a section.
Remeasure if the tape slipped, the stakes moved, or the bed edge was hard to see because of plants or mulch already in place. A second pass takes a few extra minutes and is cheaper than buying the wrong amount of material. If the bed is large, 15 minutes of rechecking is better than correcting a load later.
A quick recheck is also smart when the bed mixes straight sides and curves. Those shapes are easy to misread on the first pass, especially if the edge runs behind shrubs or along a fence. The point is not perfect geometry. The point is a usable set of dimensions.
If the bed is too irregular for a clean note, measure it in smaller pieces until it stops being vague. Once the numbers line up with the visible shape, you are done. That is the right stopping point for this job.
How do I measure a curved garden bed?
A curved garden bed is measured by turning the curve into short straight sections and writing each one down. Place stakes at the start, at each bend, and at the end, then use a tape measure between the stakes. Short sections, often 3 to 4 feet at a time, are easier to track than one long guessed measurement.
What measurements do I need before buying mulch?
You need the bed’s length, width, and any extra side sections written down clearly. If the bed is curved or irregular, you also need the separate segment lengths that make up the full outline. Those raw numbers are enough to move on to a mulch estimate later without having to remeasure the bed.
Drafted with AI; not yet reviewed by a person.
Leave a Reply