Last updated: October 31, 2026
Quick Answer: For most sloped beds, estimate mulch by calculating each section’s surface area, then add a 10% to 20% buffer for settling, edge loss, and runoff; terraced landscapes are best priced as separate flat sections.
A sloped planting bed needs more mulch than a flat one, because gravity, runoff, and settling expose the thin spots first. The clean way to estimate mulch in How to Estimate Mulch for Sloped Beds and Terraced Landscapes is to calculate the bed’s surface area, adjust for slope or terraces, then buy a little extra for edge build-up and touch-ups.
Key takeaways
- A slope does not change the mulch depth you want at the surface; it changes how much surface you must cover and how much extra you need to hold the cover in place.
- Terraced landscapes are easier to estimate as separate flat sections, then added together.
- Retaining walls, edging, and runoff paths matter because they create places where mulch piles up or washes away.
- A practical estimate usually includes a small buffer for settling, especially on steeper grades or fresh installs.
- A flat-bed mulch calculator can undercount on sloped ground if it ignores the longer surface path.
Start with the right area, not the yard’s footprint
The amount of mulch depends on the bed’s surface area, not the square footage of the yard below it. On a slope, the ground surface is longer than the plan-view footprint, so a 100-square-foot patch on paper may need more mulch than that number suggests once the grade is steep enough to matter.
If the bed is only mildly sloped, many people can use the same length-and-width method they would use on a flat bed and then add a buffer. If the slope is obvious enough that water runs downhill after a rain, I would not trust flat-bed math alone. A practical rule is to split the bed into simple shapes first: rectangles, triangles, and terrace faces. That gives a cleaner estimate than trying to guess the whole area in one step.
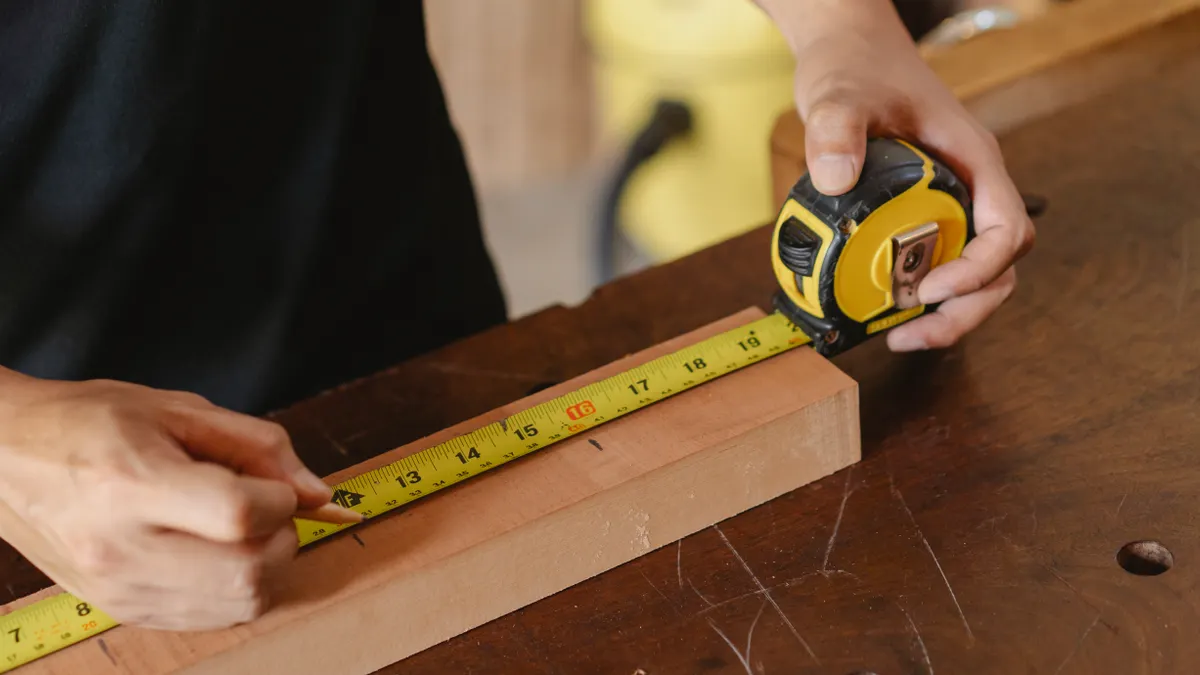
Use a tape measure, a pencil, and graph paper or a phone note. Record the top width, bottom width, and length of each section. If a bed flares wider at one end, measure both ends and use the average width for that section. For a sloped bed, that average is only a starting point; the grade can still change the final total by enough to matter when you are buying by cubic yard.
This is also the place to decide whether you are estimating by bags or by bulk delivery. Bags are easier to handle on terraces with tight access, but bulk mulch often makes more sense for larger slopes because the extra you need for spillover and edge buildup is easier to absorb in a single load.
For related planning, a mulch calculator guide can help with the base math before you adjust for grade.
How do I estimate mulch for a sloped planting bed?
Estimate mulch for a sloped planting bed by measuring each section, calculating its surface area, and then adding a modest buffer for settling and runoff. The basic math is still area × depth, but the slope means you should be less confident in a bare-minimum total.
Use this order:
- Measure the tape measure across each bed section from end to end and side to side, then note every rectangle or triangle separately. This gives you the base dimensions you need before any adjustment.
- Calculate a calculator or notepad area for each section in square feet, then add the sections together. A simple rectangle is length × width; a triangle is length × width ÷ 2.
- Estimate the mulch calculator depth you actually want, then convert that depth into feet. A 3-inch layer is 0.25 feet, so a 120-square-foot section at that depth needs 30 cubic feet before adjustment.
- Add a buffer of roughly 10% to 20% for slope, settling, and small losses at the edges. Steeper beds and rough ground need the higher end; gentle grades need less.
- Divide by bag size or bulk yardage chart to choose what to buy. A cubic yard equals 27 cubic feet, so that same 30-cubic-foot section becomes a little more than one cubic yard after buffer.
That sequence keeps the estimate honest without pretending the slope is flat. It also avoids the common mistake of measuring only the bottom footprint and assuming mulch will behave like paint on a wall. It will not. It slides, bridges over roots, and packs differently near retaining edges.
For quantity conversions, see the cubic yard calculator and the square feet to cubic feet guide.
Terraced landscapes are measured one level at a time
Terraced landscapes are estimated by measuring each terrace as its own flat bed, then adding the totals together. Each terrace face, top landing, and narrow strip gets its own area because mulch does not distribute evenly across level changes.
A terrace layout usually has three parts: the flat planting surface, the edge near the retaining wall, and the transition strip where runoff tends to collect. Measure each one separately with a tape measure, especially if the terraces are different widths. A 6-foot-wide upper terrace and a 4-foot-wide lower terrace should never be merged into one average unless the lengths are truly the same and the walls are symmetrical.
The retaining wall changes the estimate in two ways. First, it shortens access, so mulch tends to be dumped in smaller piles and spread by hand. Second, it creates a hard edge where mulch can mound higher than planned if you are not careful. On terraces, I would rather have a little extra than force the last 2 inches thin just to make the numbers work.
If your terraces are long and straight, a sketch on graph paper is enough. Mark each level as a separate rectangle, then write the area next to it. If the bed steps down in multiple tiers, label them tier 1, tier 2, and tier 3 so you do not double-count the same square footage.
This is also where bulk delivery can be more efficient than bags. A yard of mulch spread across three terraces may still be the right amount, but the handling time is different from a flat bed. If the route includes stairs, narrow gates, or a wheelbarrow path, build in a cushion because some of the delivered mulch will stay on the route, not in the bed.
For stepped layouts, an edging and retaining wall guide can help you plan where loss is most likely.
Where slope adjustment matters most
Slope adjustment matters most on long runs, exposed edges, and any bed where water already moves downhill after irrigation or rain. The steeper and longer the run, the more likely it is that mulch will thin out in the upper area and collect at the bottom.
I do not treat slope as a reason to change the intended coverage depth from 2 inches to 3 inches or from 3 inches to 4 inches in this guide; that is a separate question. For this job, the issue is the amount needed to maintain the depth you chose across a moving surface. A gentle grade may only need a small buffer. A pronounced slope may need more because some mulch will shift before it settles. If you are unsure about the right depth for a specific plant bed, consult a local extension office or landscape professional.
The practical signs that call for a larger estimate are easy to spot: bare spots after watering, mulch washed against the lowest edging, and exposed soil on the upper half of the bed. If those show up after one rain, the bed is not behaving like a flat surface. You should expect replacement mulch to be part of the plan, not an afterthought.
A straight border can make the numbers look neat while hiding a real loss. For example, a 10-foot run along a descending edge might look uniform on paper, but the lower end can hold a deeper pile than the upper end after the first heavy storm. That does not mean you should overbuy wildly. It means the estimate should include a realistic margin rather than a perfect one.
For a slope near a driveway, path, or sidewalk, keep the buffer modest at the edge and more generous in the planting zone. Mulch piled too high at the bottom of a slope can migrate offsite, creating cleanup work and a thinner bed where roots are actually exposed.
Prevent runoff before it ruins the estimate
Runoff prevention keeps your mulch estimate from being wasted downhill. If water can move mulch, the bed needs either better containment or a slightly larger quantity to replace what shifts during the first few wet cycles.
Edging is the first line of defense. Steel edging, timber edging, and paver edges each hold mulch differently, but all three reduce creep better than an unbounded slope. A retaining wall does part of the job already, yet even a wall usually leaves the top edge and side transitions vulnerable. On those sections, a clean edge line helps keep the mulch layer where the estimate says it belongs.
Placement matters as much as quantity. Do not create a steep mulch wedge against the downhill edge and call that coverage. It looks full for a day and then slumps. Spread mulch in a flatter profile, then rake it back from the edge so rainfall does not push it out of the bed. On a slope, that small adjustment can save a surprising amount of rework.
Use mulch that is appropriate for the site’s exposure. Coarser mulch tends to stay put better than very fine material on moving ground, though the trade-off is that finer mulch can look smoother in formal beds. A reader who wants a tidy, decorative finish on a steep slope should know that a very neat look is not always the most stable one.
The honest limitation here is simple: no estimate fully cancels slope movement. If the bed is steep enough to shed water hard, the most reliable approach is to account for the loss and reduce it with edging, terraces, and careful spreading. That is why a flat-bed calculator alone is wrong for this job.
For containment details, the landscape edging guide is a useful next step.
A simple worked example for a terraced slope
A terraced slope becomes manageable when you treat each level as a separate calculation and then total the result. That is the cleanest way to avoid underbuying by a bag or two, and it is worth checking with a local supplier or extension office if the site has unusual drainage or access limits.
Say the landscape has two terraces: one 8 feet by 12 feet and one 6 feet by 10 feet. The first terrace is 96 square feet; the second is 60 square feet. Together they make 156 square feet of planting surface.
If you want a 3-inch mulch layer, convert that depth to 0.25 feet. Multiply 156 by 0.25 and you get 39 cubic feet. Divide by 27 to convert cubic feet to cubic yards, and the base need is a little under 1.5 cubic yards.
Now add a buffer for slope, edges, and settling. At 10% extra, the estimate rises to about 43 cubic feet, or a bit over 1.5 cubic yards. At 20% extra, it rises to about 47 cubic feet, or closer to 1.75 cubic yards. The right buffer depends on how much mulch tends to move on that site.
This example shows why the shape matters. The terraces may look small from a distance, but the separate levels, wall edges, and transition zones add handling loss that a flat-bed number would miss. If you are choosing between one rounded-up bulk order and a tight bag count, I would favor the rounded-up order for this kind of layout.
For broader planning math, I would pair this method with the soil and mulch calculator basics hub, then come back here for the slope-specific adjustment.
The mistakes that make sloped-bed estimates too small
The biggest mistake is measuring the footprint and ignoring the slope. That costs material because the surface area is longer than the flat outline, so the bed gets less mulch than the numbers suggest.
The second mistake is forgetting the edges. On a terrace or along a retaining wall, the mulch often needs a little extra depth near the boundary to keep the bed visually even after settling. If you do not allow for that, the upper areas look thin within days.
The third mistake is using one number for every terrace. A 5-foot terrace and a 9-foot terrace may share a wall, but they do not share the same mulch need. If the widths differ by even 1 or 2 feet, the total can change enough to matter when you are buying in bags.
The fourth mistake is skipping the buffer because the first calculation looks “close enough.” On a slope, close enough is usually not close enough. A shortfall means a second trip, a mismatched color batch, or a patchy finish.
The fix is not complicated: measure each section, add the areas, convert depth cleanly, and include a realistic cushion. That method is slower than guessing, but it is cheaper than sending someone back for a last-minute load.
Does slope change how much mulch I need?
Yes, a slope usually changes how much mulch I need because the effective surface area and the chance of movement both increase. A mild slope may only need a small buffer, while a steeper bed can need noticeably more than a flat-bed estimate suggests.
The important point is that the desired depth does not change just because the bed is sloped. What changes is the amount of material needed to maintain that depth after spreading, settling, and runoff.
How do I measure a terraced bed for mulch?
I measure a terraced bed one level at a time, then add the totals. Each terrace is treated as its own rectangle or triangle, and the retaining wall or edging is noted separately because it affects placement and loss.
This avoids averaging different widths into one number. If one terrace is 6 feet wide and another is 4 feet wide, separate measurements give a truer total and keep the order size closer to what the landscape actually needs.
Drafted with AI; not yet reviewed by a person.
Leave a Reply