Last updated: October 30, 2026
A mulch bed can look tired long before it truly needs a fresh load. This guide to How to Refresh Old Mulch Without Building Up Too Much Depth keeps the surface loose and the depth modest; that’s the whole point. Usually, the safest move is to rake and fluff what is already there, pull back the thick spots, and top-dress only the thin areas so the finished layer stays even.
Quick answer: refresh, don’t bury
The best mulch refresh keeps the bed’s surface loose and the depth modest. When the old layer still has structure, use a rake, a garden fork, and your hands to break up crusted spots, remove excess from the high areas, and add only enough new material to restore color and coverage. The University of Minnesota Extension advises keeping mulch pulled back from trunks and stems, and the Missouri Botanical Garden gives the same basic guidance.
This is maintenance, not a reset. Already mounded against trunks, stems, or the bed edge? Remove first, top off second. That order matters because mulch can compact, shed water unevenly, and creep over the bed edge every time the color fades. For estimating how much new mulch belongs in a bed, see the main guide to how to calculate mulch needed for any garden bed. In many beds, a 2- to 3-inch layer is enough.
How do I refresh old mulch without building it up too much?
Loosen it. Level it. Then add only a thin top dressing where the layer has thinned out. The goal is a finished bed, not a rising mound year after year. For many beds, 1 to 2 inches of top-up is enough.
- Rake the bed lightly to lift matted mulch and separate the top 1 to 2 inches of material. This brings back air pockets and shows where the layer is actually thin.
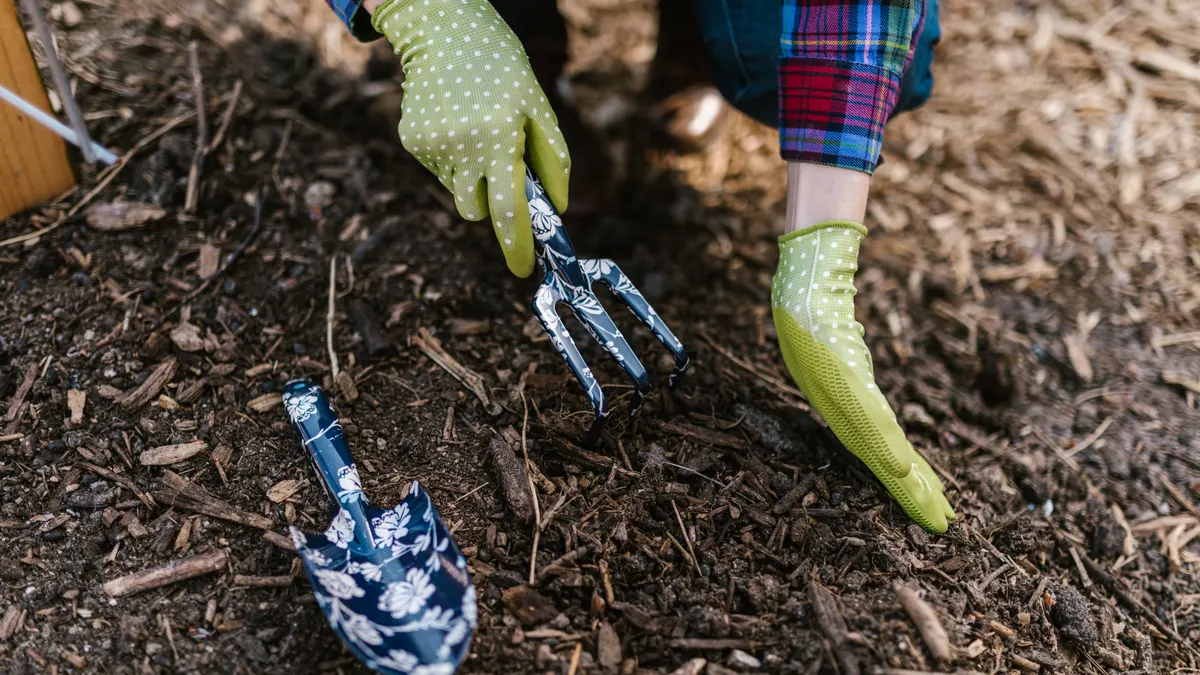
- Garden fork compacted spots by sliding the tines under crusted mulch and lifting it once or twice, not turning the whole bed over. That breaks the mat without bringing buried debris to the surface.
- Pull back mulch from plant crowns, tree trunks, and the bed edge so the material sits a few inches away from hard edges and stems. This keeps the refresh from becoming a collar or a berm.
- Remove any excess mulch from high spots and move it to bare or thin areas. A flat shovel or your gloved hands works better than adding more new product everywhere.
- Top-dress only the thin sections with a light layer of fresh mulch, then rake it into the old material so the surface looks even rather than stacked.
A good refresh changes the look of the bed more than the height. If the old mulch is still breaking down into a crumbly, soil-like layer, that material can stay in place as part of the bed surface. But when it has formed a dense mat or sits too high at the edges, take some of it out before you add anything new. A 2-inch refresh can often solve a bed that only looks tired.
What should I remove before I add new mulch?
Usually, remove the worst excess before you add new mulch, especially around stems, trunks, and bed edges. Old mulch that has drifted into piles or “volcanoes” does not improve under another layer; it just gets heavier and wetter. If the buildup is severe, consult a local arborist or extension office before making major changes, because tree roots and bed conditions can vary. The University of Illinois Extension also warns against mulch touching trunks.
Start with the obvious trouble spots. If mulch is touching the bark of shrubs or trees, pull it back first. When the bed edge has risen above the surrounding soil line, shave the excess back so the edge reads cleanly again. And if one corner is twice as deep as the rest, scoop from that area and spread the material elsewhere instead of importing more.
Not every patch of old mulch needs the same treatment. Fine-textured material, such as shredded mulch, tends to knit together and trap moisture when it gets too deep. Coarser pieces may stay loose longer, but they can still build into a mound if the bed never gets leveled. Either way, the fix is the same: remove from the thick spots before you top-dress. Unsure how much to keep? Bring in a professional.
Do not strip every bed down to bare soil unless the mulch is contaminated, heavily compacted, or full of weed seed and debris. In most yards, a partial cleanup is enough. That saves time and keeps the soil from being exposed more than necessary. For many beds, that means leaving most of the old layer in place.
How to keep the refreshed layer even from edge to center
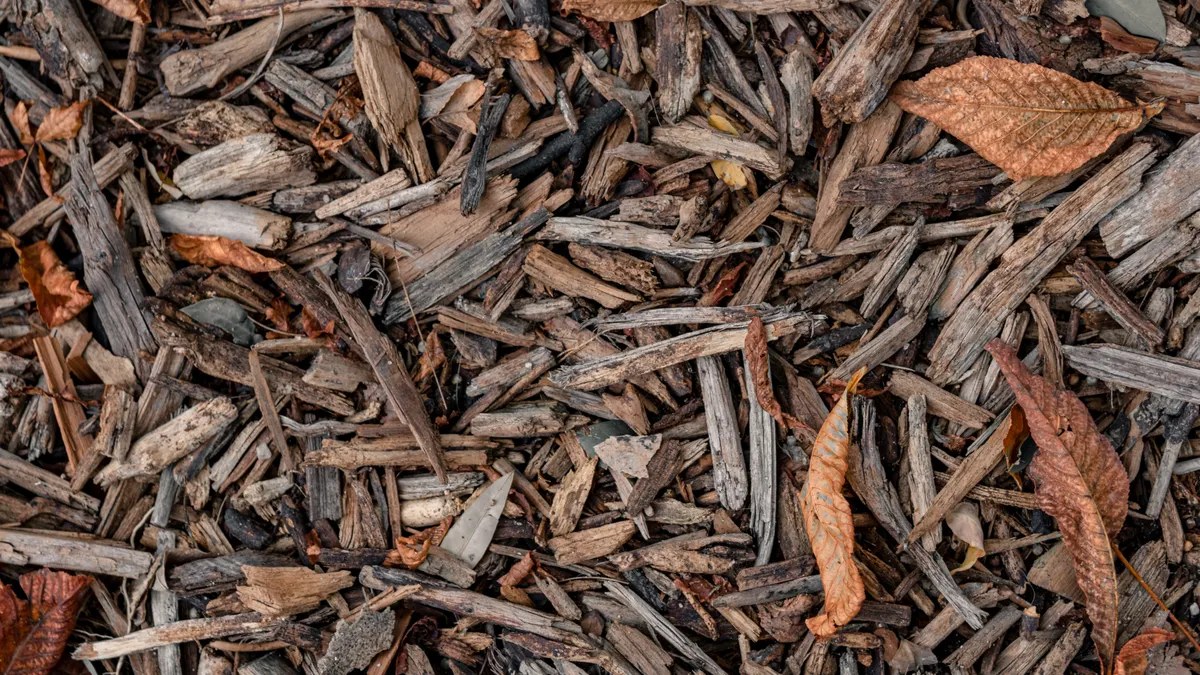
Work from the bed edge inward and use the edge as your visual guide. The edge is where depth problems show up first, because mulch naturally drifts outward and builds against borders.
Start at the edge with a rake and pull the mulch back into the bed. Then look across the surface from the side, not straight down. From that angle, humps and hollows are easier to see. A garden fork helps here because you can lift and settle compacted patches without scraping away the whole bed.
Use the bed edge as a reference line. When the mulch is high against edging, down near 1 to 2 inches at the center, and thinned at the perimeter, redistribute material so the whole bed reads as one plane. That is the cleanest look for most planting beds, and it stops the common habit of topping off the center while forgetting the sides. If the bed is large, check it in sections so the edge does not drift higher by accident. For a second opinion, consult a local extension source.
A long-handled rake makes the work faster on larger beds, but a hand rake is better for narrow borders and around perennials. On irregular beds, do not chase a perfectly uniform surface to the millimeter. A little variation is fine. What matters is avoiding a thick collar in one place and bare soil in another.
When old mulch should stay, and when it should come out
Old mulch should stay when it is loose, thin enough to refresh, and free of heavy compaction or debris. It should come out when it has become a packed mat, has climbed too high, or is sitting where it blocks air and water movement.
Three checks help. First, press a hand into the surface. If it springs apart and feels open, it can usually stay. Second, look at the color and texture. If the top layer has faded but still breaks apart easily, it is a candidate for top-dressing. Third, check the depth near fixed points like trunks, stems, and the bed edge. If mulch has piled there, remove it before doing anything else. In many gardens, that check takes less than a minute.
Judgment matters more than force here. A lot of old mulch has already broken down into a dark, fibrous material that blends into the soil surface. That is not automatically a problem. What causes trouble is stacking fresh mulch on top of a base that is already too deep. Then maintenance turns into buildup.
This approach is not for a bed that has been neglected long enough to hide the original grade or swallow the edging. In that case, more removal is needed than a simple refresh. A garden fork, a shovel, and a wheelbarrow may be part of the job, not just a rake. If the bed has been buried for years, a professional landscape contractor may be the better call.
Common mistakes that make mulch too deep
The biggest mistake is adding a full fresh layer over old mulch every time the bed looks tired. That costs you a clean bed edge and creates a layer that keeps rising, especially after several seasons of top dressing. A single extra inch each year adds up quickly.
Another common error is raking only the visible top and leaving the thick spots alone. The bed may look better for a week; then the high areas settle back into the same lumpy pattern. Removing excess from the deep spots is faster than repeatedly trying to hide them.
A third mistake is piling mulch against the base of woody plants because the surface seems dry there. That costs you airflow and makes the bed look man-made in the wrong way. Pull the mulch back from trunks and crowns, then feather it out before the edge.
People also over-fluff. If you rake aggressively, you can make a thin bed look full enough on the surface while the actual depth stays the same or increases in pockets. The better move is to lift and settle, not whip the material around.
A final mistake is ignoring the bed edge. When the edge is swallowed, the whole bed starts looking deep even when the center seems fine. Resetting the edge gives you a clearer read on how much mulch the bed really needs. The Oregon State University Extension Service recommends checking the base of plants for this reason.
A simple refresh routine for spring or fall
For a small bed, the routine takes about 30 minutes; for a large one, longer. The order stays the same. Start with the edge, then the thick spots, then the thin spots, then the finish.
First, walk the bed and spot the highest areas, the bare patches, and the places where mulch touches plants. Next, rake the surface to loosen it. After that, use a garden fork to break up any compacted sections. Then remove excess mulch from the high spots and redistribute it to thin spots. Finish by pulling the mulch back from stems and edging so the border looks crisp. In a small bed, that can be a 15- to 30-minute job.
This routine works best when the bed only needs maintenance. It is not the right fix if the mulch is already buried under layers of fresh material or if the bed has become a landscape version of a storage bin. In those cases, more removal is needed before any top dressing.
For a reader who wants to budget or buy mulch for a specific bed later, the next step is not guessing. Measure the bed and use the main guide to calculate mulch needed for any garden bed so the fresh material fits the space instead of forcing the depth. That keeps you from buying too much.
Key takeaways
- Refreshing mulch means restoring the surface, not repeatedly stacking more on top.
- Rake first, then break up compacted areas with a garden fork, then move excess from thick spots.
- The bed edge tells the truth about depth faster than the center does.
- Pull mulch away from trunks and stems before adding any new layer.
- Thin patches get a light top dressing; thick patches need removal first.
Should I remove old mulch before adding new mulch?
Yes, when the old mulch has built up too high or has formed thick, matted spots. You do not need to strip every bed to bare soil, but you should remove excess from the highest areas and from around stems, trunks, and the bed edge before topping off. Most extension guides say the same thing.
How do I stop mulch from getting too deep?
Stop adding a full layer every time the bed looks faded. Refresh by raking, fluffing, and redistributing what is already there, then add new mulch only to thin spots. Check the bed edge each time, because that is where buildup shows first and where excess is easiest to miss.
Drafted with AI; not yet reviewed by a person.
Leave a Reply