Last updated: October 31, 2026
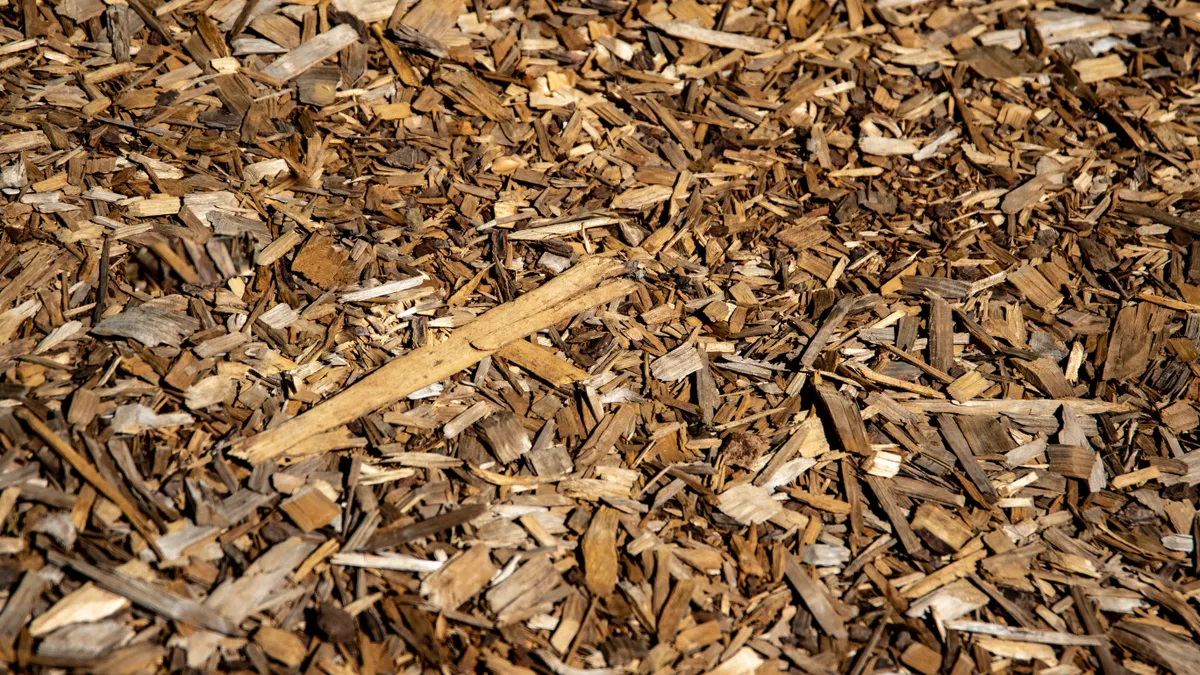
Quick answer: for Mulch for Flower Beds: Edges, Borders, and Plant Spacing, aim for a clean edge, a visible border, and a small bare ring around each plant; in many beds, that means a narrow, even perimeter band and mulch kept back from stems and crowns. Mulch for flower beds works best when it stops cleanly at the edge, respects the border, and stays away from plant crowns. The goal is a tidy finish that looks deliberate, protects the soil, and leaves each plant enough breathing room. For guidance on mulch depth and keeping it away from stems, see the University of Maryland Extension and NC State Extension. University of Maryland Extension, NC State Extension
Start with the finish line, not the pile
Mulch for flower beds should look intentional from the curb, the path, and the patio, because messy edges make even a well-planted bed look unfinished. The first decision is where the mulch ends. That line matters more than brand, color, or bag size.
A clean edge usually begins at garden edging, a spade-cut line, or a border that already defines the bed. If the bed has a hard edge, such as brick, stone, or metal edging, the mulch can sit neatly against it. If the edge is soft, the most useful move is to cut a crisp vertical line so mulch does not spill into turf or gravel. That edge line is the frame for the whole bed.
This is also where plant spacing changes the look. A bed filled with young annuals may have visible soil between plants at planting time, so the mulch has to read as a finished surface without swallowing the stems. A perennial border often has more open space between plants, especially in spring, and the mulch should still show the shape of the bed rather than flatten it into one brown field.
The biggest mistake is often treating the edge as an afterthought, though a professional landscaper may handle site conditions differently. A loose, feathered edge costs time later because it migrates into paths, cracks, and lawn; the University of Maryland Extension notes that mulch should stay a few inches from trunks and stems, and the same caution applies at the perimeter. A sharp edge can reduce cleanup and give the bed a cleaner silhouette for longer. If the border line is ragged, even a fresh layer of mulch will look sloppy. University of Maryland Extension
For a project that includes several areas, the right planning tool is the mulch calculator for landscaping projects. That kind of guide helps with broader project planning, while this page stays focused on the finish around beds, borders, and plants. See also landscape edging, mulch calculator, and flower bed design.
How close should mulch come to flowers?
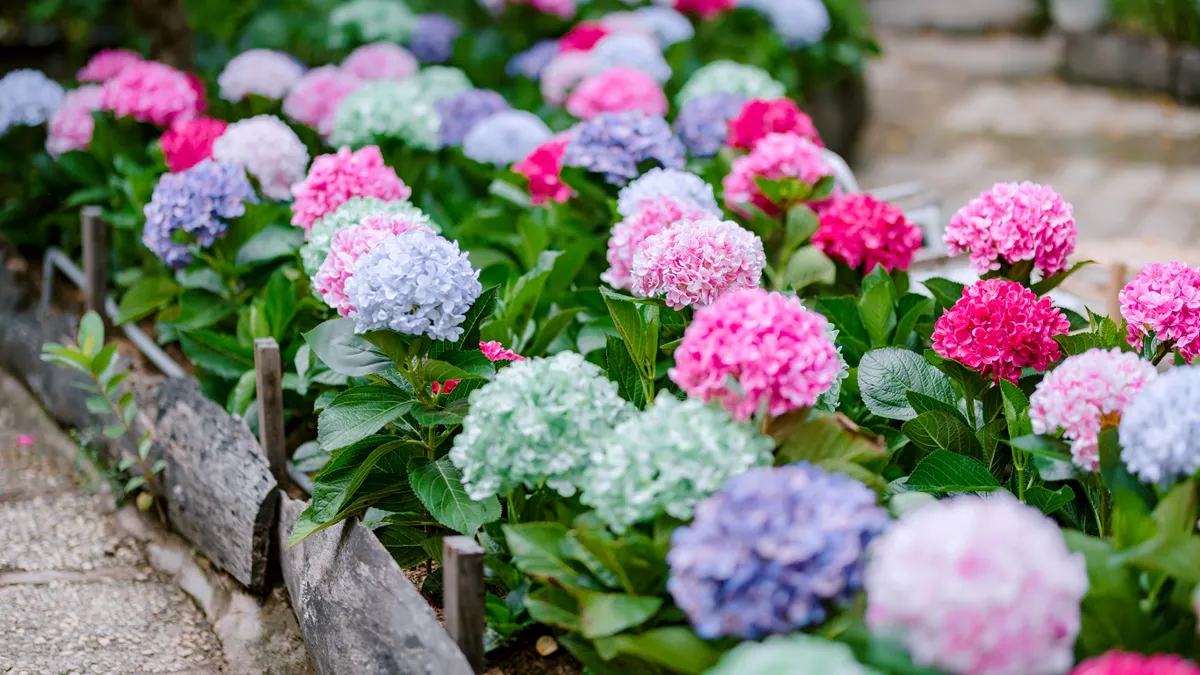
Mulch should stop short of the stems and crowns, not touch them tightly. A small air gap keeps moisture and decaying material off the plant base, which matters most around perennials and woody stems.
The useful rule is simple: leave a ring of bare soil around each plant, then mulch the open areas between them. In a newly planted bed, that bare ring may be only a few inches wide around small annuals. Around larger perennials, the gap should be wider because the crown sits higher and can trap moisture if mulch is packed against it. The exact number is less important than the habit: no mulch volcanoes, no buried stems, no piles around the base.
This detail changes the look of the bed. When mulch is tucked right up to each stem, the bed can look overworked and artificial. When the mulch is pulled back slightly, the eye reads the plant forms instead of a dark ring around every stalk. That matters in borders with repeated plants, where rhythm and spacing are part of the design.
A helpful approach is to mulch after planting, then move the mulch by hand around each plant to expose the crown. Use gloved fingers, a hand rake, or the edge of a trowel. The result should be a bed with a neat surface and visible plant bases, not a blanket that hides where one plant ends and another begins. The Royal Horticultural Society also advises keeping mulch away from stems and crowns. (Source: Royal Horticultural Society)
Annuals and perennials do not behave the same way here. Annuals are often planted densely and replaced seasonally, so the mulch can sit more uniformly between them. Perennials need more space for growth over time, so the gap around each plant should anticipate next season’s spread, not just the gap on planting day.
Set the mulch line at the border, then fill inward
The cleanest way to mulch flower beds is to lock in the border first, then work toward the plants in one pass. That keeps the edges crisp and, with careful placement, can reduce extra cleanup.
- Define the bed edge with a spade or edging tool. Cut a straight or gently curved line at the lawn, path, or hard border so the bed has a clear perimeter.
- Clear debris from the first 6 to 12 inches inside the edge. Remove leaves, sticks, and weeds so the mulch sits on soil, not on loose litter.
- Place mulch along the border in a narrow band first. This creates a visible frame and makes the edge look intentional from standing height.
- Work mulch inward around the plants, stopping before the stems. Leave open circles or small gaps around each crown so the base stays exposed.
- Rake the surface level with a light hand. A hand rake or leaf rake smooths high spots and keeps the bed from looking lumpy.
- Check the view from the main approach. If the bed borders a walkway or driveway, the outer line should read as clean and continuous, not shaggy or uneven.
The border line is where many people overdo it. If mulch is heaped against edging, it tends to spill onto adjacent surfaces after rain or foot traffic. If it is kept too thin at the perimeter, the bed can look unfinished even when the center is fine. A modest, even band along the edge often gives the most balanced appearance.
This method works especially well when the bed meets a lawn. The contrast between cut grass, edging, and mulch is stronger than the contrast inside the bed, so the outer line carries the whole design. If that line is clean, the rest of the bed can be simpler without looking neglected.
Annuals and perennials need different spacing around mulch
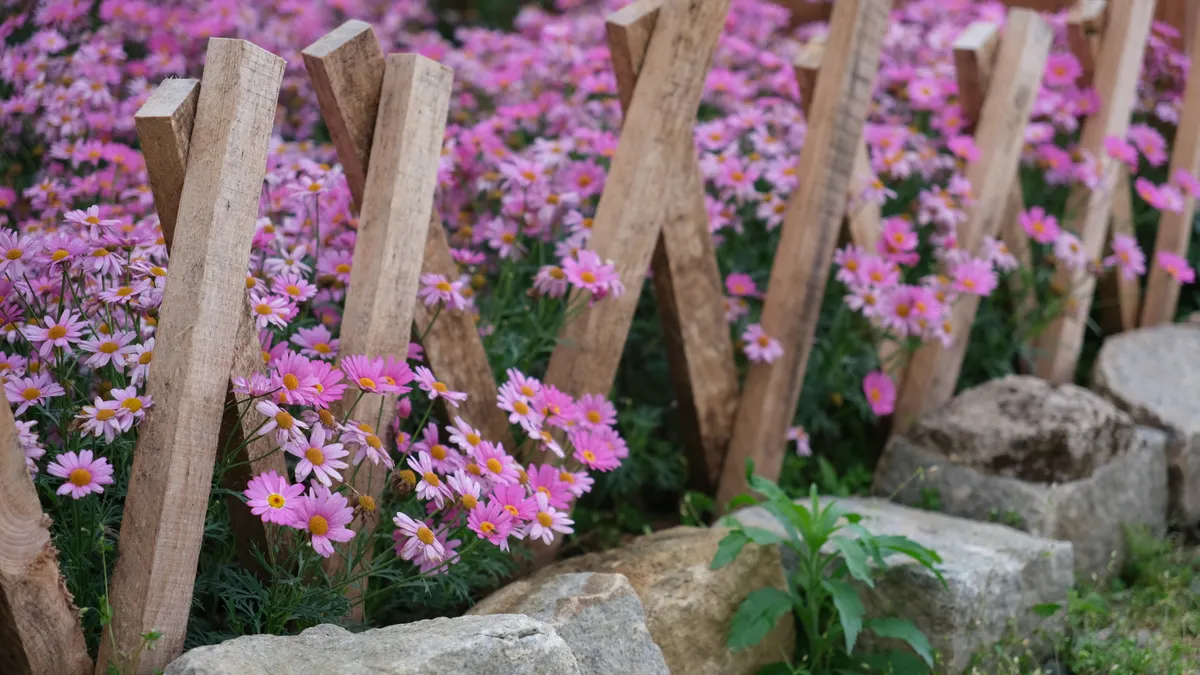
Annuals usually tolerate tighter mulch placement than perennials, but neither type should be buried at the crown. The plant’s growth habit decides how much open space to leave.
Annuals are often packed for color, especially in front borders, window beds, and seasonal displays. Because they are replaced more often, the soil between them may be more visible at planting time. Mulch works best here as a background layer that unifies the bed without smothering stems. Small bedding plants can disappear visually if the mulch is too chunky or piled too deep around them, so a finer texture often looks cleaner in tight annual beds.
Perennials need more planning. They may look small in spring and much wider by midsummer, which means the initial mulch layout should leave room for growth. A plant spaced 18 to 24 inches apart will not stay that way visually once it fills in, so the open mulch area should anticipate the mature form. If the mulch is packed too tightly around a clump, the center can stay damp and crowded as the plant expands.
Tall perennials and ornamental grasses create another spacing issue. Their base is often where new shoots emerge, and that area should stay visible enough for air movement and maintenance. A mulch mat pressed too close to the crown makes it harder to spot new growth, weeds, or decline. Leaving a modest open circle around the base makes the bed easier to read and easier to care for.
A common mistake is matching mulch placement to plant height instead of root spread. A short plant may still have a wide root zone, and a tall plant may have a narrow crown. The better guide is the plant’s base and growth pattern, not how tall it looks above the soil.
If the bed mixes annuals and perennials, treat the annuals as the visual filler and the perennials as the structural anchors, though a local nursery or landscape professional may suggest a different layout for a specific site. That usually means tighter spacing at the front or center of a seasonal patch, with more open room around the permanent plants that will carry the border from year to year. For more planning help, see perennial border plants and annual flower bed ideas.
Common edging mistakes that ruin the look
Most bad-looking mulch beds fail at the edge before they fail in the middle. The fastest way to improve the bed is often to fix the perimeter first, rather than adding more mulch.
One common mistake is letting mulch touch turf or pavement in a ragged line. That costs time because it sheds into the lawn and looks frayed within days. The fix is a clean edge, then a slightly recessed mulch line so the bed reads as contained.
Another mistake is burying the edging itself. When plastic, metal, or stone edging disappears under mulch, the border loses its function and the bed starts to creep. Keep the edging visible enough to do its job, especially where the bed meets a mow line or a path.
A third error is creating a “volcano” around individual plants. That looks dramatic for a day and then becomes a maintenance problem. The crown stays damp, airflow drops, and the bed starts to look clumsy instead of polished. Pull the mulch back and flatten the surface around each plant.
Chunky mulch can also work against fine borders. If the bed is small, or the plants are delicate, large bark pieces can dominate the picture and make the spacing look awkward. In those settings, a smaller texture often gives a smoother finish. The point is not to hide the bed under mulch; it is to let the plants and the border read clearly.
The last mistake is filling every bare inch. Some soil showing between plants is normal, especially in a newly planted bed. A crowded surface can make the design look overmanaged, and it can make later maintenance harder because there is nowhere for new growth to expand.
A finished flower bed should look calm from 10 feet away
A good flower bed reads as one clean shape from a short distance, and that means the edge, border, and spacing all have to agree. The border gives the bed its outline, the mulch unifies the surface, and the plant spacing keeps the crowns visible and healthy-looking.
The practical standard is simple: the bed should not look striped, mounded, or crowded. From 10 feet away, the mulch should look level and intentional. Up close, each plant should have room at the base, and the border should still be visible. If the eye catches mulch spilling out, stems buried in a ring, or awkward bare patches near the edge, the layout needs adjustment.
This is where many decorative beds go wrong. People add more mulch to solve a design problem, but the real issue is usually the edge, not the quantity. A narrower, cleaner band at the border often improves the whole bed more than another wheelbarrow load would. The same is true around plants: spacing the mulch back from the crown usually does more for the appearance than smoothing the top layer.
This approach is not for beds that need a total reset, or for sites where drainage, slope, or erosion is already causing material to move. It is for ordinary flower beds, front borders, and mixed plantings where the goal is a tidy, lasting finish. If the bed already has a strong shape, mulch can sharpen it. If the shape is weak, mulch will only underline that weakness.
Key Takeaways
- The edge does most of the visual work, so make it crisp before you worry about the center of the bed.
- Keep mulch back from stems and crowns; the bare ring around each plant should stay visible.
- Annuals can take a tighter, more uniform mulch layout than perennials, which need room to grow.
- A clean border and even surface matter more than piling on extra mulch.
- If the bed looks messy, fix the outline first, then the spacing around plants.
How close should mulch come to flowers?
Mulch should not press against flower stems or crowns. A small bare ring around each plant keeps the base visible and helps prevent a damp, crowded look.
For annuals, that gap can be modest because the plants are usually small and temporary. For perennials, leave more room so the crown stays open as the plant grows through the season.
Should mulch cover the whole bed?
Mulch should cover the open soil, but not every inch around every plant. The bed looks best when the surface is mostly covered and each crown still has a visible gap.
That balance gives the border a finished look without burying the plants. If the bed has strong edging and clear plant spacing, partial coverage around stems often looks more polished than a fully packed surface.
Drafted with AI; not yet reviewed by a person.
Leave a Reply