Last updated: November 01, 2026
Key Takeaways
- Finish the soil, define the edge, and leave planting gaps before mulching.
- Plant first, then spread mulch over the open soil and between plants.
- Good bed prep helps mulch stay put through the first watering cycles.
- New beds usually need a moderate mulch layer, not a deep one that buries the soil line.
A new garden bed needs mulch after the soil is settled and before you set plants in place. Quick answer: mulch after planting, and use one moderate layer, usually about 2 to 3 inches deep. This article on How to Mulch a New Garden Bed Before the First Planting Season explains the timing, the depth, and the spots where mulch should stop.
What a new garden bed needs before mulch goes down
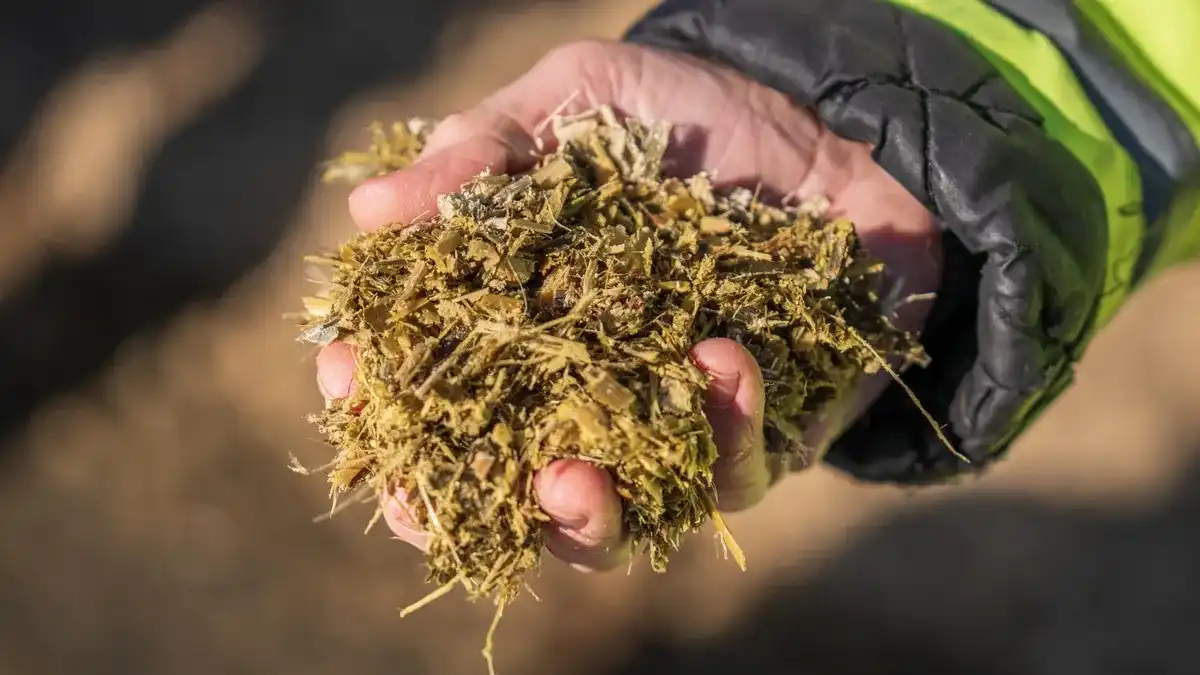
A new garden bed needs finished soil, a clear edge, and planting gaps before the first layer of mulch. If you mulch too early, the soil can still sink, the bed can look tidy for a week, and then the surface drops around crowns and stems after the first hard rain.
Picture this: you’ve built a fresh garden bed, spread topsoil and compost, and now the surface looks almost done. It still needs a last pass, though, because mulch is the finish coat, not the base. On a new bed, the job is to lock in moisture and reduce splash without burying the plants you’re about to set out.
The best order is usually simple:
- Shape the bed.
- Add topsoil and compost.
- Water it in.
- Let it settle.
- Plant.
- Mulch around the plants.
A new bed is different from an old one because the soil volume changes. Compost settles, loose topsoil sinks, and any low spot becomes obvious after watering. If you cover that rough surface too soon, you end up redoing the bed later.
For a wider bed-care workflow, the mulch application and bed care hub can sit beside this page as the next stop.
How do you mulch a new garden bed before planting?
You mulch a new garden bed by planting first, then spreading mulch over the exposed soil between plants and along the open surface. That keeps the root zone clear and still gives the bed the clean look and moisture control you want.
Picture this: you’re standing over a bed with seedlings, small shrubs, or bare-root starts already in place. The mulch should slip into the open soil like a cap, not pile against stems or crowns. If the bed has not been planted yet, hold the mulch for the last step.
Use this order:
- Rake the surface flat so water does not pool in dips.
- Water the bed so the soil settles before you mulch.
- Set each plant at its proper depth.
- Leave a small open ring around each stem or crown.
- Spread mulch across the exposed soil.
- Keep mulch off trunks, stems, and crowns.
- Check the edge so the mulch line stays inside the bed.
That open ring matters. It gives you a visual break so you can spot crown rot, buried stems, and pests more easily later. It also keeps mulch from holding wet material against tender tissue.
Bed prep that keeps mulch from sinking later
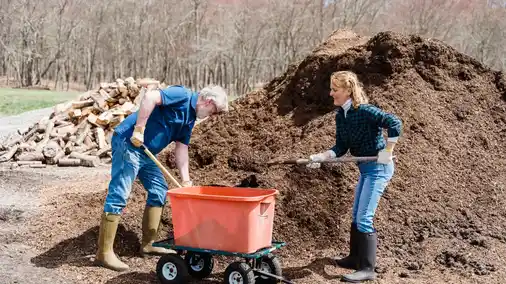
Bed prep keeps mulch from disappearing into soft ground after the first few watering cycles. A new bed may settle some, especially if you used fresh topsoil or a loose compost blend.
Picture this: you’ve filled a bed that looks level from the sidewalk, but the top few inches are still fluffy. A hose, a rain shower, or a deep soak can drop that surface fast. If you mulch over that loose top, the mulch layer follows the soil down and the bed can look thin before planting season even starts.
Do this first:
- Break up clods with a rake or hand fork.
- Mix topsoil and compost where they meet so the bed isn’t layered like cake.
- Pull out stones, roots, and trash that make the surface uneven.
- Water once so the soil settles before planting day.
- Top off any low spots with more topsoil and compost.
A clean edge helps here too. If the bed has edging, set it before mulch goes down so the mulch has a hard stop. Without edging, mulch can spill into turf or a path every time you water.
The trade-off is time. Settling the bed can take a few days, and some gardeners want to plant right away. That impatience costs you later when sunken pockets collect water and mulch ends up uneven. A short delay can beat a full remake.
How much mulch should you add on a brand-new bed?
A new garden bed usually needs a moderate mulch layer, not a heavy pile that buries the soil line. The goal is coverage, not depth for its own sake.
Picture this: the bed is planted and the surface is bare except for a few small plants. You want enough mulch to shade the soil and slow evaporation, but not so much that rainwater sits on top or stems stay wet all week. The mulch should look intentional, with the planting crowns still easy to see.
A practical approach:
- Use a fine or medium-texture mulch for small plants and tight spacing.
- Use a coarser mulch if the bed faces wind and you need better hold.
- Leave open space around each stem, crown, or trunk flare.
- Recheck after watering, because mulch can shift and thin out in one corner.
Here’s the catch: more mulch is not better in a new bed. A thick blanket can make it harder for soil to warm up in spring, and it can hide trouble spots that need attention. A lighter, even spread is easier to manage on a first-season bed.
If the bed will host vegetables or annuals, keep the mulch easy to move aside near planting holes. If it will host shrubs or perennials, leave enough room to see the base of each plant without digging through the mulch later. The USDA and University of Minnesota Extension both recommend keeping mulch away from trunks and crowns.
First planting season: where mulch goes and where it stops
The first planting season is when mulch needs the most discipline. The bed will still shift a little, so the mulch line has to stay outside the plant base, not pressed into it.
Picture this: you’ve planted in a straight row, and the bed looks clean from a few feet away. Up close, the mistake shows fast if mulch touches the stem. Wet mulch against a stem is a shortcut to trouble, especially in cool weather when drying takes longer.
Keep mulch:
- Between plants
- Along open bed spaces
- Up to the edge, if the edge is hard and stable
- Off the stem line and root crown
Do not tuck mulch into the planting hole. Do not bury the flare of a young tree or shrub. Do not mound it into a cone around stems.
A small bare ring is not wasted space. It lets you water at the base, check for new growth, and spot whether the plant is sinking as the soil settles. It also makes it easier to spot slug paths, fungal spots, or a plant that needs a deeper soak.
If a storm pushes mulch into the center of the bed, pull it back the next dry day. That quick cleanup keeps the bed tidy and saves you from building a wet collar around the plant base.
Edge cleanup and the last check after mulching
Edge cleanup keeps a new garden bed from looking sloppy and keeps mulch where it belongs. Once the mulch is down, the edge is the part that makes the whole job look finished.
Picture this: the surface looks good from the front door, but the path side has stray mulch, a ragged soil line, and a few chips sitting in the grass. That loose edge will keep shedding material every time you water or weed. A sharp boundary solves that.
Do one final pass:
- Sweep stray mulch back into the bed.
- Define the edge with a spade, edging tool, or steel blade.
- Pull mulch back from stems and crowns.
- Smooth the surface with your hand or a rake.
- Water lightly if the mulch dust is dry and blowing around.
If you used edging, make sure the mulch sits just inside it, not buried under a lip where it can disappear. If you did not use edging, carve a clean soil line so grass and mulch do not mix.
A tidy edge matters for the first season because new beds change shape fast. Wind shifts the top layer, rain spreads loose chips, and foot traffic near a path can drag mulch out of place. A 5-minute cleanup after installation saves a lot more work later.
Common mistakes that ruin a first mulch job
The biggest mistakes on a new bed are mulching too early, mulching too thick, and burying the plant base. Those errors cost you in settling, disease risk, and a bed that looks uneven by midseason.
Picture this: the bed looked finished on day one, but by week three the surface has sunk, the mulch is in the path, and two plants sit lower than the rest. That usually comes from rushing the prep or treating mulch like a cover-up for unfinished soil. If you are unsure, consult a professional, and use guidance from your local extension office or landscape service.
Watch for these problems:
- Mulch over loose fill: it sinks as the soil settles.
- Mulch touching stems: it traps moisture where stems need air.
- No edge: it spreads into paths and turf.
- Planting after mulch: you end up digging through the layer and making a mess.
- Too much compost under mulch: the bed can hold extra water if the mix stays heavy and wet.
The fix is a slower first pass. Set the bed, settle it with water, plant, then mulch. If the soil drops later, add a thin top-up only after the bed has settled again.
A final note: if you’re using bark, shredded wood, straw, or leaf mulch, keep the material consistent across the bed. Mixed textures can look patchy and move at different rates in wind and rain.
FAQ
Do you mulch before planting or after?
You mulch after planting. The plants need their holes set first so the mulch can sit on the open soil and not end up packed around stems or crowns. On a new garden bed, that order also lets you fix the soil level before the final top layer goes down.
How much mulch should a new bed get?
A new bed should get enough mulch to cover exposed soil evenly without burying the base of each plant. The layer should look even and stay a little back from stems, crowns, and trunks. If the bed is still settling, start light and add more only after the soil has stopped dropping. For many beds, 2 to 3 inches is enough.
Should the soil be finished first?
Yes, the soil should be finished first. That means the topsoil and compost are in place, the bed has been watered, and the surface has had a chance to settle. If you mulch before that step, the bed can sink unevenly and leave the mulch looking thin or lopsided.
What kind of mulch works best on a new bed?
A mulch that stays put and is easy to pull back from stems works best on a new bed. Fine or medium-texture mulch is easier to place around young plants, while coarser material can help in windy spots. The right choice depends on the plants, the bed shape, and how much movement the surface gets.
Drafted with AI; not yet reviewed by a person.
Leave a Reply