
Last updated: November 05, 2026
Quick Answer: measure the inside edge-to-edge area and use 2 inches to 3 inches of mulch for most beds. Mulched beds with stone borders or steel edging need inside measurements, not outside ones. Use the bed’s containment line, then add mulch to the chosen depth; the border changes the edge shape, not the area you should fill.
Key Takeaways
- Measure the bed’s inside area, then use your target depth to estimate mulch.
- Count the planting space, not the edging material.
- Multiply square feet by depth, then convert to cubic yards or bags.
- The formula stays the same, but the border can affect how mulch sits at the rim.
This article on How to Estimate Mulch for Beds with Stone Borders or Steel Edging shows which line to measure, how to handle square feet, and how border material changes the fill at the edge.
The simplest way to measure a mulched bed with hard edging
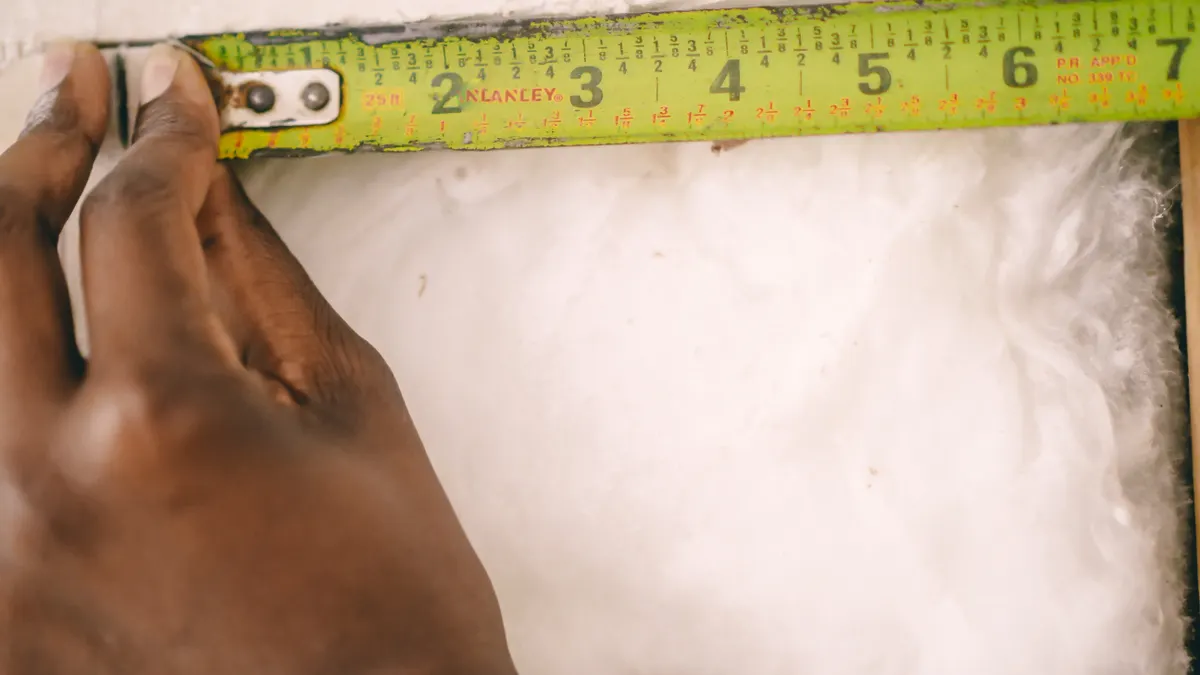
Picture this: you’re standing at a bed with a stone border on one side and steel edging on the other, tape in hand, trying not to guess. The answer is to measure the inside edge-to-edge area of the garden bed, then calculate mulch from that space at your target depth.
That means the stones or steel do not get counted as part of the mulch area. They mark the boundary, and the boundary is where your math starts. A bed that is 12 feet by 8 feet inside the edging is still 96 square feet of bed, even if the border itself adds another few inches around it.
Here’s the catch: border material can make a bed look wider than it really is. If you measure the outside of stone or steel instead of the soil line inside it, you’ll overbuy.
- Measure the bed inside the border.
- Ignore the thickness of stone, brick, or steel.
- Use the bed’s shape as it holds mulch, not the shape of the edging materials.
- Multiply square feet by depth only after you have the inside area.
For the planning basics that sit under this step, the hub page on planning and measurement fundamentals is the right next stop. For area math, see square footage basics and mulch depth guide.
How do you measure inside stone border and steel edging?
You measure the planting space, not the hardware. The cleanest result comes from using a tape measure along the inside face of the border and writing down the bed dimensions that the mulch will actually cover.
Picture this: you’re tracing a bed with a stone border on one long side and steel edging on the other, and the inside line bends slightly at the corners. You still measure from the inner containment line, because that is the line holding the mulch in place.
Use these steps:
- Tape measure the longest inside length of the bed.
- Tape measure the widest inside width at the same height.
- Notebook record each section if the bed changes shape.
- Calculator multiply length by width for each rectangle-like section.
- Add the sections to get total square feet.
If the bed has straight runs with a few right-angle turns, break it into simple pieces. A 6-by-10-foot section plus a 3-by-4-foot nook gives you 72 square feet before depth is counted. That is cleaner than trying to estimate the whole bed in one shot.
A stone border can hide small changes in bed width, so trust the inside line, not your eye. Steel edging usually makes the edge look sharp, but the same rule applies.
- Use the inside line at ground level.
- Break odd beds into rectangles.
- Write the numbers down before you calculate.
- Do not include path space, stone caps, or edging strips.
How much mulch do I need once the border is measured?
You need square feet times depth, then a conversion to cubic yards or bags. The border does not change the formula; it only tells you where the bed starts and stops.
Picture this: you have a bed measured at 120 square feet, and you want a 3-inch mulch layer. That depth is the real decision, because it changes the volume far more than the edging does. Thin coverage uses less mulch than a deeper layer.
Use the standard fill math:
- 1 inch deep over 100 square feet = about 0.31 cubic yards
- 2 inches deep over 100 square feet = about 0.62 cubic yards
- 3 inches deep over 100 square feet = about 0.93 cubic yards
- 4 inches deep over 100 square feet = about 1.23 cubic yards
Those figures are a practical shortcut, not a guess. If you have 120 square feet at 3 inches, you are a little over 1 cubic yard. If you have 200 square feet at 2 inches, you are a little over 1.2 cubic yards.
Once you know the area, the border type stops mattering for the volume math. Stone, steel, and brick all use the same calculation.
- Depth drives the quantity.
- Area drives the total volume.
- Borders affect measurement, not the formula.
- Bag labels usually list coverage by square feet and depth, so match your numbers to the label.
For conversion details, the cubic yard conversion chart and bag coverage guide can help.
What changes with stone border, brick edging, or steel edging?
The measurement rule stays the same, but the edge can change how the mulch sits at the rim. Stone borders and brick edging often create a slightly raised edge, while steel edging usually gives a tighter, thinner boundary.
Picture this: you’re filling a bed that ends at a 2-inch-thick stone border on one side and a low steel strip on the other. The mulch should still be measured from the inside soil line, but the visible edge may need a little extra attention so the finished level looks even.
Here’s the trade-off:
- Stone border: can hide a small slope at the edge, but it may tempt you to measure too wide.
- Brick edging: can look like part of the bed, yet it is still border material, not planting area.
- Steel edging: gives a crisp line, but it can make the bed look smaller than it is.
A common mistake is to measure to the outside face of the border because that feels safer. It is not safer. It usually overstates the area and leaves you with too much mulch, which can bury the edge and create a lumpy look.
If the border is tall, you may also notice a depth change at the perimeter. That is a placement issue, not a math issue. Keep the calculation tied to the bed’s inside footprint.
- Outside edge measurements inflate the total.
- Tall borders can hide low spots along the rim.
- Steel edges show small overfills fast.
- Brick and stone can make the bed look fuller than it is.
Why edge-to-edge measuring beats eyeballing a border bed
Edge-to-edge measuring gives you a number you can defend. Eyeballing a bed with hard edging is where people miss by a bag or by half a yard, because the border makes the footprint look larger, cleaner, and flatter than it really is.
Picture this: you’re looking at a neat rectangular bed with a stone border, and the mulch already seems to “belong” inside it. That visual impression helps with design, but it is poor math. The right number comes from the actual containment line at ground level.
Use these cues:
- Measure from inner edge to inner edge.
- Ignore decorative overhangs from stone caps.
- Treat steel edging as a line, not a measurement band. If the edge is irregular, consult a local landscape professional or supplier before ordering.
- Separate the bed into simple shapes if the border turns a corner.
A bed that appears to be 10 by 12 feet may actually be 9 feet 4 inches by 11 feet 6 inches inside the border. That difference matters once you multiply by 2 or 3 inches of mulch depth.
The truth is, border beds punish rough estimates more than open beds do. The hard edge makes the shape look finished, so the eye stops questioning the size. The tape measure does not.
- Do not trust appearance alone.
- Do not count the border width.
- Do not round every dimension up.
- Do record each section before you add anything.
How to avoid overbuying mulch at the edge
You avoid overbuying by using the inside measurement, then checking the result against bag coverage or bulk-yard coverage before you order. The border does not need its own allowance unless the bed is very uneven or the edge is unusually tall.
Picture this: you have a clean bed with steel edging, and the perimeter looks a little tight. It is tempting to add extra “just in case.” That habit usually creates leftover mulch, not peace of mind. A small buffer is fine; a full extra bag or half yard often is not.
Use this quick control list:
- Recheck the inside length and width once.
- Confirm the chosen depth, such as 2 inches or 3 inches.
- Convert the area before ordering.
- Round up only if the bed has many small sections or you know the fill will settle.
If you are buying bags, the label usually tells you coverage at a certain depth. Match that depth to your own target, not to a default printed on the bag. If you are ordering bulk mulch, your square-foot calculation matters even more because a bulk order is harder to return.
A smart rule: if the bed is bordered in stone or steel and the math gives you a fraction of a yard, round up only one notch. That leaves a little margin without turning the border into a mulch dam.
- One extra half step is enough.
- A full extra layer is usually too much.
- Border beds show overfill fast.
- Matching depth to the label keeps the order honest.
Common mistakes with stone borders and steel edging
The biggest mistake is measuring the outside of the border and calling it the bed. That error costs you extra mulch, extra labor, and a finished surface that sits too high against the edging.
Picture this: you’ve got a neat stone border and a steel edge that looks razor straight, and you assume the outer line is the one that matters. It isn’t. The fill belongs inside the containment line, because that is the space the mulch will occupy.
The second mistake is mixing up surface area and depth. A 150-square-foot bed at 2 inches is not the same as a 150-square-foot bed at 4 inches, even though the footprint is identical. Depth changes the total volume, and it changes it a lot.
Other slipups to avoid:
- Counting border stones as part of the bed.
- Forgetting to subtract paths or stepping areas inside the outline.
- Using one average width when the bed has clear straight sections.
- Choosing a mulch depth before checking whether the border will trap water or hold the fill unusually high.
The fix is boring but reliable. Measure inside the edging, write down the area, pick the depth, then convert. If the bed is split by a walkway or a planting island, treat each part separately and add them together. If the layout is complex, consult a local landscape professional before ordering.
That method works for stone border, brick edging, and steel edging alike.
- Outside measurements waste material.
- Depth errors distort the order.
- One-bed math fails on split beds.
- Simple sections beat guesswork every time.
What to check before you place the order
Check the inside square feet, the target depth, and the coverage rule for the product you plan to buy. That three-part check is enough to avoid most sizing mistakes on bordered beds.
Picture this: you’re at the last step, and the bed looks finished on paper but not in the yard. This is where the calculation either holds up or falls apart. A stone border may hide a small error; steel edging will expose it quickly.
Before you order, confirm:
- The inside dimensions of each section
- The total square feet
- The mulch depth in inches
- Whether your product is sold by bag or by cubic yard
- Whether the edge has any unusually tall or wide sections that could affect how the mulch sits visually
If the bed is tight against a wall, fence, or hardscape, the border may make the visible fill look deeper than it is. That changes appearance, not quantity. The quantity still comes from the inside area and depth.
For related measurement rules, the hub page on planning and measurement fundamentals is the right companion piece. This page handles the border issue; the hub handles the broader math.
The answer you want is simple: measure inside the edging, then calculate mulch from that area and depth. Stone, brick, and steel all change the look of the bed, but they do not change the volume formula.
Do you measure inside the edging or outside it?
You measure inside the edging. The mulch belongs to the planted bed, so the correct line is the inner containment line, not the outer edge of the stone, brick, or steel.
If you measure outside the edging, you count material that will never hold mulch. That leads to overbuying and a finished bed that can sit too high against the border.
How do borders affect mulch area?
Borders affect where the area starts and stops, not the formula itself. A stone border, brick edging, or steel edging sets the visible boundary, but you still calculate from the inside square feet.
That means a bed’s mulch area is usually smaller than it looks from the sidewalk. The border can make a bed feel broader, but the tape measure settles the number.
Should edging change the mulch depth calculation?
No, edging should not change the mulch depth calculation. The border changes the shape of the bed and the place where you measure, but the depth rule stays the same.
If you want 2 inches, 3 inches, or another depth, apply that depth to the inside area only. The only time the border changes your thinking is when it makes the edge sit visibly higher or lower, which affects appearance more than quantity.
Drafted with AI; not yet reviewed by a person.
Leave a Reply