Last updated: October 30, 2026
Key Takeaways
- Vegetable garden mulch shades soil, slows evaporation, and blocks weeds, but the wrong material can trap too much moisture or tie up nitrogen near hungry crops.
- Straw mulch is often the easiest all-around choice for a vegetable bed because it is light, airy, and simple to lift when planting or weeding.
- Mulch should stop a few inches away from stems, crowns, and the base of seedlings, not touch them directly.
- To mulch a vegetable garden, clear the bed, water first, spread a shallow layer, and stop short of the plant base.
Vegetable garden mulch should keep soil covered without smothering stems, crowns, or tiny seedlings. In Mulch for Vegetable Gardens: What to Use and Where to Stop, the most practical choices for most edible beds are straw mulch, shredded leaves, grass clippings used thinly, and finished compost, with the mulch stopped a few inches back from each plant.
What vegetable garden mulch does and why the material matters
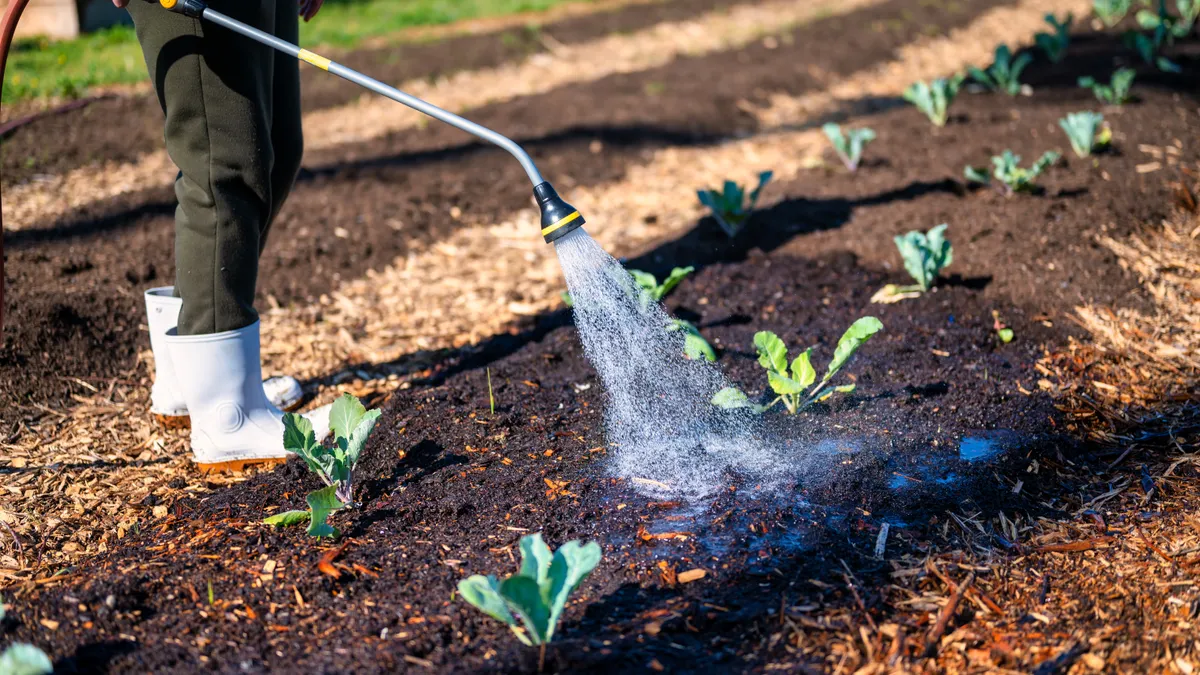
Therefore, vegetable garden mulch does three jobs: it shades soil, slows evaporation, and blocks weeds, but the wrong material can trap too much moisture or tie up nitrogen near hungry crops. In a vegetable bed, that trade-off matters more than in a flower border because lettuce, beans, tomatoes, peppers, and squash all need open access to light, air, and water at the base.
For edible crops, I would favor materials that break down cleanly and do not bring in debris that causes trouble at harvest. Straw mulch is the standard choice for many gardeners because it spreads lightly, lets rain through, and is easy to move aside when you need to sow or harvest. Finished compost also works well because it feeds the top layer of soil while still acting like a mulch. Shredded leaves are useful if they are dry and chopped enough to stay in place.
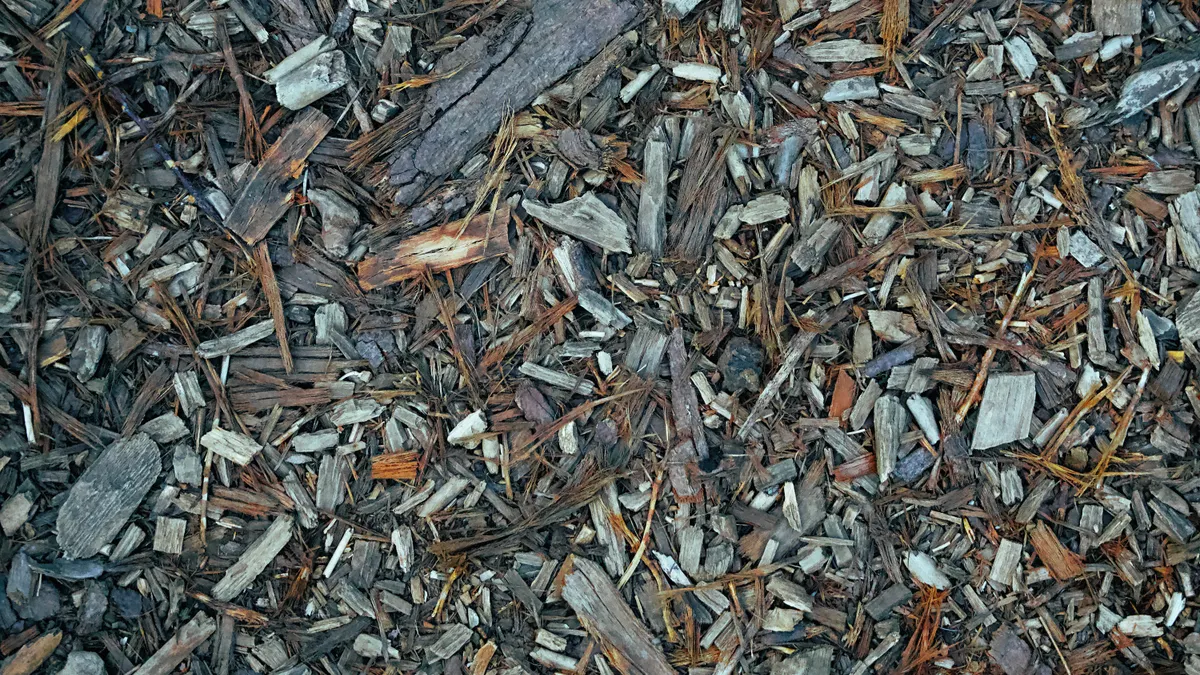
For example, what I would not use as a default is heavy bark mulch in a vegetable bed. It can work on paths or around perennial edibles, but in a working bed it is slower to break down and more awkward to pull back from plant rows. Fresh wood chips have their place on paths, not in the crop zone for most annual vegetables.
The simplest rule is this: the closer the mulch is to the crop you eat, the cleaner and finer the material should be. A tomato plant can handle a little more space and a heavier surface layer than a row of carrots or a tight line of lettuce seedlings. If the bed is managed in rows 12 to 18 inches apart, you need mulch that can be tucked between rows without burying the stems.
Which mulch works best for a vegetable bed?
Consequently, straw mulch is the easiest all-around choice for a vegetable bed because it is light, airy, and simple to lift when planting or weeding. I would put it at the top of the list for tomatoes, peppers, beans, cucumbers, and squash, especially in beds that are watered by hose or drip line.
Finished compost works well when the soil needs improvement as much as weed suppression. It does not look fluffy like straw, but it gives the bed a tidy surface and adds organic matter as it settles. Use it when you want the mulch layer to blend into the soil over the season instead of sitting on top as a separate blanket.
Shredded leaves are a good low-cost option if you have access to dry leaves and can run them through a mower or shredder. Whole leaves mat down too fast. Shredded leaves hold air better and are less likely to form a slick layer that sheds water. They work well around established crops and can be refreshed once or twice during the season.
Grass clippings can be used, but only in thin layers, about 1 inch at a time, after they have dried slightly. Piled thick, they heat up and go slimy. That makes them a poor fit for a new seed row or any spot where you need fine control over moisture.
Wood chips are the material most often overused in vegetable gardens. They are excellent in paths, but in a crop bed they can drift into rows, hide pests, and stay in place longer than many annual vegetables need. If your bed is mostly perennial asparagus or rhubarb, that is a different case; for the standard annual vegetable patch, straw and compost are the cleaner choices.
For a broader project, the mulch calculator for landscaping projects can help estimate material volume before you buy it. See also the related guide on compost calculator basics and the lawn care basics page for soil-building timing.
Where should mulch stop around plants and rows?
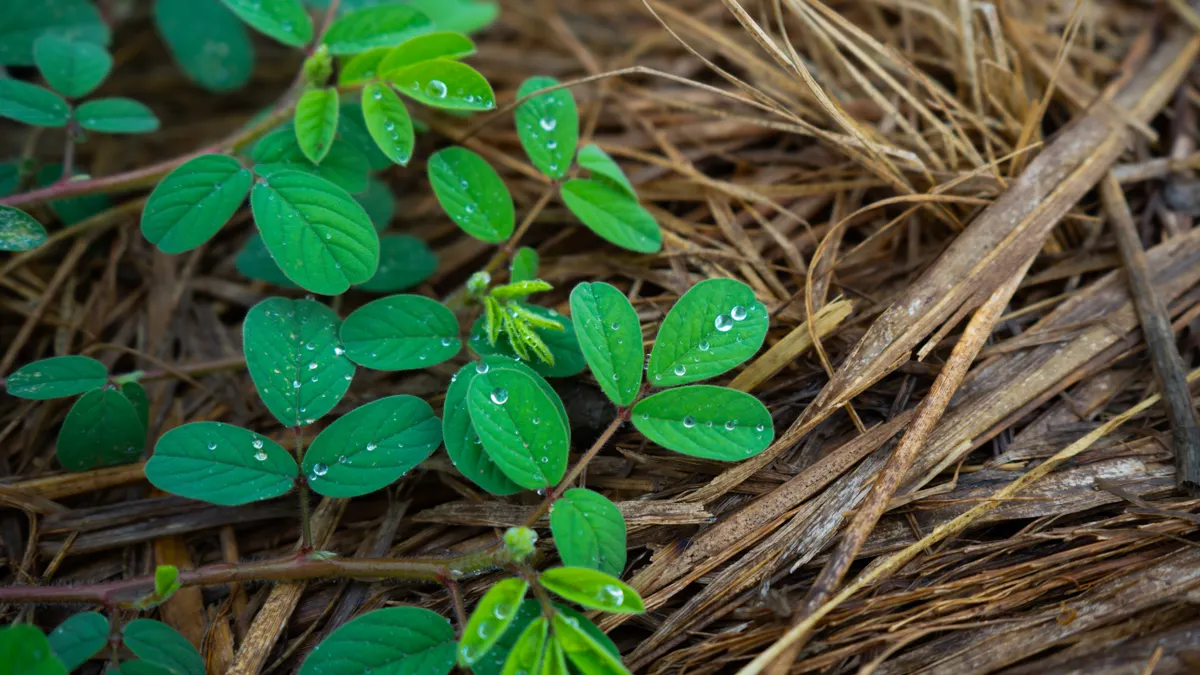
Therefore, mulch should stop a few inches away from stems, crowns, and the base of seedlings, not touch them directly. That gap matters more than the total depth because it keeps the stem from staying wet and gives you a clear line for watering and weeding.
Around a tomato plant, leave a bare ring about 2 to 4 inches wide at the stem base. Tomatoes are tall, but the stem at soil level still needs airflow. If mulch is pushed right against that point, rain and irrigation can keep it damp for too long. That raises the chance of rot and makes it harder to spot trouble early.
Around lettuces, herbs, and newly transplanted peppers, stop the mulch just short of the crown and work it outward in a thin skirt. Seedlings should not be buried at all. The first 1 to 2 weeks after transplanting are when stems are most vulnerable, so the gap should be obvious, not approximate.
Along a row, mulch can fill the open strip between plants, but it should not bury the row line. A simple way to think about it is this: if you can no longer see where the plants emerge, the mulch has gone too far. In beds laid out on 12-inch or 18-inch centers, that usually means you have pushed mulch too close to the next stem.
The same rule applies to drip irrigation emitters. Keep mulch over the soil surface, but do not pack it so tightly that water cannot reach the wetted zone. A 1 to 3 inch surface layer of fine mulch or compost usually sits well over drip line without sealing the soil shut.
How to mulch a vegetable garden step by step
Then you mulch a vegetable garden by clearing the bed, watering first, spreading a shallow layer, and stopping short of the plant base. That sequence gives a good chance of keeping the soil moist without creating a wet collar around the crop.
- Pull weeds and remove crop debris from the bed, especially stems or leaves that already show disease. A clean surface lets the mulch sit flat and keeps trouble from hiding under it.
- Water the soil before you mulch. Moist soil under a 1 to 3 inch mulch layer holds water better than dry soil covered after the fact.
- Spread your chosen material in a thin, even layer. Use about 2 to 4 inches for straw or shredded leaves, and about 1 inch for finished compost if you want a feeding layer rather than a fluffy blanket.
- Stop 2 to 4 inches short of stems, crowns, and seedling bases. The result should be a visible ring of bare soil around each plant, not a pile touching the stem.
- Check paths and row edges last. If mulch has spilled into a walking lane, rake it back so foot traffic does not drag it into the bed.
- After heavy rain or wind, adjust the surface again. A few minutes of raking keeps mulch from creeping too close to the crop.
The main point is control. Vegetable beds change fast, and mulch needs to fit around those changes. A bed planted with carrots in spring will not need the same coverage in midsummer as a bed full of sprawling cucumbers.
What to use by crop: tomatoes, roots, leafy greens, and vines
Different crops want the same basic mulch rules, but not the same material or placement. Tomatoes like a loose, breathable mulch that keeps the fruit off wet soil and leaves room for airflow around the lower stem. Straw mulch or finished compost works well here because both can be kept a few inches back from the plant without forming a hard edge.
Root crops such as carrots, beets, and radishes need the most careful placement. Their rows are narrow, and the tops emerge close together. I would use only a light mulch between rows once the seedlings are established, because thick mulch makes thinning and harvesting awkward. For carrots, the soil surface should stay easy to read, not hidden under a heavy layer.
Leafy greens like lettuce, spinach, and kale benefit from cooler soil and less splash from rain. A thin layer of shredded leaves or compost can help, but it should not cover the crown. These crops are often harvested in stages, so the mulch must stay easy to pull aside with one hand.
Vining crops such as cucumbers and squash can take a broader mulch footprint because their stems spread and shade the soil. Straw is a strong fit here. It keeps fruit cleaner and reduces the need to step into the bed once the vines take over. Still, the stems should remain exposed enough to inspect for damage and mildew.
The crop determines how much room you need to leave, but the rule does not change: if a stem sits in a damp pocket, the mulch is too close. That is the line to respect.
Common mulch mistakes that cost you a season
However, the biggest mistake is burying stems under a thick collar of mulch. That can hold moisture against the plant base, make disease harder to spot, and attract pests to a sheltered spot. The fix is simple: pull the mulch back until the stem is visible and dry at the soil line.
Another mistake is using fresh grass clippings in a heavy mat. When they compact, they block air and can turn sour. Use thin, dried layers only, and let each layer settle before adding more.
A third mistake is choosing the wrong material for the bed’s age. New seedlings and recently transplanted crops need a lighter touch than established tomatoes or squash. In the first few weeks, too much mulch can chill soil or hide small weeds that should be removed by hand.
People also over-mulch paths and let the material migrate into beds. That extra layer often ends up against stems after rain or watering. If you want path coverage, keep it in the path. A clean edge between the path and the vegetable bed is easier to manage all season.
Do not use a thick bark layer in a bed that will be replanted often. It looks tidy, but it slows the work of sowing, thinning, and harvesting. In a home vegetable garden, neatness should serve access, not fight it.
Seasonal use: when to mulch, refresh, or pull it back
Since vegetable beds are not static, seasonal use matters. In spring, mulch should wait until the soil has warmed enough for the crop you are planting. For cool-season greens, a light layer can go down sooner; for warm-season crops like tomatoes and peppers, many gardeners wait until after transplanting so the bed is not chilled under a heavy cover.
In summer, mulch does the most work. Heat and evaporation are at their peak, and a stable layer helps keep watering consistent. This is when straw mulch often earns its keep, especially in beds watered once or twice a week rather than daily.
In late season, mulch can stay in place longer around still-producing crops. If frost is coming and the bed still holds tomatoes, peppers, or late beans, mulch helps keep soil from baking and reduces splashing on the fruit. Once the bed is cleared, the old mulch can be pulled back, composted if it is clean, or left to decompose if it is a compostable material like leaves or straw.
Refresh mulch when it looks thin, patchy, or matted. You do not need to rip everything out each time. A light top-up is usually enough. The point is coverage with airflow, not a thick mattress that hides the garden.
Can I mulch a vegetable garden with wood chips?
Yes, but wood chips are better on paths and around perennial edibles than in most annual vegetable beds. They stay in place well and make walking lanes cleaner, yet they are awkward to manage around rows of lettuce, carrots, and transplant starts. If you use them near vegetables, keep them outside the crop zone and away from stems.
Should mulch touch vegetable stems?
No, mulch should not touch vegetable stems directly. A small bare ring, usually 2 to 4 inches wide for larger plants like tomatoes, helps prevent rot and gives you a clear view of the plant base. For seedlings and transplants, keep mulch even farther back until the plant is established.
For more on plant spacing and bed setup, see the vegetable garden layout guide and the drip irrigation guide. The USDA also notes that mulching helps conserve soil moisture and moderate soil temperature, while the University of Minnesota Extension recommends keeping mulch a few inches away from stems and trunks to reduce rot risk.
Drafted with AI; not yet reviewed by a person.
Leave a Reply