Last updated: November 02, 2026
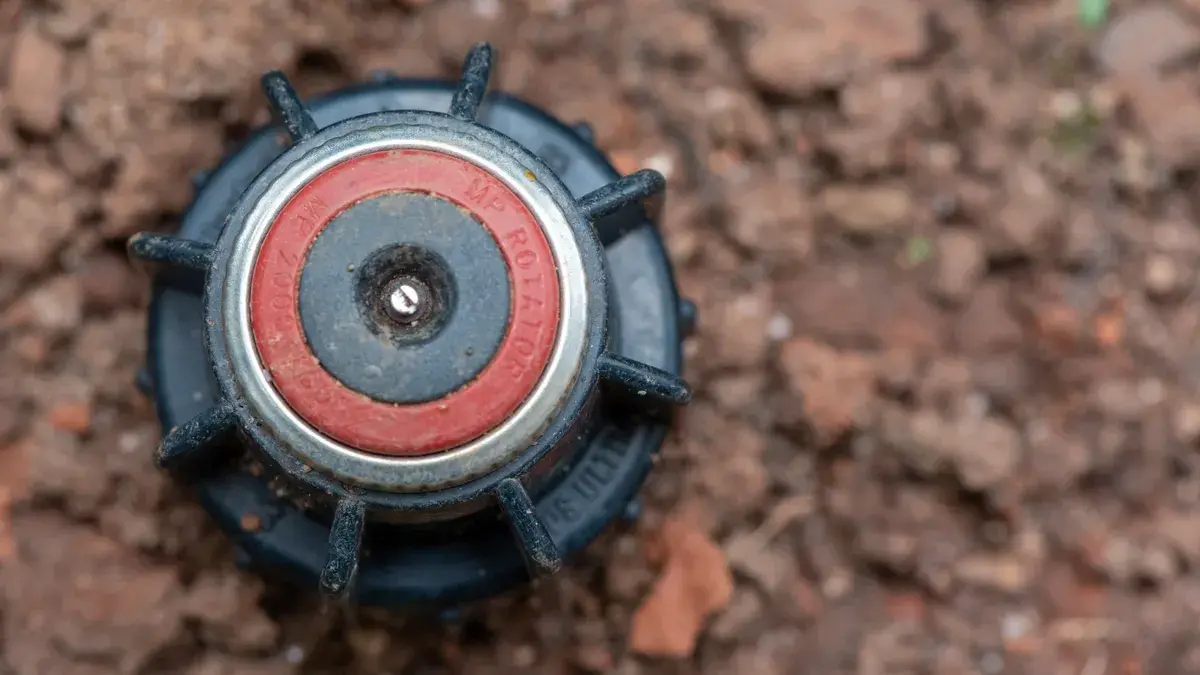
Quick Answer: leave about 2 to 3 inches of clear space around sprinkler heads and visible access at drip fittings so the system can water, pop up, and stay serviceable. In How to Mulch Around Irrigation Heads and Drip Lines, that means keeping mulch off moving parts, not burying emitters, and checking the bed after the first watering.
In short: keep mulch off sprinkler heads and give drip lines a small clear zone so water can reach the soil, fittings stay easy to service, and the line does not get buried by a thick blanket of material. This article settles how close to place landscape mulch, where to leave exposed openings, and what to do around repairs.
Key Takeaways
- Keep a small open ring around irrigation parts so water moves freely and repairs stay easy.
- Place mulch in short passes and stop before it covers heads, emitters, or fittings.
- Half-hidden heads can spray off target and leave the edge dry.
- Use loose mulch that shields the line without hiding the working parts.
What to leave exposed in the irrigation line area
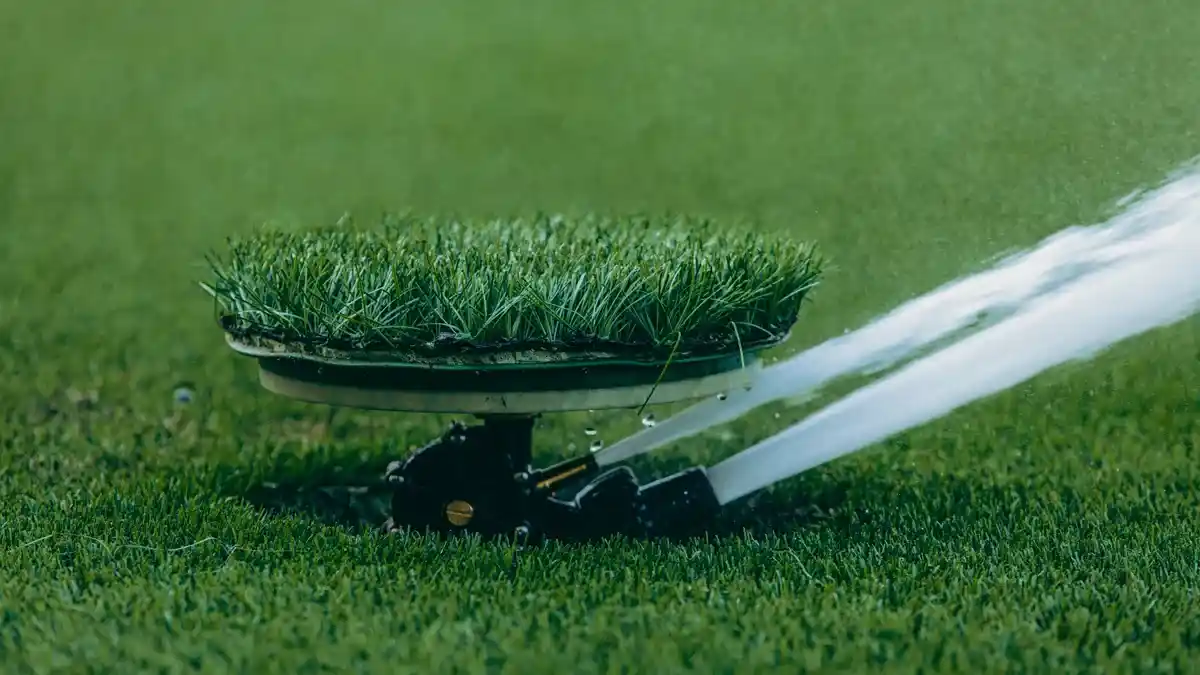
Picture this: you’re standing in a garden bed with a bag of landscape mulch on one side and a sprinkler head or drip line on the other. You want a clean finish, but you also need water to keep moving, and you need to find the parts later without digging through 3 inches of bark.
In How to Mulch Around Irrigation Heads and Drip Lines, leave sprinkler heads exposed and keep a visible opening around each one. Keep drip tubing and emitters visible enough that you can inspect joints, flush debris, and spot leaks fast.
A good rule is simple: don’t bury the working parts. The soil can be covered; the hardware should stay findable. If a sprinkler head ends up below the mulch line, the spray pattern changes, the nozzle gets harder to clean, and the bed becomes a search job the next time something clogs. Drip tubing can sit on the soil or just under a thin layer, but fittings, emitters, and ends need access.
Use these clear zones:
- Sprinkler head: keep mulch away from the cap and spray zone.
- Drip line: keep a narrow strip free where you can see the tubing.
- Emitter: leave the outlet uncovered so you can check flow.
- Repair points: keep unions, tees, and ends visible.
A clean access zone also makes seasonal checks faster.
How do you mulch around irrigation heads and drip lines?
You mulch around irrigation heads and drip lines by placing material in short, controlled passes and stopping before it covers the parts that must stay visible. That means a ring around each sprinkler head, a narrow clear strip along drip tubing, and open access at every emitter, valve, and fitting.
Before you start, the bed should be smooth and the irrigation parts easy to spot. That makes the wheelbarrow load easier to place without burying the wrong spot.
-
Rake the bed smooth before you spread anything.
A level surface helps you see where the heads and tubing already sit, so you don’t pile material into a low spot by accident. -
Mark the irrigation parts with flags or short stakes.
This gives you a 2-second visual cue before the wheelbarrow dump becomes a repair ticket. -
Spread the landscape mulch in thin passes around the bed edges first.
Work away from the heads and lines so the material settles around them instead of on top of them. -
Clear a gap around each sprinkler head and emitter.
Leave enough open space that you can reach the cap or connector without scraping out a mound. -
Pull excess material back from the drip tubing with a hand rake.
The line should remain visible in at least short sections, not hidden under a thick ridge. -
Check the spray and flow after watering.
If a head is spraying into a wall of mulch or a drip emitter is wetting only the top layer, move material back. -
Top off only where the bed looks thin.
Add more to bare soil, not over the access points.
A clean installation usually takes 15 minutes of adjustment after the first pass. That small correction matters more than the initial dump.
Keep sprinkler heads from disappearing under mulch
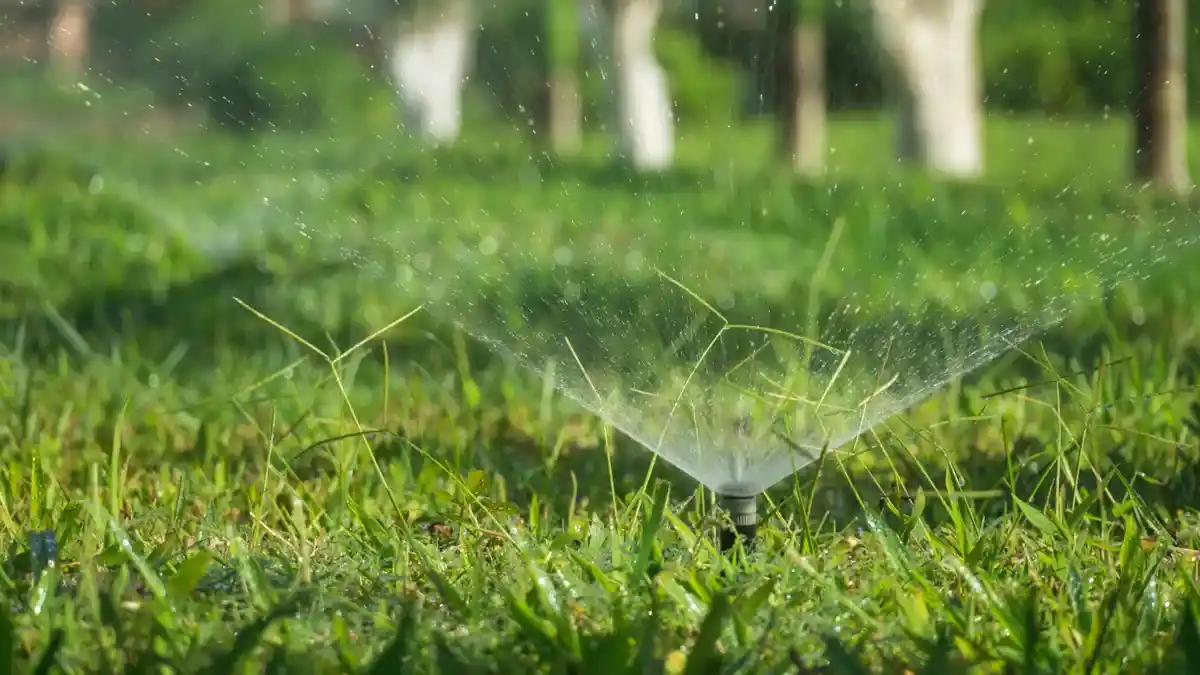
Picture this: you’ve got a row of pop-up heads in a garden bed, and the mulch looked tidy last month. Now the heads are half-hidden, one nozzle is spraying crooked, and the grass edge looks dry because the water is landing in bark instead of on the zone.
The fix is to keep every head visible and give it room to rise and spray. Sprinkler heads are built to pop up above grade; a mound of mulch works against that design.
Here’s the catch: mulch shifts after rain, foot traffic, and top-ups. What looked fine on day one can become a collar of debris by the end of the season. A 1-inch lip is enough to cause trouble if it settles against the pop-up stem.
Keep these points in mind:
- Clear the area around the cap before you start.
- Do not pack mulch tight against the stem.
- Leave a visible ring around each head for service.
- Recheck after the first heavy watering or storm.
- If the head is below grade, correct the grade instead of burying it deeper.
A sprinkler head that sits under mulch is harder to clean and easier to miss when you mow or edge nearby. It also makes repairs slower, because you have to dig before you can even see the nozzle.
On the flip side, an exposed head is easy to inspect in under a minute.
Drip tubing and emitter clearance that actually works
Picture this: you’re running drip irrigation through a garden bed with a few bends, connectors, and emitters. You want the bed covered, but you still need to see where the line runs so you can flush it, fix a split, or replace a clogged emitter without tearing up the whole bed.
Because the tubing, connectors, and emitters need to stay reachable, keep drip tubing lightly covered at most, and keep the emitters, fittings, and line ends visible. Drip systems depend on small openings and small parts, so burial creates more work later.
Use a clear strip along the line, especially near:
- Emitters
- Elbows and tees
- Flush ends
- Pressure regulators
- Repair couplings
A hidden drip line can be pinched by compacted mulch, stepped on during bed work, or cut with a shovel when nobody remembers where it ran. Thin coverage is safer than a thick blanket because it still lets the line breathe and stay easy to trace.
If the tubing sits above the soil, anchor it well before spreading mulch so it doesn’t float or shift. If the line is already set just below the surface, keep the layer above it light and even. Too much weight can press fittings out of alignment, especially at bends.
One practical standard: if you can’t point to the emitter in a few seconds, it’s too buried for maintenance.
Protect the line without smothering access
Picture this: the bed looks neat, the mulch is even, and the irrigation still needs to work all season. You’re not trying to armor the line like a pipe in concrete; you’re trying to shield it from sun, foot traffic, and random damage while leaving the working parts reachable.
Use mulch for light protection, not as a hard shell. That means coverage over bare soil, but not a packed mound over the irrigation hardware.
The trade-off is plain. More cover can help with moisture retention and weed suppression, but too much cover around irrigation points makes repairs slower and can hide damage until the bed is already dry. Less cover keeps access easy, but bare patches can invite weeds and expose tubing to UV light if the line sits on the surface.
In contrast, loose mulch can protect the bed while still keeping service points open.
- Keep the mulch loose.
- Avoid heavy compaction.
- Leave service points open.
- Revisit the bed after settling.
- Replace displaced material in small amounts, not in one big dump.
If your line crosses a path or edge, it needs even more care. A line that gets kicked, raked, or clipped by a tool should be easy to find within seconds, not minutes. That is the difference between a quick fix and a torn-up bed.
Who this is not for: if the drip line runs under hardscape or through a bed that gets frequent digging, a more exposed layout or a protected reroute is a better fit than trying to bury everything in mulch.
Common mistakes around irrigation heads and drip lines
Picture this: you’ve finished the bed, but the first watering shows dry patches, soggy corners, or a sprinkler head that won’t pop up cleanly. Most of the time, the problem is not the irrigation itself. It’s the way the mulch was placed around it.
The most common mistake is burying the access point. Another is piling material against a sprinkler stem or wrapping it around a drip fitting like insulation. Both create maintenance problems fast.
Avoid these errors:
- Covering pop-up heads so they spray through bark.
- Packing mulch tight against tubing and fittings.
- Hiding emitters where leaks are impossible to spot.
- Blocking flush ends so debris stays in the line.
- Leaving no gap for future repairs.
What it costs is time, water, and easy access. A hidden head is harder to adjust. A buried emitter is harder to inspect. A clogged flush end can go unnoticed until part of the bed dries out.
Do this instead:
- Stop the mulch short of each head.
- Keep a visible line path where you can.
- Use a hand rake for fine adjustments.
- Recheck after settling and rainfall.
- Fix grade problems before adding more material.
The truth is, most irrigation headaches start with one extra shovel of mulch in the wrong place.
A simple way to check your work after watering
Picture this: the mulch is down, the bed looks finished, and you’re ready to walk away. One quick watering cycle tells you whether the irrigation area is clear or whether the line needs a second pass with the rake.
Run the system and watch the first 5 to 10 minutes closely. You want to see heads rise freely, spray land in the zone, and drip emitters wet the soil instead of the top layer of bark.
Look for these signs:
- Sprinkler heads pop up without dragging mulch with them.
- Spray is not hitting a mound of material.
- Drip emitters are not plugged by loose debris.
- Fittings remain visible after the first soak.
- Water reaches soil, not just the mulch blanket.
If a head struggles to rise, move the material back 2 to 3 inches around the stem and check again. If a drip emitter disappears under the cover, clear the area until the outlet is obvious. A small correction now beats a buried repair later.
This is the right time to note problem spots for the next top-up. Beds settle. Wind shifts fine bark. Foot traffic moves the edges. A 2-minute check after watering keeps the system serviceable.
For a broader look at placement methods, the hub on mulch application methods gives the bigger picture; this page stays focused on irrigation access.
FAQ
Should mulch cover drip lines?
No, not fully. Drip lines can sit on or near the soil, but the tubing, emitters, and fittings should stay easy to find and service. A light cover is fine in some beds, but a thick layer makes leaks, clogs, and breaks harder to spot.
How much clearance should irrigation heads have?
Each sprinkler head should have enough open space that it can pop up and spray without hitting mulch. The head and nozzle need to stay visible, and the ring around them should stay clear after watering and settling. If the head is buried, pull the material back.
Can mulch damage sprinkler systems?
Yes, if it covers the moving parts or hides the line. Mulch can block pop-up heads, bury emitters, and make repairs slower. Loose, shallow placement is safer than a heavy mound pressed against the irrigation hardware.
What kind of mulch is best near irrigation lines?
A light, easy-to-move landscape mulch is usually easier to manage near irrigation parts than a coarse, clumping material. The right choice is the one that stays loose, does not pack tightly around fittings, and lets you keep access open for maintenance.
Related guides
- Mulch application methods
- Sprinkler head repair basics
- Drip irrigation maintenance
Comparison table
| Option | Clearance | Maintenance access | Best use | Notes |
|---|---|---|---|---|
| Open ring around sprinkler heads | 2 to 3 inches | High | Pop-up heads in beds | Keeps spray path clear |
| Light cover over drip tubing | Thin, even layer | Medium to high | Standard drip runs | Keep fittings visible |
| Heavy mulch over hardware | Not recommended | Low | None | Hides leaks and slows repairs |
Sources
- U.S. Environmental Protection Agency, WaterSense: https://www.epa.gov/watersense
- University of Florida IFAS Extension, drip irrigation guidance: https://edis.ifas.ufl.edu
Drafted with AI; not yet reviewed by a person.
Leave a Reply