Last updated: October 31, 2026
Key Takeaways
- Protect soil, not the plant itself.
- Clear beds first so crowns, shoots, and gaps stay visible.
- Keep mulch off crowns and build open space before filling gaps.
- Use a loose, light mulch you can pull back by hand quickly.
Perennial bed mulch should go on in a thin, careful layer that stays off crowns and new shoots. This guide on How to Mulch Around Existing Perennials Without Smothering New Growth works best when you clear spring debris first, mulch only the open soil between plants, and leave a small gap around every stem so emerging growth can breathe.
Start with the right goal for a perennial bed mulch
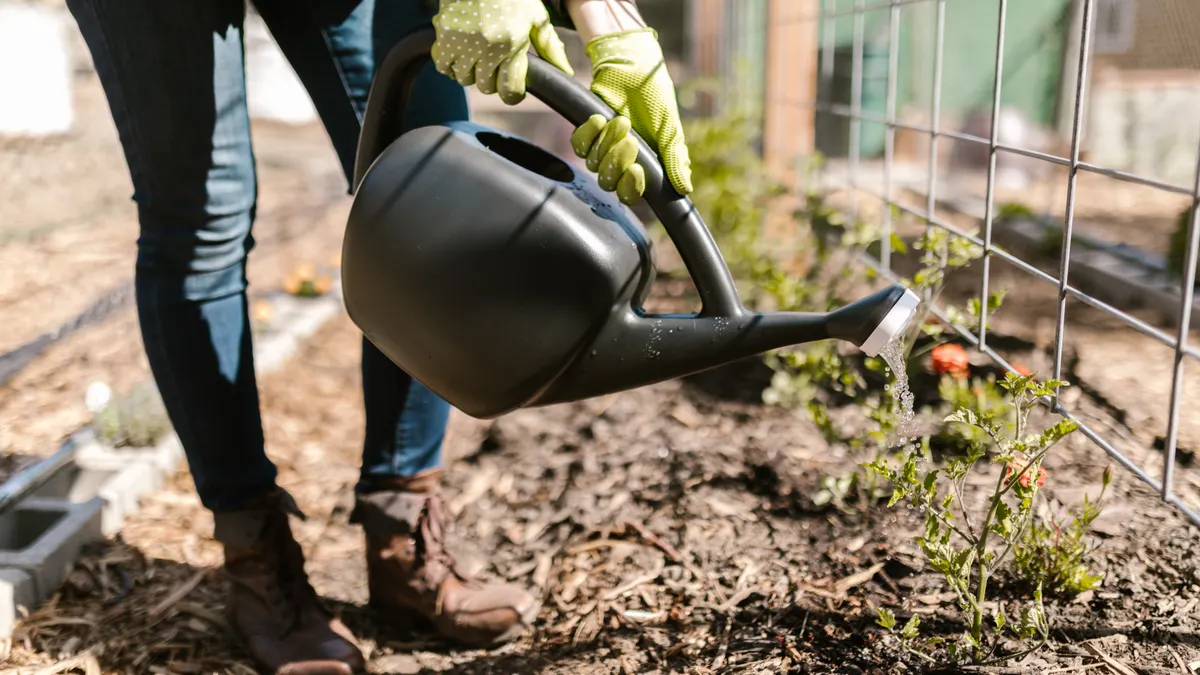
The goal is to cover exposed soil, not to bury the plant. Around an established perennial plant, mulch should protect roots, slow weeds, and hold moisture while leaving every crown and new shoot visible above the surface.
That distinction matters most in spring cleanup, when you can see the plant’s true growth points. If a perennial is waking up with 2-inch shoots, ferns unfurling, or tight crowns at ground level, mulch belongs around them, not over them. A garden fork, hand rake, and a bucket or tarp are enough for the job. The work is slower than dumping a wheelbarrow load and spreading it everywhere, but that slower method is what keeps growth from being pinned down and rotted.
This approach is right for mixed borders, established clumps, and beds where last year’s mulch has thinned unevenly. It is not the right choice for a bed that still needs division, heavy renovation, or major replanting. If the soil is packed with dead stems and matted leaves, clear that first so you can see where each perennial begins.
If you are figuring material amounts for a larger project, the mulch calculator for landscaping projects can help with the supply side. This page stays focused on placement, because placement is what keeps new growth alive. See also the mulch calculator for landscaping projects, spring garden cleanup checklist, and perennial garden design basics.
Clean up the bed before you spread anything
A clean bed gives you a clear map of the crowns, shoots, and gaps before any mulch goes down. Use a hand rake, pruning snips, and a garden fork to remove dead stems, loose leaves, and any old mulch that has crusted into a mat.
Start by cutting back dead top growth from last season. Then lift away debris from the base of each perennial plant so the crown is visible. If stems are still standing, cut them down in 1-step passes instead of tugging them out; pulling can jerk young roots and break hidden shoots. The result should be a bed where the soil line is obvious and the plant centers are easy to see.
A garden fork is useful if the old mulch has compacted. Slide it under the surface and loosen the layer before you remove or redistribute it. That gives you room to spot new growth that may already be under the litter. On spring-flowering perennials, the newest shoots can be short and easy to miss, especially in clumps of daylily, hosta, sedum, or ornamental grass left standing through winter. For plant timing, use the USDA Plant Hardiness Zone Map and RHS mulch guidance.
Do not rush this step. A bed that still has dead leaves tucked against the crown invites the same problem as too much mulch: trapped moisture and blocked airflow. I would rather leave a few bare patches for a week than bury a shoot that was just starting to move.
How do I mulch around perennials without covering new shoots?
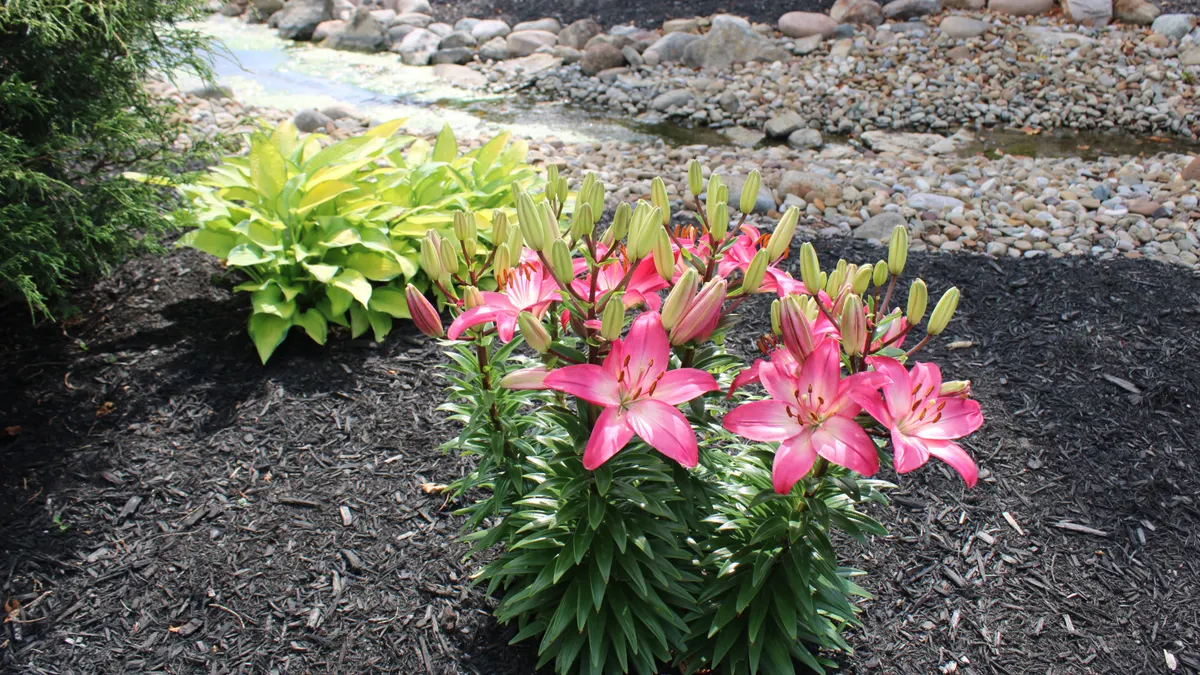
You mulch around perennials by keeping the mulch off the crown and building open space around each stem before you fill the gaps. Use a trowel, gloved hands, and a rake to set a clear ring around each plant, then spread organic mulch only on the exposed soil. In How to Mulch Around Existing Perennials Without Smothering New Growth, that 2- to 3-inch gap is the key control point.
Follow these steps:
- Mark the crown with your hands and set a visible 2- to 3-inch gap around each perennial so new shoots stay uncovered.
- Carry the mulch with a bucket and drop small piles into the open soil between plants instead of dumping it across the whole bed.
- Rake the mulch outward so it settles in the spaces and not against stems or leaf fans.
- Use your fingers to finish by pulling stray chips back from the crown until you can see the soil around the base.
- Check from above and confirm that every new shoot still stands free and every crown still has air around it.
That method works because the mulch layer can be continuous in the open soil while still interrupted near each plant. A ring of bare soil is often a practical buffer, but if a plant is especially crowded or delicate, follow local extension guidance or consult a professional before adjusting the spacing. If the plant has many shoots in one clump, widen that buffer rather than trying to weave mulch through the stems.
Organic mulch is the better choice here because it breaks down and feeds soil life over time. Bark fines, shredded leaves, pine straw, and composted wood products all work in perennial beds when they are applied lightly and kept off the crown. Coarse chunks are easier to move away from stems than wet, matted material. For material selection, see how to choose mulch and organic mulch types.
Which mulch materials are easiest to control around active growth?
The easiest mulch to control is a loose, light material that you can pull back by hand in seconds. Shredded leaves, pine straw, and fine bark are easier to place around existing perennials than heavy, soggy mulch that mats into one sheet.
That difference matters around emerging shoots. A material that settles flat and clings together can slide into the crown after rain or watering, especially in a bed with uneven soil. By contrast, loose organic mulch lets you shape the edge of the mulched area with a rake or gloved hand. It also makes spring cleanup easier because it reveals stems instead of hiding them.
I would avoid very heavy layers of fresh grass clippings, thick compost, or densely packed wood chips around newly emerging perennials. Those materials can hold moisture too tightly at the base of the plant. They are not automatically bad products; they are simply harder to manage when shoots are short and tender.
If the bed already has a mulch layer, match what is there instead of mixing too many textures at once. A bed covered in shredded bark is easier to top up with the same material than with a thick blanket of leaf mold or a heavy compost cap. Consistency makes it easier to judge where the crown begins and ends.
This is also the point where judgment matters more than the label on the bag. A controlled application is usually the best choice, especially if the bed includes early risers and late sleepers together. One plant may be sending up 4-inch shoots while the neighbor is still dormant. For local timing, check your plant hardiness zone and spring garden mulch tips.
What spacing should I leave around crowns and new shoots?
Leave a bare ring around each crown wide enough that no mulch touches the stems or shoot tips. In practice, that means you should see open soil around the base of the plant rather than a pile pressed against it.
The exact gap depends on the plant’s shape, but the principle stays the same: the mulch edge should stop short of the growing point. On clumping perennials, the center of the plant is usually the crown. On spreading perennials, the stems may emerge from several points, so the clear space needs to follow the whole active area, not just a single center dot.
Use your hand as the final gauge. If you can touch mulch and stem at the same time, pull the mulch back. If a new shoot is already leaning into the mulch, move the mulch farther away. A small amount of visible soil is safer than a perfect-looking blanket that hides the plant base.
This spacing also makes watering cleaner. When water lands on the mulch and moves slowly toward the roots, the crown stays drier than it would under direct contact with wet mulch. That matters in spring, when nights are cool and growth is tender.
The common mistake here is thinking the gap can be filled later by rain or settling. Settling is the problem. Rain presses mulch inward; it does not neatly preserve the opening you intended. I would rather overleave the gap by a little than wake up to crowns buried after the first storm.
Reapply mulch only when the bed actually needs it
Reapply mulch when the layer has thinned enough that bare soil shows widely between plants, not on a fixed calendar. In a perennial bed, that often means a light top-up in spring after cleanup, then another small touch-up only if the layer breaks down or blows away.
A rake and a shovel are enough for this step. Fluff the remaining mulch first so you can see how much is still there, then add only what the bed needs to restore coverage in the open spaces. If the previous layer is still deep enough to hold moisture and suppress weeds, skip the extra material. Piling on more mulch every season is how crowns get buried over time. Extension guidance from NC State Extension and University of Minnesota Extension both emphasize keeping mulch shallow near stems.
This is especially important in beds with vigorous perennials that expand quickly. A plant can rise higher each year, but a mulch layer that inches upward does not know that. It keeps sitting where it was placed until it starts creeping into the crown zone. That is why reapplication timing matters more than total enthusiasm.
Spring is a good time to reassess because new growth shows you where the living plant starts. After that, check the bed after heavy rain, strong wind, or a harsh freeze-thaw cycle. Those conditions can shift the mulch into the center of the plant or expose the soil in patches.
If you need a rule of thumb, think “refresh” rather than “reset.” A refresh fills the spaces between perennials. A reset often means tearing back too much, then rebuilding from scratch.
Common mistakes that smother growth
The biggest mistake is burying the crown, and the cost is slow emergence, rotten stems, or a perennial that never fully returns. The fix is simple: pull the mulch back until the growing point is visible again.
Another mistake is spreading mulch before spring cleanup. That hides dead stems, seedling weeds, and new shoots under one layer, which makes it easy to damage the bed with a rake or shovel. Clean the bed first so you can see what you are protecting.
A third mistake is making the mulch ring too neat and too tight. When mulch is packed right against the stem, moisture lingers there and airflow drops. Keep a gap instead, even if the bed looks slightly less finished for a few days.
Using the wrong tool causes trouble too. A stiff metal rake can snag tender growth; a hand rake, gloved fingers, or a small trowel gives you more control around tight clumps. The tool matters because the margin for error is small when shoots are only a few inches tall.
The final mistake is overcorrecting after a windy day or a heavy rain. If mulch drifts toward the center, pull it back by hand rather than adding more on top. A little maintenance now is easier than uncovering a smothered crown later.
When you should stop and adjust the job
You should stop and adjust the job when you cannot clearly see the crowns or new shoots anymore. If the bed has already been mulched too heavily, remove the excess before you add anything else.
This is the point where many readers try to “fix” the look by spreading just one more shovel of organic mulch. That move usually makes the problem worse. A deeper layer can bury the crown, trap moisture, and keep the soil too cool for active growth.
If the perennials are extremely crowded, division may be a better answer than more mulch. A congested clump leaves too little open soil for easy placement and too little airflow at the base. In that case, the issue is the plant spacing, not the mulch itself.
For a bed that is already damaged by heavy mulch, remove enough material to expose the crown line again and wait a few days before topping up lightly. That pause lets you see whether the plant is still pushing growth through the layer. It is better to make two careful passes than one aggressive one.
Questions readers usually ask before they spread mulch
Can mulch kill perennials in spring?
Yes, mulch can kill or weaken perennials in spring if it covers the crown or new shoots. The risk is highest when mulch is piled thickly against stems or left packed over a plant after cleanup. Keep the crown visible and pull the mulch back if any growth disappears under the layer.
How much mulch should I leave over perennial crowns?
Leave no mulch directly over the crown itself. The crown should stay exposed, with mulch only around it in the open soil. If you can see the base of the plant and the new shoots have room to emerge, the placement is safe enough to leave in place.
Drafted with AI; not yet reviewed by a person.
Leave a Reply